
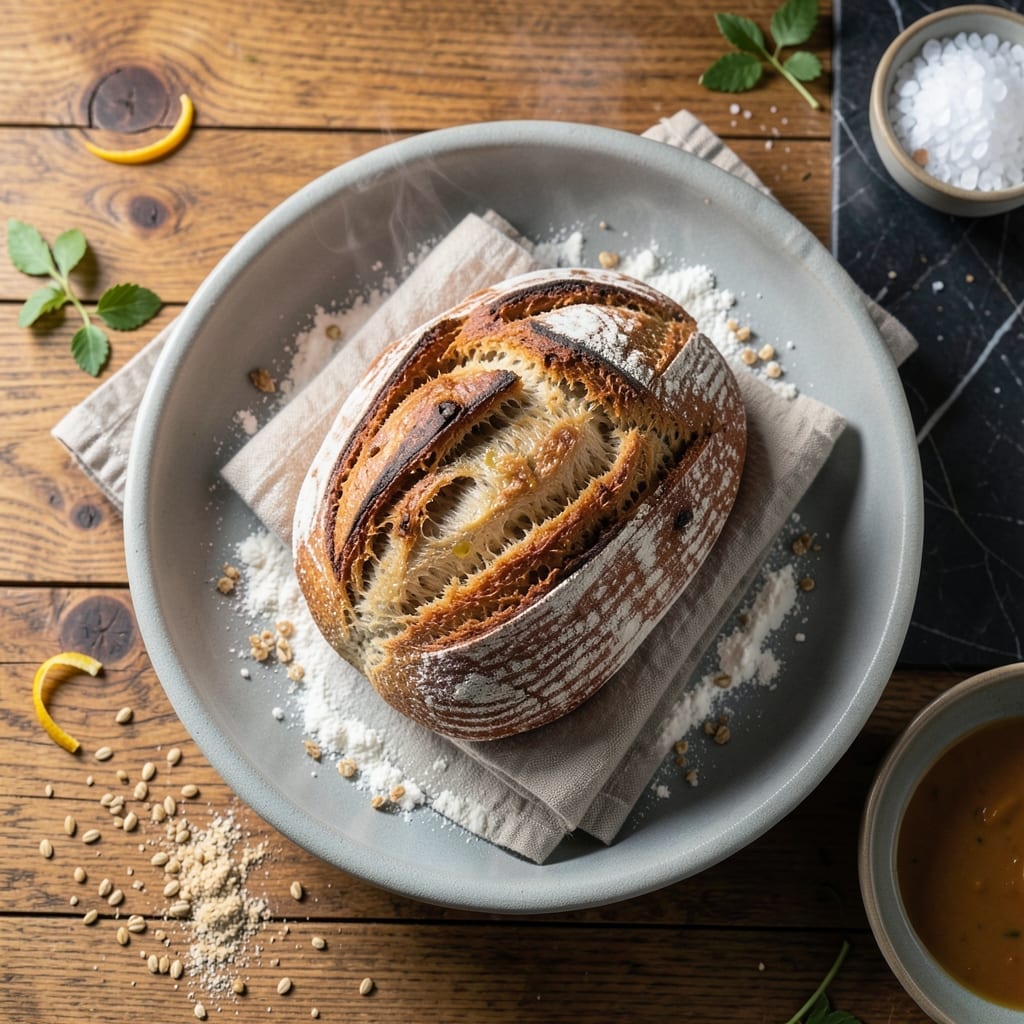
There’s a reason artisan sourdough captures imaginations—its crisp crust and complex, tangy depth transform bread from staple to experience. This method delivers those results with precision.
The process begins with a active starter, then moves through careful fermentation and shaping. Each step builds flavor and structure, ensuring the final loaf meets high expectations.
Baking at the right temperature creates the signature golden crust and open crumb. The timing and technique are as important as the ingredients themselves.
What emerges is bread with character—chewy interior, artisan texture, and that unmistakable sourdough tang. It’s worth the patience and practice.
Ingredients for Sourdough Bread Recipe Alexandra
Precision ingredients yield that signature artisan crust and tangy complexity every time.
| Ingredient | Amount | Notes |
|---|---|---|
| Active Sourdough Starter 🍞 | ½ cup | Fed and bubbly, 100% hydration |
| Bread Flour 🌾 | 3 ½ cups | High-protein preferred for structure |
| Whole Wheat Flour 🌾 | ½ cup | For depth and complexity |
| Fine Sea Salt 🧂 | 2 tsp | Diamond Crystal brand recommended |
| Filtered Water 💧 | 1 ¾ cups | Room temperature, 75-80°F |
| Olive Oil 🫒 | 1 tbsp | For bowl lubrication and dough handling |
| Rice Flour 🌾 | ½ cup | For dusting banneton or bowl |
| Cornmeal 🌽 | 2 tbsp | For dusting baking surface |
| Honey 🍯 | 1 tsp | Optional for enhanced browning |
| Ice Cubes ❄️ | 4 pieces | For steam in Dutch oven |
The starter is non-negotiable—100% hydration and actively bubbling before use. King Arthur Flour is my go-to for bread flour; its consistent protein content ensures reliable structure. For whole wheat, seek out freshly milled if possible, as it imparts superior depth. Sea salt should be fine grain to distribute evenly. Water quality matters more than you think—filtered removes chlorine that can inhibit fermentation.
No bread flour? All-purpose flour plus 1 tbsp vital wheat gluten per cup approximates the protein level. Out of whole wheat? Rye flour at half the quantity works, though it’ll darken the crumb. Skipping honey? Malt syrup or sugar can substitute for browning. The rice flour for dusting can be swapped with all-purpose flour in a pinch, but rice flour prevents sticking better.
Store the starter in the fridge between uses—feed it weekly to maintain vitality. Flours keep 3-6 months in airtight containers. Baked loaves stay fresh 2-3 days at room temperature or freeze for 1 month. Always bring ingredients to room temperature before mixing.
Why You’ll Love This Recipe
- Minimal Kneading: I mix the starter, flours, salt, and water, let it rest, and that’s it—no exhausting kneading sessions.
- Deep, Tangy Flavor: The active sourdough starter gives it that signature tang, while the whole wheat flour adds a nutty depth I can’t get enough of.
- Meal Prep Hero: I bake two loaves on Sunday, and we’re set for sandwiches, toast, and even croutons all week.
- Budget Friendly: Flour, water, salt, and my trusted starter—that’s all it takes to make a loaf that costs pennies compared to store-bought artisanal bread.
Step-by-Step Instructions for Artisan Sourdough Bread
Master the technique for a crusty exterior and open crumb structure with professional precision.
Step 1: Mix and Autolyse the Dough
In a large mixing bowl, combine the 0.5 cup Active Sourdough Starter, 3.5 cups Bread Flour, 0.5 cup Whole Wheat Flour, and 1.75 cups Filtered Water. Mix with a wooden spoon or your hands until no dry flour remains and a shaggy dough forms.
Let the dough rest uncovered for 30-45 minutes to begin the autolyse process. This allows the flour to fully hydrate and gluten strands to start developing naturally. You’ll notice the dough becomes smoother and more elastic after this rest.
Step 2: Incorporate Salt and Perform Stretch and Folds
After the autolyse, sprinkle the 2 tsp Fine Sea Salt evenly over the dough’s surface. Add the 1 tsp Honey at this stage for enhanced browning if using. Dimple the salt into the dough with wet hands, then perform a series of stretch and folds.
Wet your hands to prevent sticking and grab one side of the dough, stretching it upward and folding it over itself. Rotate the bowl 90 degrees and repeat this process 4-6 times total. This builds strength in the dough without overworking it.
Step 3: Bulk Ferment with Interval Folding
Cover the bowl with a damp towel and let the dough ferment at room temperature (75-80°F) for 4-6 hours. During the first 2 hours, perform an additional set of stretch and folds every 30 minutes for a total of 3-4 sessions.
The dough should increase in volume by about 50-75% and develop visible air bubbles. You’ll know it’s ready for shaping when it’s jiggly, slightly domed, and pulls away from the bowl sides. If your kitchen is cooler, extend the fermentation time accordingly.
Step 4: Shape and Final Proof
Turn the dough onto a lightly floured surface. Shape it into a tight boule by pulling the edges toward the center and pinching them together to create surface tension. Use the 1 tbsp Olive Oil to lightly grease your bowl or banneton.
Dust the proofing vessel with 0.5 cup Rice Flour to prevent sticking during the final rise. Place the dough seam-side up in the prepared vessel, cover, and refrigerate for 12-18 hours for cold proofing. This extended fermentation develops complex flavor and makes scoring easier.
Step 5: Bake with Steam for Artisan Results
Preheat your Dutch oven with lid at 475°F for 45 minutes. Turn out the proofed dough onto a piece of parchment dusted with 2 tbsp Cornmeal. Score the top with a razor or sharp knife using confident, swift motions.
Carefully transfer the dough to the hot Dutch oven using the parchment as a sling. Immediately add the 4 pieces Ice Cubes to the pot for steam, then cover with the lid. Bake for 20 minutes, then remove the lid and bake for another 20-25 minutes until the crust is deep golden brown and the internal temperature reaches 208-210°F.
Cool on a wire rack for at least 1 hour before slicing to allow the crumb structure to set properly. The finished loaf should have a crisp, blistered crust and an open, airy interior with a subtle tang.
Pro Tips For Making Sourdough Bread Recipe Alexandra
- Feed Starter Early: Start feeding your sourdough starter 8-12 hours before mixing the dough—it should be bubbly and at least doubled in size. I learned this the hard way after a few loaves that refused to rise properly.
- Autolyse the Flours: Mix the bread flour and whole wheat flour with water first and let it rest for 30-60 minutes before adding salt and starter. This simple step actually changes the outcome by improving gluten development.
- Skip Cold Water: Use filtered water at room temperature, about 75-80°F—cold water slows down fermentation and can lead to a dense crumb. After burning three batches to underproofed bricks, I finally figured this out.
- Bulk Ferment Longer: Let the dough bulk ferment until it’s increased by about 50-75%, which can take 5-8 hours at room temp. Sounds weird, but it works—rushing this step gives you flat, flavorless bread.
Regional Styles of This Recipe
San Francisco Style
This West Coast classic emphasizes a long fermentation at cooler temperatures. I cold-proof my dough for 18-24 hours in the fridge to develop that signature deep sour flavor. Boudin Bakery popularized this approach, and it’s become a gold standard for sourdough lovers. 🌟
French Country Style
The French prefer a milder tang with a rustic appearance. Use 20% whole wheat flour and ferment at 78-80°F for 5-6 hours. Shape into a batard for that classic oblong look. The crust is thicker and chewier than San Francisco style.
German Style
German bakers often incorporate rye flour for depth. Replace 0.5 cup of bread flour with dark rye and add 1 tsp caraway seeds to the dough. The result is a heartier, denser loaf with complex flavors. This style pairs perfectly with smoked meats.
New York Style
For a softer crust with less sourness, New York bakers use a shorter fermentation. Bulk ferment for 3-4 hours at 80°F, then shape and proof for just 1-2 hours. The result is a more approachable sourdough that’s great for sandwiches.
I often add 1 tbsp vital wheat gluten to boost the protein content for this style.
Nutrition Facts
Frequently Asked Questions
How do I know my starter is ready to use?
Your starter should be at its peak 4-8 hours after feeding. Look for bubbles throughout, a slight dome, and a doubled volume. It should smell tangy and fresh, not harsh or boozy.
Why did my bread turn out dense?
Dense loaves usually mean underproofed dough or weak gluten. Ensure your bulk ferment lasts 4-6 hours at 75-80°F and perform stretch and folds properly. Cold proofing helps too.
Can I bake without a Dutch oven?
Yes! Preheat a baking stone or inverted sheet pan at 475°F. Place a metal bowl with 1 cup water on the lower rack for steam. Bake as usual.
What’s the ideal hydration percentage?
This recipe uses 75% hydration (1.75 cups water to 4 cups flour). Higher hydration creates open crumb but requires more skill. Beginners may reduce to 70%.

- BBQ Sausage Recipe Oven: Smoky Depth Without the Grill - September 28, 2026
- BBQ Chicken Bowl Recipe Rice: Smoky Sweetness Over Fluffy Grains - September 28, 2026
- Beef Cutlet Recipe Ideas: Crispy Breaded Patties With Bold Seasonings - September 28, 2026