
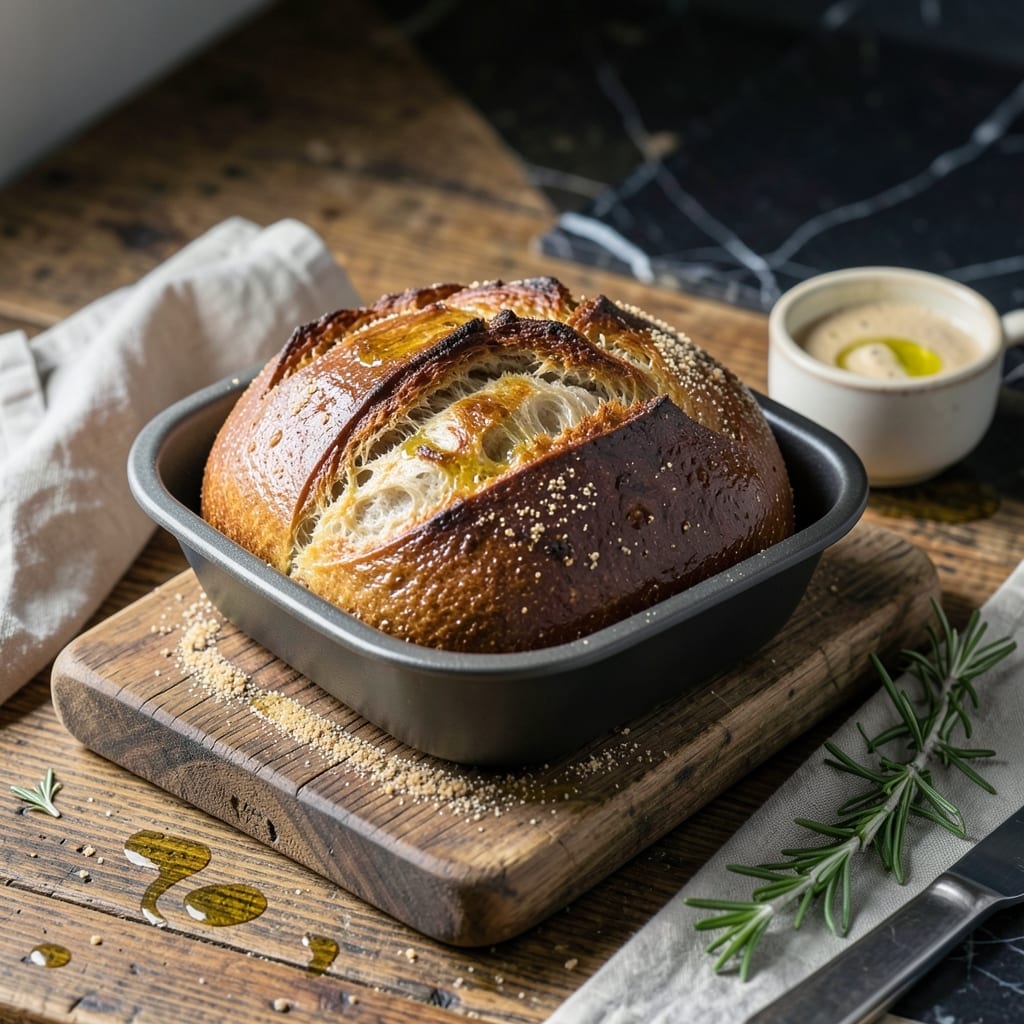
Achieve bakery-quality sourdough at home with this hands-free bread machine method. The process streamlines traditional techniques while maintaining artisanal flavor and texture.
This approach eliminates the guesswork of manual kneading and proofing. Your machine handles the mixing and rising, while a well-maintained starter ensures that signature tangy taste.
Ingredients for Sourdough Bread Recipe for Bread Machine
Achieve artisanal sourdough with these measured ingredients for your bread machine.
| Ingredient | Amount | Notes |
|---|---|---|
| Active Sourdough Starter 🍞 | ½ cup | Fed and bubbly, at peak activity |
| Bread Flour 🌾 | 3 ½ cups | High-protein for structure |
| Whole Wheat Flour 🌾 | ½ cup | Adds depth and nutrition |
| Water 💧 | 1 ¼ cups | Filtered, room temperature |
| Sea Salt 🧂 | 1 ½ tsp | Fine grain for even distribution |
| Olive Oil 🫒 | 1 tbsp | Extra-virgin for richness |
| Honey 🍯 | 1 tbsp | Optional, enhances browning |
| Vital Wheat Gluten 🌾 | 1 tbsp | Improves rise in bread machine |
| Cornmeal 🌽 | 2 tbsp | For dusting pan |
| All-Purpose Flour 🌾 | 2 tbsp | For adjusting consistency |
The sourdough starter is non-negotiable here. Use an active, fed starter—it should float in water when ready. King Arthur Flour is my go-to for bread flour, but any high-protein brand will deliver the chewy texture. Whole wheat flour adds complexity, but don’t exceed 20% of total flour to avoid a dense loaf. Store flours in airtight containers to prevent rancidity.
No sourdough starter? Commercial sourdough mix can work in a pinch, but the flavor won’t be as deep. Swap honey for maple syrup or sugar if preferred. Vital wheat gluten is key for bread machines—Bob’s Red Mill is widely available. If the dough seems too sticky, add all-purpose flour 1 tbsp at a time until it forms a smooth ball.
Bread machine loaves are best enjoyed fresh but stay soft for 2-3 days in an airtight container. For longer storage, slice and freeze for up to 3 months. Revive stale slices by toasting or sprinkling with water and reheating in foil.
Why You’ll Love This Recipe
- Set It and Forget: I toss everything in the bread machine, press start, and let it do the work—no kneading, no fuss.
- Tangy Perfection: That sourdough starter gives it a deep, slightly sour flavor that store-bought just can’t match.
- Meal Prep Hero: A fresh loaf on Sunday means sandwiches, toast, and garlic bread all week long.
- Budget Friendly: Bread flour, whole wheat, and my active starter cost pennies compared to bakery sourdough.
Step-by-Step Instructions for Sourdough Bread in Bread Machine
This method delivers a hands-free artisan loaf with professional results every time.
Step 1: Prepare the Bread Pan and Liquid Ingredients
Begin by lightly greasing the bread pan with olive oil to prevent sticking, then sprinkle the bottom with 2 tbsp Cornmeal. This creates a non-stick surface while adding a subtle texture to the crust. The cornmeal also absorbs excess moisture, preventing a soggy bottom.
Add the 1.25 cups Water (filtered and at room temperature) to the pan first. The order of ingredients matters in bread machines—liquids go in first to prevent the dry ingredients from clumping when the machine starts mixing. Next, add the 1 tbsp Honey and 1 tbsp Olive Oil, which will enhance browning and add richness to the crumb.
Step 2: Add Dry Ingredients in Proper Sequence
Measure the 3.5 cups Bread Flour, 0.5 cup Whole Wheat Flour, and 1 tbsp Vital Wheat Gluten into the pan, creating a small well in the center. The vital wheat gluten strengthens the dough, compensating for the bread machine’s shorter fermentation time.
Place the 0.5 cup Active Sourdough Starter (fed and bubbly) into the well. Ensure it is at peak activity—it should float in water when tested. This guarantees the yeast is active and will properly leaven the loaf. Do not let the starter touch the liquid ingredients yet; the machine’s paddle will incorporate everything at the right time.
Step 3: Incorporate Salt and Final Adjustments
Sprinkle the 1.5 tsp Sea Salt over the flour mixture. Salt controls yeast activity and strengthens the gluten network, so it must be evenly distributed. Avoid letting it come into direct contact with the starter, as salt can inhibit yeast activation if concentrated in one spot.
If the dough appears too sticky after the machine begins kneading, add 1 tbsp All-Purpose Flour at a time, up to the remaining 1 tbsp as needed. Conversely, if it looks too dry, add water 1 tsp at a time. The dough should form a smooth, elastic ball that pulls away from the sides of the pan.
Step 4: Select the Correct Cycle and Monitor Progress
Choose the “Dough” or “Basic” cycle on your bread machine, depending on whether you want to bake the loaf in the machine or shape and bake it separately. For a fully hands-free approach, use the “Basic” cycle with a medium crust setting. The machine will handle kneading, rising, and baking, but keep an eye on the dough during the first knead to ensure it’s neither too wet nor too dry.
Listen for the machine’s signals: a smooth, rhythmic kneading sound indicates proper consistency. If the machine struggles or the dough doesn’t form a ball within the first 10 minutes, pause the cycle and adjust with the remaining All-Purpose Flour or water as needed.
Step 5: Bake and Cool for Optimal Texture
Once the cycle completes, remove the pan from the machine and let the loaf cool in the pan for 5 minutes. This prevents the bread from collapsing due to sudden temperature changes. Then, transfer the loaf to a wire rack to cool completely for at least 1 hour.
Cooling is critical—slicing too soon traps steam inside, resulting in a gummy crumb. The loaf should have a golden-brown crust, a hollow sound when tapped on the bottom, and an open, airy interior. The cornmeal will add a slight crunch to the crust, while the sourdough starter provides a tangy, complex flavor.
Pro Tips For Making Sourdough Bread Recipe For Bread Machine
- Warm Your Starter: Take your sourdough starter out of the fridge 4-6 hours before baking and feed it—cold starter slows the rise and gives you a dense loaf. I learned this the hard way after pulling a brick out of my machine.
- Measure Flour Right: Spoon your bread and whole wheat flour into the measuring cup, then level it off—scooping directly from the bag packs it down and adds 20-30% more, which kills the texture.
- Skip the Overproof: Resist the urge to let the dough rise too long in the machine—once it’s doubled in size, start the bake cycle or you’ll get a sour, collapsed loaf.
- Use Room-Temp Water: Cold water shocks the starter and slows fermentation, so use water around 75-80°F—it’s the thing that matters most for a consistent, airy crumb.
Storing and Reheating sourdough bread recipe for bread machine
Room Temperature Storage
Let your loaf cool completely (at least 1 hour), then store it in a bread box or wrapped in a clean kitchen towel. This maintains the crust’s texture while preventing moisture loss. It stays fresh for 2-3 days at room temperature.
Refrigerator Storage
For longer freshness, slice the loaf and store in an airtight container with a paper towel to absorb excess moisture. It keeps for 5-7 days in the fridge, though the crust may soften slightly. I prefer this method for sandwich bread.
Freezer Storage
Slice before freezing for convenience. Wrap individual slices in plastic wrap, then place in a freezer bag with all air removed. It freezes well for up to 3 months without quality loss. ❄️
Reheating Methods
Revive room-temperature slices by toasting or warming in a 350°F oven for 5-10 minutes. For frozen slices, toast directly from frozen. Avoid microwaving, as it makes the bread rubbery.
Reviving Stale Bread
Sprinkle stale slices with water, then bake at 375°F for 5-8 minutes wrapped in foil. The steam rehydrates the crumb beautifully. I’ve saved many a forgotten loaf this way. 🔥
Best Storage Containers
I recommend OXO’s airtight bread keeper for countertop storage or Pyrex glass containers for the fridge. Avoid plastic bags, as they trap moisture and create a soggy crust.
Frequently Asked Questions
Can I use all-purpose flour instead of bread flour?
Yes, but the texture will be less chewy. Bread flour’s higher protein content creates better structure. If substituting, add 1 extra tbsp Vital Wheat Gluten to compensate.
Why did my loaf collapse after baking?
This usually means underproofing or too much starter. Ensure your starter floats in water before using, and don’t skip the 1-hour cooling time—it prevents structural collapse.
How do I adjust for a smaller bread machine?
Scale ingredients proportionally (e.g., halve for a 1-lb loaf). Keep the hydration ratio the same, and reduce baking time by 10-15% to avoid over-browning.
Can I add mix-ins like nuts or seeds?
Add up to 1/2 cup of nuts, seeds, or dried fruit during the last 5 minutes of kneading. Avoid adding too early—they can interfere with gluten development.
Nutrition Facts

- BBQ Sausage Recipe Oven: Smoky Depth Without the Grill - September 28, 2026
- BBQ Chicken Bowl Recipe Rice: Smoky Sweetness Over Fluffy Grains - September 28, 2026
- Beef Cutlet Recipe Ideas: Crispy Breaded Patties With Bold Seasonings - September 28, 2026