
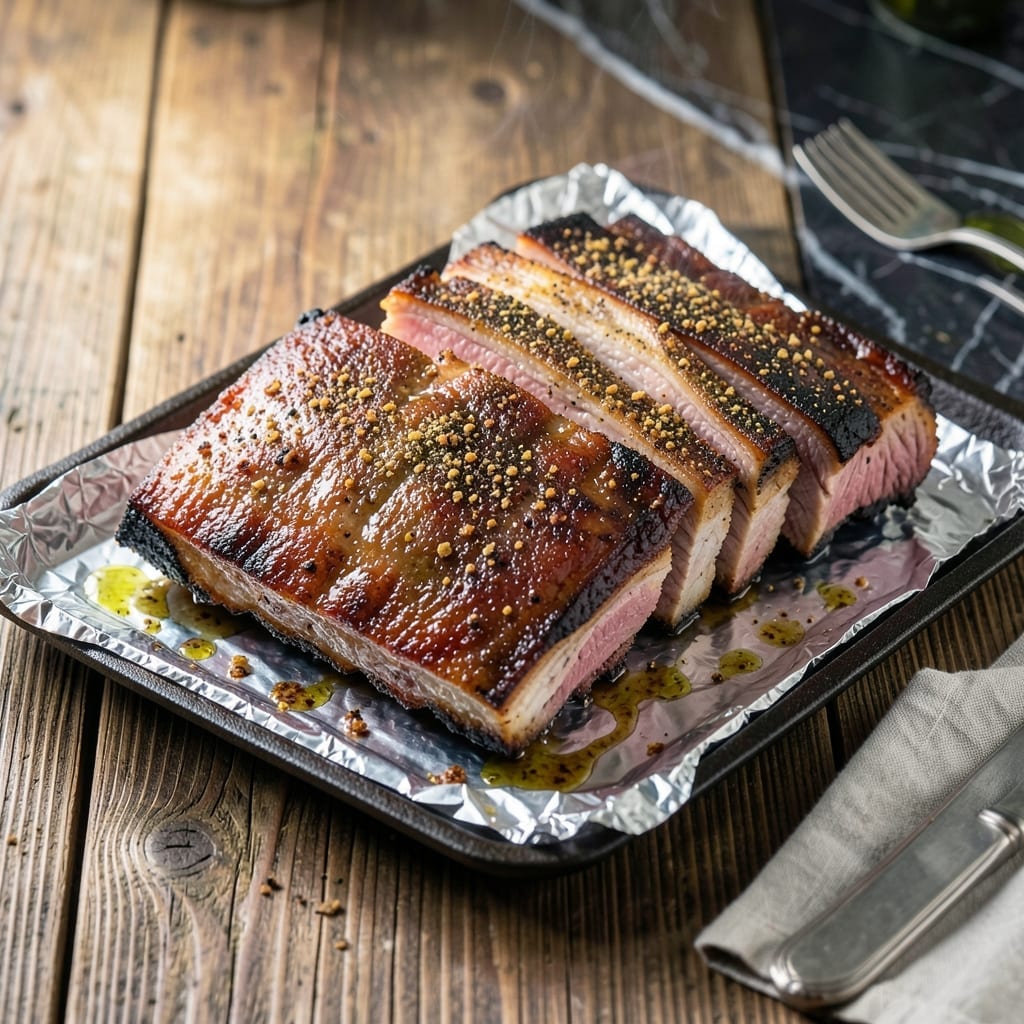
Achieving fall-off-the-bone ribs in the oven is absolutely possible with the right technique and patience. This method delivers results that rival any smoker, without the specialized equipment or outdoor setup.
The key lies in a slow, low-temperature cook followed by a final caramelization step. A well-balanced dry rub and proper preparation of the ribs create layers of flavor that develop beautifully during the cooking process.
What emerges from your oven will be tender, juicy ribs with a sticky, flavorful crust that pulls cleanly from the bone. The meat will be infused with smoky-sweet notes from the rub and cooking process.
Pair these with classic sides like coleslaw and cornbread for a complete meal. Here’s how to make them at home.
Ingredients for St Louis Rib Oven
A few pantry staples and quality ribs are all you need for this oven-baked masterpiece.
| Ingredient | Amount | Notes |
|---|---|---|
| St Louis Style Pork Ribs 🥩 | 2 ½ lb | Membrane removed, trimmed of excess fat |
| Brown Sugar 🍚 | ½ cup | Light or dark, packed |
| Smoked Paprika 🌶️ | 2 tbsp | For deep smoky flavor |
| Garlic Powder 🧄 | 1 tbsp | Not garlic salt |
| Onion Powder 🧅 | 1 tbsp | Fresh ground preferred |
| Ground Black Pepper 🌶️ | 1 tbsp | Freshly ground for best results |
| Kosher Salt 🧂 | 1 ½ tbsp | Diamond Crystal preferred |
| Chili Powder 🌶️ | 1 tbsp | Mild or hot variety |
| Ground Cumin 🌿 | 1 tsp | Toasted for deeper flavor |
| Cayenne Pepper 🔥 | ½ tsp | Adjust for heat preference |
| Apple Cider Vinegar 🍏 | ¼ cup | For tangy balance |
| Barbecue Sauce 🍯 | 1 ½ cups | Quality store-bought or homemade |
| Olive Oil 🫒 | 2 tbsp | For moistening dry rub |
The ribs are everything here. St Louis style (flat, rectangular cut) gives the most even cooking and that coveted fall-off-the-bone texture. Look for racks with good marbling at Costco or Whole Foods—avoid anything with excessive fat caps. The membrane removal is non-negotiable (a butter knife and paper towel make it easy). For the dry rub, Penzeys spices are worth the splurge if you’re serious about flavor.
No smoked paprika? Regular paprika plus a pinch of liquid smoke works in a pinch. Swap brown sugar for white in a 1:1 ratio, but you’ll lose some molasses depth. The barbecue sauce can be any variety—Sweet Baby Ray’s for classic sweetness, Stubb’s for more vinegar tang. Apple cider vinegar missing? White vinegar at half the amount does the trick.
Dry rub keeps in an airtight container for 3 months. Ribs can be prepped a day ahead—just keep them uncovered in the fridge overnight for the rub to penetrate. Cooked ribs hold beautifully for 2-3 hours in a warm oven before serving.
Why You’ll Love This Recipe
- Hands-Off Cooking: I just season, wrap in foil, and let the oven do the work—no babysitting required.
- Sweet & Smoky Magic: That brown sugar caramelizes with the smoked paprika for a crust I could eat by itself.
- Crowd-Pleasing Star: Honestly, these ribs disappear faster than any other dish at our gatherings.
- Budget-Friendly Feast: St. Louis ribs are cheaper than baby backs, and one rack stretches to feed four with leftovers.
Step-by-Step Instructions for St Louis Ribs in the Oven
This method delivers competition-worthy results using standard kitchen equipment and proper technique.
Step 1: Prepare and Season the Ribs
Begin by patting the 2.5 lb St Louis Style Pork Ribs completely dry with paper towels. This critical step ensures the dry rub adheres properly and promotes even browning during cooking.
In a medium bowl, combine the 0.5 cup Brown Sugar, 2 tbsp Smoked Paprika, 1 tbsp Garlic Powder, 1 tbsp Onion Powder, 1 tbsp Ground Black Pepper, 1.5 tbsp Kosher Salt, 1 tbsp Chili Powder, 1 tsp Ground Cumin, and 0.5 tsp Cayenne Pepper. Drizzle in the 2 tbsp Olive Oil and mix until the rub resembles wet sand with no oil pooling at the bottom.
Rub this mixture over every surface of the ribs, pressing firmly so it creates a thick, even crust. The ribs should appear heavily coated—this isn’t the time for restraint. Let them sit at room temperature for 30 minutes while your oven preheats.
Step 2: Slow-Roast the Ribs for Tenderness
Preheat your oven to 275°F. Place the seasoned ribs meat-side down on a rimmed baking sheet lined with aluminum foil. Pour the 0.25 cup Apple Cider Vinegar into the bottom of the pan—this creates steam that keeps the ribs moist during the initial cooking phase.
Cover the pan tightly with another sheet of foil, crimping the edges to seal in the moisture. Roast for 2.5 hours, then carefully remove the top foil and flip the ribs meat-side up. Return to the oven uncovered for an additional 30 minutes to allow the surface to begin caramelizing.
Step 3: Glaze and Finish Under the Broiler
Increase the oven temperature to 375°F. Brush the ribs generously with about ½ cup of the 1.5 cups Barbecue Sauce, ensuring complete coverage. Return to the oven and bake uncovered for 15 minutes, allowing the sauce to begin setting.
Switch the oven to broil on high. Move the ribs to the upper third of the oven and broil for 3-5 minutes, watching constantly, until the barbecue sauce develops a glossy, slightly charred finish and the edges of the ribs begin to caramelize. This final step creates that signature sticky, smoky exterior.
Step 4: Rest and Serve
Transfer the ribs to a cutting board and brush with the remaining 1 cup Barbecue Sauce. Tent loosely with foil and let rest for 10 minutes—this allows the juices to redistribute throughout the meat, ensuring each bite is moist and flavorful rather than dry at the edges.
Cut between the bones to separate into individual ribs. The meat should pull away from the bone cleanly with minimal effort, revealing the fall-off-the-bone tenderness promised. Serve immediately with additional sauce on the side for those who prefer extra glaze.
Pro Tips For Making St Louis Rib Oven
- Preheat the Oven: Crank it to 275°F—low and slow is the only way to get those St. Louis ribs tender without drying them out. I learned this the hard way after pulling tough ribs out of a 350°F oven.
- Pat Ribs Dry: Blot the ribs with paper towels before seasoning so the brown sugar and spices actually stick. Sounds minor, but wet ribs just steam instead of caramelizing.
- Skip the Boiling: Resist the urge to parboil the ribs first—it washes away flavor and makes the meat mushy. The oven alone will do the work if you give it time.
- Rest Before Slicing: Let the ribs sit under foil for 10 minutes after baking. My grandmother swore by this, and she was right: it keeps the juices from running all over the cutting board.
Storing and Reheating This st louis rib oven
Refrigerator Storage
Let your ribs cool completely at room temperature for no more than 2 hours. Then wrap them tightly in aluminum foil or place in an airtight container. They’ll keep well in the fridge at 40°F or below for up to 4 days. The flavors actually deepen overnight. ❄️
Freezer Storage
For longer storage, wrap cooled ribs in plastic wrap first, then in heavy-duty foil or a freezer bag. Squeeze out all air to prevent freezer burn. They’ll maintain quality for 3 months at 0°F. Label with the date for easy tracking.
Oven Reheating
Preheat your oven to 300°F. Wrap ribs in foil with 2 tbsp apple juice or water to add moisture. Heat for 20-25 minutes until reaching 165°F internal temperature. This method preserves tenderness best. 🔥
Microwave Reheating
Place ribs on a microwave-safe dish, cover with a damp paper towel, and heat on 50% power for 2-3 minutes. Check and rotate, then continue in 30-second intervals until hot. Add a splash of barbecue sauce to refresh the glaze.
Nutrition Facts
Frequently Asked Questions
What’s the best temperature for oven ribs?
Start low at 275°F for 2.5 hours to tenderize, then finish at 375°F for caramelization. This ensures fall-off-the-bone results without drying out.
Can I use baby back ribs instead?
Yes, but adjust the time. Baby backs cook faster—reduce the 275°F phase to 2 hours. The method works the same, just monitor closely.
Why do I need to remove the membrane?
It prevents the rub from penetrating and can make the ribs tough. Use a butter knife and paper towel for an easy grip to pull it off cleanly.
How do I know when they’re done?
The meat should pull back from the bones by 0.5 inch and bend easily when lifted. A meat thermometer reading 195-203°F confirms tenderness.

- BBQ Sausage Recipe Oven: Smoky Depth Without the Grill - September 28, 2026
- BBQ Chicken Bowl Recipe Rice: Smoky Sweetness Over Fluffy Grains - September 28, 2026
- Beef Cutlet Recipe Ideas: Crispy Breaded Patties With Bold Seasonings - September 28, 2026