
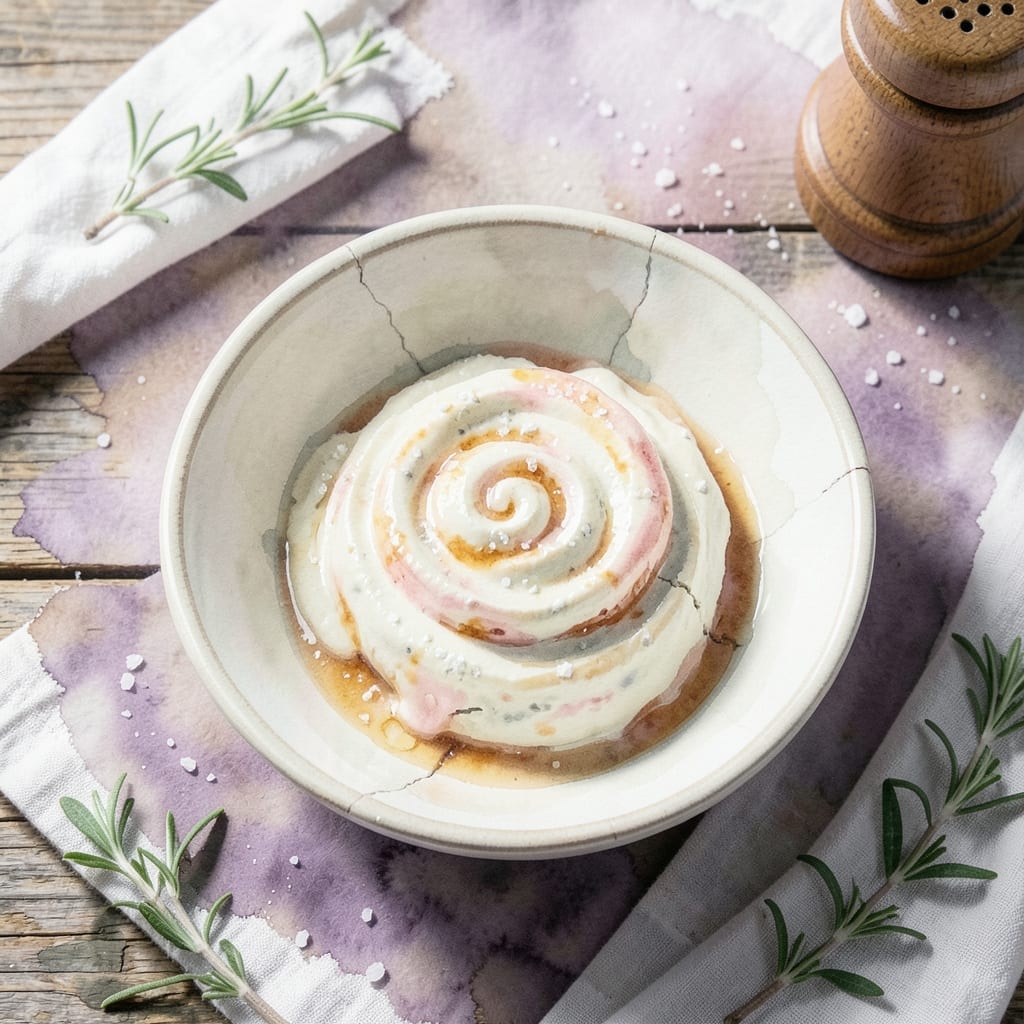
There’s something special about creating and sharing a friendship bread starter—it’s a tradition that connects people through the simple joy of baking. This recipe brings that warmth to your kitchen with a 10-day fermentation process that builds rich, tangy flavor.
With just a few basic ingredients and daily care, you’ll cultivate a living starter that transforms into sweet, tender bread. The process is straightforward, but the reward is a delicious, shareable treat that carries meaning beyond the plate.
The beauty of this starter lies in its simplicity and generosity. Once active, it can be divided and passed along, turning a batch of bread into a gesture of friendship that keeps giving.
Let the fermentation begin.
Ingredients for Starter Recipe for Friendship Bread
Basic pantry items plus a week of patience create this shareable starter.
| Ingredient | Amount | Notes |
|---|---|---|
| All-Purpose Flour 🌾 | 2 cups | Unbleached preferred for fermentation |
| Granulated Sugar 🍚 | ¼ cup | White or raw cane works |
| Warm Water 💧 | 2 cups | About 110°F, not hot |
| Active Dry Yeast 🍞 | ¼ oz | One packet, proofed first |
| Milk 🥛 | ½ cup | Whole milk for richness |
| Salt 🧂 | 1 tsp | Fine sea salt preferred |
| Vanilla Extract 🌿 | 1 tsp | Pure extract for best flavor |
| Cinnamon 🌶️ | 1 tsp | Ground for even distribution |
| Nutmeg 🌰 | ¼ tsp | Freshly grated if possible |
| Raisins 🍇 | ½ cup | Optional, for texture variation |
| Pecans 🌰 | ½ cup | Chopped, for added crunch |
The flour is your base, so King Arthur or Bob’s Red Mill give the best rise. Yeast matters most—check expiration dates, and store it in the freezer if you won’t use it within months. Warm water should feel like a baby’s bath (warm but not hot). I’ve had luck with both instant and active dry yeast, but proofing the active dry first ensures it’s alive before committing to the 10-day wait.
No yeast? Sourdough starter at one-fourth the amount can kickstart fermentation, but the flavor profile shifts. Out of whole milk? 2% works fine—just avoid skim. For a gluten-free version, swap in a 1:1 GF flour blend, but results vary. The raisins and pecans are optional but add texture; if using, soak the raisins in warm water first to plump them.
Feed your starter daily in a glass or ceramic container (plastic can absorb odors). It’ll keep in the fridge for 1 week between feedings once active, or freeze portions for 3 months. The tang gets stronger the longer it ferments.
Why You’ll Love This Recipe
- 5-Minute Mix: Honestly, it’s just flour, sugar, yeast, and warm water—no fancy steps, no stress.
- Warm, Sweet Magic: That first whiff of yeasty, slightly sweet dough? Pure comfort in a bowl.
- Endless Possibilities: I’ve used this starter for cinnamon rolls, pancakes, even pizza dough. Between us, it’s my kitchen’s secret weapon.
Step-by-Step Instructions for Starter for Friendship Bread
This is the method I use to create and maintain a healthy, active starter for sharing.
Step 1: Proof the Yeast
Begin by dissolving the 0.25 oz Active Dry Yeast in the 2 cups Warm Water (about 110°F). The water should feel warm to the touch, but not hot—too much heat will kill the yeast. Let it sit for 5-10 minutes until the mixture becomes foamy and bubbly.
This step is critical. If the yeast doesn’t activate (you won’t see bubbles or foam), your starter won’t rise. In that case, start over with fresh yeast and check your water temperature. I always use a thermometer to be sure.
Step 2: Mix the Initial Starter
In a large glass or ceramic bowl, combine the proofed yeast mixture with the 2 cups All-Purpose Flour, 0.25 cup Granulated Sugar, and 0.5 cup Milk. Stir until smooth—there should be no dry spots, but it’s okay if the batter looks a little thick at first.
The sugar feeds the yeast, while the milk adds richness and helps with fermentation. I prefer whole milk for this, but any milk will work in a pinch. The mixture will loosen slightly as it sits.
Step 3: Incorporate Flavor and Texture
Add the 1 tsp Salt, 1 tsp Vanilla Extract, 1 tsp Cinnamon, and 0.25 tsp Nutmeg to the bowl. These ingredients deepen the flavor of your starter, making the final bread more aromatic and complex.
Next, fold in the 0.5 cup Raisins and 0.5 cup Pecans (chopped). These add texture and natural sweetness. If you’re not a fan of raisins or nuts, you can leave them out, but I love the extra dimension they bring. Stir everything together until evenly distributed.
Step 4: Ferment and Feed
Cover the bowl loosely with a clean kitchen towel or plastic wrap and let it sit at room temperature for 24 hours. You’ll start to see bubbles forming within the first few hours, and the mixture will rise slightly. This is the fermentation process kicking in.
After 24 hours, stir the starter down and let it ferment for another 24-48 hours, stirring every 12 hours. The starter is ready to use or share once it’s bubbly, slightly tangy, and has a good rise when stirred. If it develops a grayish liquid on top (called “hooch”), just stir it back in—it’s a natural byproduct of fermentation.
Step 5: Maintain and Share
To keep your starter alive, you’ll need to feed it every 5-7 days. Remove 1 cup of starter (to use or share) and replace it with 1 cup All-Purpose Flour, 1/3 cup Granulated Sugar, and 1/3 cup Milk. Stir well, cover, and let it ferment at room temperature.
This starter can be stored in the refrigerator if you’re not using it daily. Just remember to feed it weekly and bring it to room temperature before using it in a recipe. The beauty of friendship bread starter is in its versatility—you can use it to make loaves, muffins, or even pancakes, and sharing it keeps the tradition alive.
Pro Tips For Making Starter Recipe For Friendship Bread
- Test Your Yeast: Always proof your active dry yeast in the warm water with a pinch of sugar first—I learned this the hard way after wasting a batch when my yeast was dead.
- Use Whole Milk: Skip the skim; whole milk adds richness that makes a real difference in the starter’s texture and flavor.
- Avoid Metal Utensils: Stir your starter with a wooden or plastic spoon—metal can react with the acidity and mess with the fermentation.
- Feed It Daily: If you want a lively starter, commit to feeding it equal parts flour, sugar, and milk every 24 hours—no shortcuts here.
Essential Equipment for Perfect Results
Mixing Bowls
A large glass or ceramic bowl is essential for the initial fermentation. I recommend Pyrex or Stone Lain for durability and easy cleaning. Avoid metal bowls, as they can react with the acidic starter. A 2-quart capacity works perfectly for this recipe. 🔥
Measuring Tools
Accurate measurements matter for consistent results. Use dry measuring cups for flour and sugar, and liquid measuring cups for water and milk. I swear by OXO Good Grips for their ergonomic design and clear markings.
Thermometer
Water temperature is critical for yeast activation. A digital instant-read thermometer like ThermoWorks ensures your water is exactly 110°F. Too hot kills the yeast, too cold slows activation. This small tool makes a big difference.
Covering Options
During fermentation, cover your bowl loosely with a clean kitchen towel or plastic wrap. I prefer towels for breathability, which helps prevent mold. Secure with a rubber band to keep pests out while allowing airflow.
Storage Containers
Once active, transfer your starter to an airtight container for fridge storage. Mason jars or silicone storage containers work well. Leave 1 inch of headspace to accommodate expansion during fermentation.
Utensils
A wooden spoon or silicone spatula is ideal for stirring. Wood won’t scratch your bowls, and silicone is heat-resistant. I keep a dedicated spoon just for my starter to avoid cross-contamination.
Nutrition Facts
Frequently Asked Questions
How long does the starter need to ferment?
The initial mix ferments for 24 hours at room temperature, then another 24-48 hours with stirring every 12 hours. The starter is ready when bubbly and tangy.
Can I use a metal bowl for mixing?
Avoid metal bowls as they can react with the acidic starter. Use glass or ceramic instead for safe fermentation and easy cleaning.
What if my starter develops liquid on top?
That’s “hooch,” a natural byproduct. Just stir it back in—it adds extra tang and won’t harm the starter.
How often should I feed the starter?
Feed it every 5-7 days if stored in the fridge. At room temperature, daily feeding keeps it active and healthy.

- BBQ Sausage Recipe Oven: Smoky Depth Without the Grill - September 28, 2026
- BBQ Chicken Bowl Recipe Rice: Smoky Sweetness Over Fluffy Grains - September 28, 2026
- Beef Cutlet Recipe Ideas: Crispy Breaded Patties With Bold Seasonings - September 28, 2026