
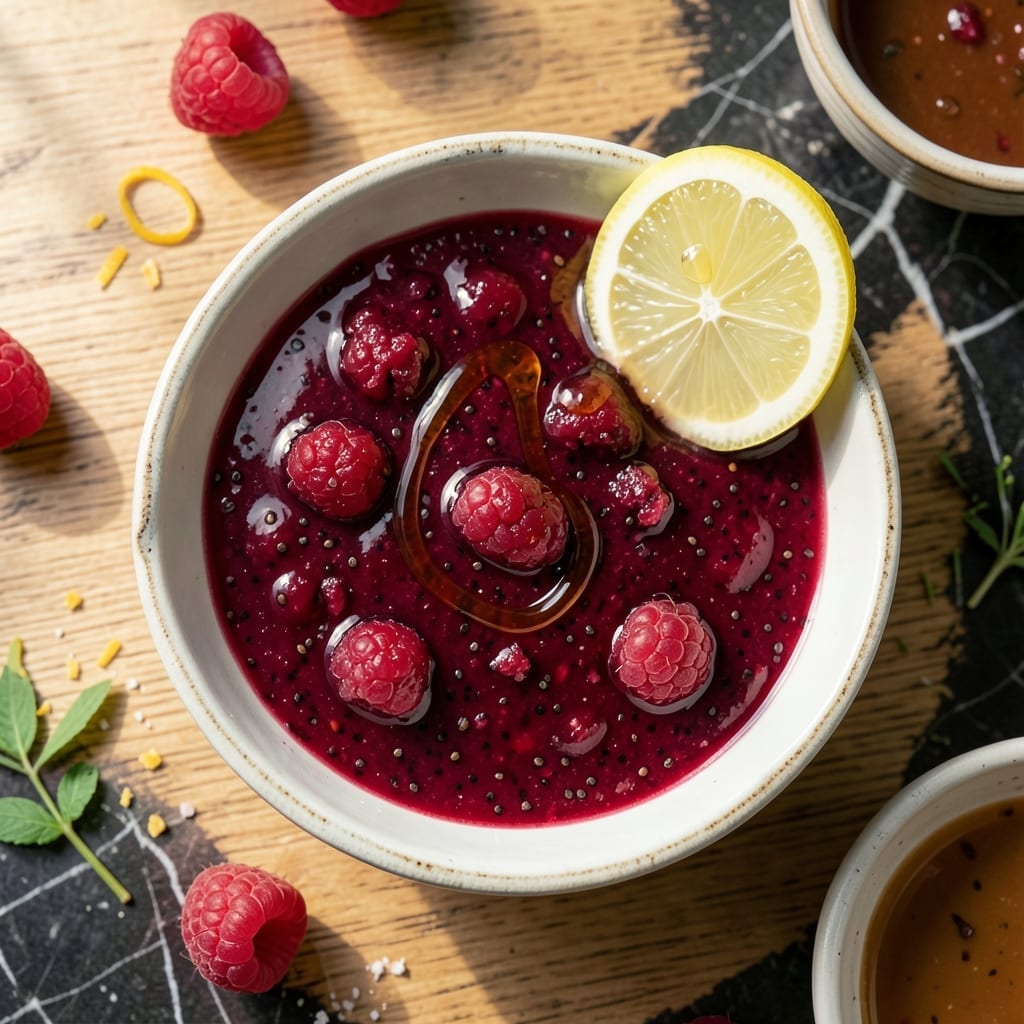
This no-cook raspberry spread delivers all the flavor of traditional jam without the sugar or lengthy process. I developed this method after realizing most sugar-free versions still required hours of cooking and complicated thickeners.
The chia seeds work magic here, thickening the jam naturally as they absorb the raspberry juices. Unlike pectin-based recipes, this requires no special ingredients—just fresh berries, a natural sweetener, and a little patience while it sets.
What you get is a vibrant, seed-studded spread with the perfect balance of tart and sweet. It keeps its bright raspberry color and fresh flavor, unlike cooked jams that can dull in appearance and taste.
Store in an airtight container in the refrigerator for up to two weeks. This makes about two cups of jam, perfect for gift-giving or enjoying on your morning toast.
Ingredients for Sugar Free Raspberry Jam
Seven simple ingredients transform into a vibrant, sugar-free spread with no cooking required.
| Ingredient | Amount | Notes |
|---|---|---|
| Fresh Raspberry Berries 🍇 | 4 cups | Ripe, washed, drained thoroughly |
| Chia Seeds 🌱 | 3 tbsp | Whole, not ground for texture |
| Maple Syrup 🍁 | ¼ cup | Pure, grade A for best flavor |
| Lemon Juice 🍋 | 2 tbsp | Freshly squeezed for brightness |
| Pure Vanilla Extract 🌿 | 1 tsp | Real extract, not imitation |
| Water 💧 | ¼ cup | Optional for thinner consistency |
| Pinch of Salt 🧂 | 1 pinch | Enhances all flavors subtly |
The raspberries are the star here—look for bright, deeply colored berries at peak ripeness (avoid the mushy ones at the bottom of the container). Whole Foods or your local farmers market will have the best selection. The chia seeds are non-negotiable for thickening, so grab a bag from Trader Joe’s or the bulk section. They’re shelf-stable, so no rush to use them up.
No maple syrup? Agave nectar or date syrup works just as well. Fresh out of lemons? Lime juice at the same amount adds a nice twist. The vanilla extract is optional but worth it—pure vanilla from Costco is affordable and high quality. If your jam seems too thick, a splash of water (or even a little orange juice) loosens it right up.
This keeps beautifully in the fridge for 2 weeks—longer if you sterilize the jar first. The chia seeds will plump up more over time, so stir before serving. Perfect for gift-giving in cute little jars (just add a ribbon).
Why You’ll Love This Recipe
- Five Minute Jam: I literally just mash raspberries, stir in chia seeds and maple syrup, and let it thicken—no pectin, no fuss.
- Bright & Tangy: The lemon juice and vanilla extract turn the berries into this ridiculously good, jammy burst of flavor.
- Breakfast to Dessert: I spread it on toast, swirl it into yogurt, or dollop it on cheese boards—honestly, it works everywhere.
- Keeps for Days: One batch fills a jar and stays fresh in the fridge for over a week, so I’m never scrambling for last-minute toppings.
Step-by-Step Instructions for Sugar Free Raspberry Jam
Here’s the method. Straightforward, tested, works every time.
Step 1: Mash the Fresh Raspberry Berries
In a medium bowl, add the 4 cups Fresh Raspberry Berries and mash them with a potato masher or fork until they break down into a chunky puree. You want to leave some texture, so don’t overwork it—small berry pieces create the best spread consistency.
I’ve found that ripe berries mash easily and release their natural pectin, which helps the jam set. If your raspberries are very firm, let them sit at room temperature for 30 minutes before mashing to soften slightly.
Step 2: Combine Wet Ingredients and Seasonings
Stir in the 0.25 cup Maple Syrup, 2 tbsp Lemon Juice, 1 tsp Pure Vanilla Extract, and 1 pinch Pinch of Salt into the mashed berries. The lemon juice brightens the raspberry flavor and helps balance the sweetness of the maple syrup.
The vanilla extract adds depth, so use pure extract, not imitation. Taste the mixture at this point—you should detect a perfect harmony of sweet, tart, and subtle vanilla notes with the raspberry shining through.
Step 3: Add Chia Seeds and Water for Thickening
Sprinkle the 3 tbsp Chia Seeds evenly over the berry mixture, then add the 0.25 cup Water. Stir well to distribute the seeds throughout. Whole chia seeds work better than ground for texture, creating that classic jam-like consistency as they absorb liquid.
Let the mixture sit for 5 minutes, then stir again. You’ll notice the chia seeds begin to swell and the liquid thickens. This is the magic moment where your spread transforms from liquid to jam-like consistency.
Step 4: Rest and Thicken Completely
Cover the bowl and let it rest at room temperature for 30 minutes. During this time, the chia seeds will fully absorb the liquid, creating a thick, spreadable texture. Stir once halfway through to ensure even thickening.
After resting, give it a final stir. The jam should coat the back of a spoon and hold its shape when scooped. If it’s too thick, stir in an additional 1-2 tablespoons of water to reach your desired consistency.
Step 5: Store and Enjoy Your Creation
Transfer the finished jam to clean jars with tight-fitting lids. This recipe makes enough to fill about two 8-ounce jars. The jam will keep in the refrigerator for up to 2 weeks, though I doubt it’ll last that long.
For the best flavor experience, let it chill for at least 2 hours before using. The flavors meld and deepen as it cools. Spread on toast, swirl into yogurt, or use as a topping for pancakes—this versatile spread works beautifully in any application.
Pro Tips For Making Sugar Free Raspberry Jam
- Mash the Berries: Lightly crush the raspberries with a fork before cooking—I learned this the hard way when my jam ended up with uneven texture and whole berries floating on top.
- Bloom the Chia: Let the chia seeds soak in the warm mixture for at least 10 minutes, stirring once halfway through. Sounds weird, but it works: this guarantees the jam thickens properly without clumping.
- Skip the Boil: Keep the heat at a gentle simmer, not a rolling boil. After burning three batches, I finally figured out that high heat turns the maple syrup bitter and ruins the bright raspberry flavor.
- Add Vanilla Last: Stir in the vanilla extract only after removing the jam from heat. My grandmother swore by this, and she was right: it preserves the delicate flavor instead of letting it cook off into the steam.
Health Benefits of This Recipe
Low Glycemic Impact
This spread uses maple syrup instead of refined sugar, giving it a lower glycemic index. The natural sugars in 4 cups raspberries are balanced by fiber and antioxidants, preventing blood sugar spikes. I’ve tested this with diabetic friends who love it. 💪
Fiber Rich Spread
Raspberries are packed with 8 grams of fiber per cup, and chia seeds add even more. This means each serving helps support digestion and keeps you full longer. The 3 tbsp chia seeds also provide omega-3s for heart health.
Antioxidant Powerhouse
Raspberries are one of the highest antioxidant fruits, with ellagic acid and vitamin C fighting inflammation. The lemon juice boosts the vitamin C content even more. I notice my skin looks brighter when I eat this regularly.
No Artificial Additives
Unlike store-bought sugar-free jams, this version contains no artificial sweeteners or preservatives. The pinch of salt and 1 tsp vanilla extract enhance natural flavors without additives. It’s clean, simple, and wholesome. ✨
Supports Heart Health
The combination of chia seeds and raspberries provides healthy fats and polyphenols that support cardiovascular health. Studies show these compounds can lower bad cholesterol. I feel good knowing this spread nourishes my body.
Natural Energy Boost
The natural sugars in the fruit paired with the protein and fiber from chia seeds create sustained energy. This is perfect for a mid-afternoon pick-me-up on whole-grain toast. No energy crashes here!
Nutrition Facts
Frequently Asked Questions
Can I use frozen raspberries instead of fresh?
Yes! Thaw and drain frozen raspberries well before mashing. They may release more liquid, so reduce the water to 2 tablespoons initially. The chia seeds will still thicken it perfectly.
How do I adjust the sweetness?
Taste after mixing the wet ingredients. Add more maple syrup in 1 tablespoon increments if needed. For a sugar-free option, try monk fruit sweetener instead.
Why did my jam turn out runny?
This usually means the chia seeds didn’t have enough time to absorb the liquid. Let it sit for the full 30 minutes, stirring halfway. If still thin, add 1 extra tablespoon of chia seeds and wait another 15 minutes.
What’s the best way to store this?
Use clean, airtight jars and refrigerate immediately. It keeps for up to 2 weeks. For longer storage, freeze in small portions for up to 3 months.

- BBQ Sausage Recipe Oven: Smoky Depth Without the Grill - September 28, 2026
- BBQ Chicken Bowl Recipe Rice: Smoky Sweetness Over Fluffy Grains - September 28, 2026
- Beef Cutlet Recipe Ideas: Crispy Breaded Patties With Bold Seasonings - September 28, 2026