
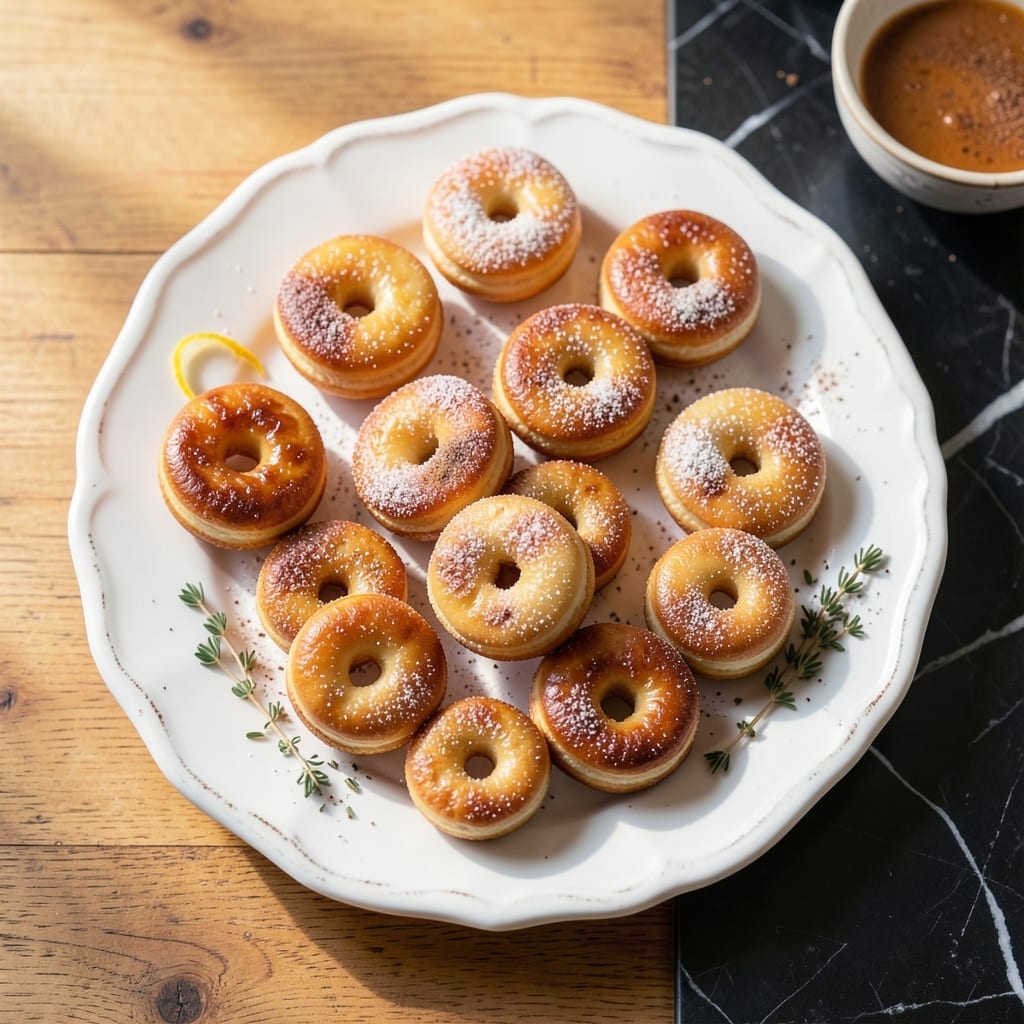
Making donuts at home has never been simpler with this foolproof method for your Sunbeam donut maker. The appliance does most of the work, turning out golden treats with minimal effort on your part.
This approach delivers perfectly cooked donuts every time, with that classic cake-like texture you expect. The process is streamlined—mix the batter, fill the wells, and let the maker handle the rest.
You’ll get a batch of warm, fresh donuts ready for glazing or dusting with powdered sugar. The results rival any bakery, with a fraction of the hassle and none of the deep-frying mess.
Ideal for weekend breakfasts or impromptu treats, this method ensures consistent, delicious results with every use.
Ingredients for Sunbeam Donut Maker
Pantry staples plus a few fridge basics. Nothing complicated, just good donut-making stuff.
| Ingredient | Amount | Notes |
|---|---|---|
| All-Purpose Flour 🌾 | 2 cups | Sifted for lighter texture |
| Granulated Sugar 🍚 | ½ cup | Fine white sugar preferred |
| Baking Powder 💨 | 2 tsp | Ensures proper rise |
| Salt 🧂 | ½ tsp | Kosher or table salt |
| Ground Nutmeg 🌰 | ¼ tsp | Freshly ground if possible |
| Large Egg 🥚 | 1 whole | Room temperature for best results |
| Whole Milk 🥛 | ¾ cup | 2% or whole milk works |
| Unsalted Butter 🧈 | 2 tbsp | Melted and cooled slightly |
| Vanilla Extract 🌿 | 1 tsp | Pure extract recommended |
| Vegetable Oil 🫒 | 1 tbsp | For greasing the maker |
| Powdered Sugar ❄️ | ½ cup | For dusting finished donuts |
| Ground Cinnamon 🌿 | 1 tsp | Optional for cinnamon sugar topping |
The flour is the foundation here—King Arthur or Gold Medal give consistent results. I’ve used both with great success in my Sunbeam maker. Baking powder is key for that light, cakey texture, so make sure it’s fresh (check the expiration date). The nutmeg might seem optional, but it adds that classic donut shop warmth. Whole milk gives richer flavor than skim.
No buttermilk? Whole milk with 1 tsp lemon juice works as a substitute. Out of nutmeg? Allspice at half the amount gets you close. The batter should be thick but pourable—if it’s too stiff, add a splash more milk. Powdered sugar can be swapped for a simple glaze (mix with milk and vanilla) if you prefer a glossy finish.
Batter can be mixed the night before—just give it a quick stir before using. Cooked donuts taste best fresh but keep 2-3 days in an airtight container. Freeze extras for up to 1 month (reheat in microwave for 15 seconds).
Why You’ll Love This Recipe
- No-Fuss Morning: I mix the dry ingredients in one bowl, pour into the donut maker, and boom—fresh donuts in minutes.
- Warm Spice Magic: That hint of nutmeg in the batter makes them taste like a cozy bakery treat.
- Crowd-Pleasing Batch: I make a double batch for weekend brunches, and they disappear faster than I can glaze them.
- Budget Breakfast Win: Honestly, these cost pennies compared to store-bought, and my family begs for them.
Step-by-Step Instructions for Sunbeam Donut Maker Donuts
Here’s how I make perfect homemade donuts with minimal effort and maximum flavor.
Step 1: Mix the Dry Ingredients
In a large bowl, whisk together the 2 cups All-Purpose Flour, 0.5 cup Granulated Sugar, 2 tsp Baking Powder, 0.5 tsp Salt, and 0.25 tsp Ground Nutmeg until fully combined. I always sift my flour first for a lighter texture, but whisking works too if you’re short on time.
This mixture creates the base for fluffy, cake-like donuts. The nutmeg adds a subtle warmth that pairs beautifully with the sweetness. Make sure there are no lumps of baking powder visible—this ensures even rising during cooking.
Step 2: Combine Wet Ingredients and Form the Batter
In a separate bowl, beat the 1 whole Large Egg lightly, then whisk in the 0.75 cup Whole Milk, 2 tbsp Unsalted Butter (melted and cooled), and 1 tsp Vanilla Extract. The butter should be warm but not hot to avoid cooking the egg.
Pour the wet mixture into the dry ingredients and stir just until combined. The batter will be thick but pourable. Don’t overmix—this keeps the donuts tender. If it seems too thick, add a splash more milk, but I find the original ratio works perfectly.
Step 3: Preheat and Grease the Donut Maker
Plug in your Sunbeam donut maker and let it preheat for 5 minutes. The indicator light will tell you when it’s ready. While it heats, use a pastry brush to lightly coat the wells with 1 tbsp Vegetable Oil. This prevents sticking and helps the donuts release cleanly.
I use a paper towel to wipe away any excess oil—too much can make the donuts greasy. The non-stick coating on these machines is excellent, but a light layer of oil still makes cleanup easier.
Step 4: Cook the Donuts to Golden Perfection
Fill each well about ¾ full with batter. The donuts will rise as they cook, so don’t overfill. Close the lid and cook for 3-4 minutes until the donuts are golden brown and a toothpick inserted comes out clean.
Resist the urge to open the lid early—this can cause the donuts to deflate. The machine does all the work here, and the results are consistently perfect. Transfer the cooked donuts to a wire rack to cool slightly.
Step 5: Add the Finishing Touches
While the donuts are still warm, dust them with 0.5 cup Powdered Sugar using a fine-mesh sieve. For a cinnamon sugar variation, mix the powdered sugar with 1 tsp Ground Cinnamon before dusting.
The sugar melts slightly from the warmth of the donuts, creating a light glaze. These are best served fresh, but they’ll keep in an airtight container for a day if you manage to have leftovers. The aroma alone is worth the minimal effort.
Pro Tips For Making Sunbeam Donut Maker
- Preheat the Maker: Always preheat your Sunbeam donut maker for 5-7 minutes—skipping this leaves you with pale, undercooked centers even if the outside looks done.
- Chill the Batter: After mixing, let the batter rest in the fridge for 15 minutes; this makes it easier to pipe and results in a slightly crispier edge.
- Skip Overmixing: Stir the wet and dry ingredients just until combined—overmixing develops the gluten and you’ll end up with tough, chewy donuts instead of tender ones.
- Use Fresh Baking Powder: I learned this the hard way—old baking powder won’t give you the lift you need, so check the expiration date or test it in hot water first to guarantee a good rise.
Storing and Reheating sunbeam donut maker
Room Temperature Storage
Let your donuts cool completely before storing. Place them in an airtight container with parchment paper between layers to prevent sticking. They’ll stay fresh for 2-3 days at room temperature.
Refrigerator Storage
For longer freshness, store cooled donuts in the fridge in a sealed container. They’ll keep for up to 1 week, though they’re best enjoyed within 3-4 days. The texture changes slightly when chilled.
I recommend bringing them to room temperature before serving for the best taste. 💡
Freezer Method
Freeze cooled donuts individually on a baking sheet first, then transfer to a freezer bag. They’ll keep for 1 month without losing flavor. This prevents them from sticking together during storage.
Microwave Reheating
Place a single donut on a microwave-safe plate and heat for 10-15 seconds. This restores warmth without making them soggy. For multiple donuts, reheat in 5-second intervals.
Oven Reheating
For crispier results, preheat your oven to 300°F and warm donuts for 5-8 minutes. This method works especially well for glazed donuts, reviving that fresh-baked texture. ✨
Nutrition Facts
Frequently Asked Questions
Do I need to preheat the maker?
Yes, always preheat for 5 minutes first. This ensures even cooking and helps the donuts develop their golden crust properly. The indicator light will confirm it’s ready.
Can I use a different type of milk?
2% milk or even a non-dairy alternative like almond milk work in a pinch. Whole milk gives the richest flavor, but the texture remains consistent with substitutes.
How do I get the donuts out without breaking them?
Let them cool in the maker for 1-2 minutes after cooking. Use a plastic spatula to gently lift them out. Never force them—they’ll release easily when ready.
Can I make gluten-free donuts in this?
Yes, swap the all-purpose flour for a 1:1 gluten-free baking blend. The texture may be slightly denser, but they’ll still cook perfectly in 3-4 minutes.

- BBQ Sausage Recipe Oven: Smoky Depth Without the Grill - September 28, 2026
- BBQ Chicken Bowl Recipe Rice: Smoky Sweetness Over Fluffy Grains - September 28, 2026
- Beef Cutlet Recipe Ideas: Crispy Breaded Patties With Bold Seasonings - September 28, 2026