
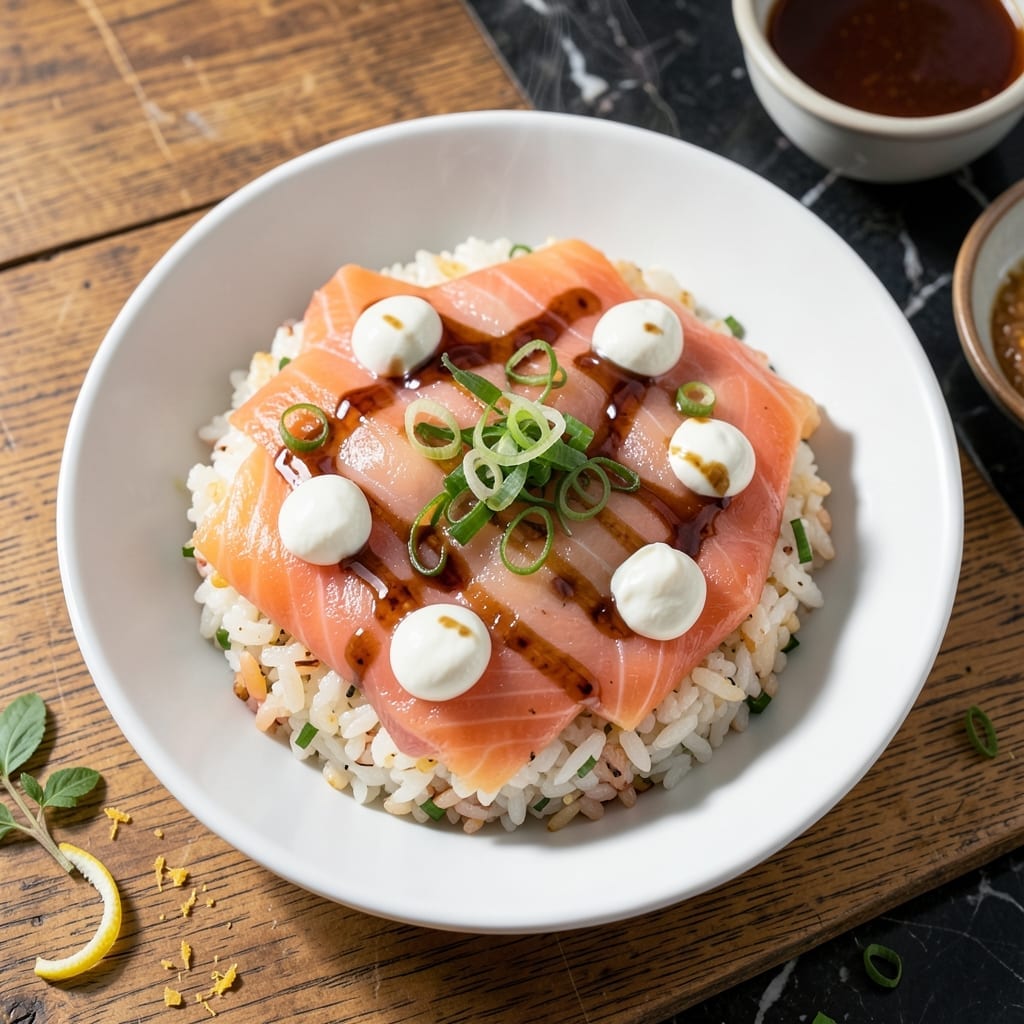
This sushi bake transforms traditional flavors into a golden-crusted casserole that’s both impressive and approachable.
Layers of seasoned rice, fresh salmon, and creamy toppings bake together for a dish that’s as satisfying as it is beautiful.
Ingredients for Sushi Bake Recipe Salmon
Every ingredient builds those layered flavors and golden texture this dish promises.
| Ingredient | Amount | Notes |
|---|---|---|
| Sushi Rice 🍚 | 2 cups | Uncooked, short-grain preferred |
| Salmon Fillet 🐟 | 1 lb | Fresh, skinless, sushi-grade |
| Rice Vinegar 🍯 | ¼ cup | Seasoned variety preferred |
| Granulated Sugar 🧂 | 2 tbsp | For balancing rice seasoning |
| Salt 🧂 | 1 tsp | Divided for rice and salmon |
| Cream Cheese 🧀 | 8 oz | Softened, full-fat recommended |
| Mayonnaise 🥚 | ½ cup | Japanese Kewpie if available |
| Soy Sauce 🫒 | 2 tbsp | Low-sodium preferred for balance |
| Sriracha 🌶️ | 1 tbsp | Adjust to spice preference |
| Nori Sheets 🍱 | 2 sheets | Cut into thin strips for topping |
| Green Onions 🧅 | 4 whole | Thinly sliced for garnish |
| Cucumber 🥒 | ½ whole | Peeled, seeded, diced small |
| Avocado 🥑 | 1 whole | Ripe, pitted, diced |
| Sesame Seeds 🌿 | 1 tbsp | Toasted for topping |
| Furikake Seasoning 🌾 | 1 tbsp | Optional, for authentic flavor |
The salmon must be sushi-grade—Whole Foods or specialty seafood markets are your best bet. Look for vibrant color and no fishy odor. The rice needs to be short-grain for that sticky texture; Koshihikari or Nishiki brands are ideal. For the nori, Asian grocery stores often have better prices than mainstream supermarkets, and it stays fresh for months in a sealed container.
No sushi rice? Arborio or medium-grain works in a pinch but won’t cling as well. Swap salmon for tuna or yellowtail if preferred. Cream cheese can be light or neufchatel (softer texture), but full-fat gives the best richness. Sriracha too spicy? Substitute gochujang or reduce to 1 tsp. Fresh avocado is key—don’t use pre-cut versions as they brown too quickly.
Assemble and bake immediately for best texture. Leftovers keep in the fridge for 2-3 days—reheat gently to avoid drying. The rice mixture can be prepped 1 day ahead and stored separately. Freezing isn’t recommended as it alters the rice consistency and fish texture.
Why You’ll Love This Recipe
- One Pan Wonder: I just mix the rice with vinegar, sugar, and salt, top with salmon, and bake—no rolling required.
- Crave-Worthy Bite: That sweet-tangy rice with buttery salmon? Honestly, I could eat the whole tray myself.
- Weeknight Hero: Between us, this feeds my family on busy evenings without the takeout price.
- Leftovers Win: Tastes even better the next day—cold or reheated, the flavors just meld.
Step-by-Step Instructions for Sushi Bake Salmon
Master the layering technique and timing to achieve that coveted golden crust on top.
Step 1: Prepare and Season the Sushi Rice
Rinse the 2 cups Sushi Rice under cold water until the water runs clear, which removes excess starch and prevents gummy texture. I use a fine-mesh sieve for this and shake it gently to ensure thorough rinsing.
Combine the drained rice with 0.25 cup Rice Vinegar, 2 tbsp Granulated Sugar, and ½ tsp Salt in a rice cooker or pot. Cook according to package directions, then let it cool to room temperature. The rice should be sticky but not mushy—this texture is essential for holding the layers together.
Step 2: Create the Creamy Salmon Spread
In a mixing bowl, flake the 1 lb Salmon Fillet into small, even pieces. I prefer skinless, sushi-grade salmon for the cleanest texture and best flavor. Add the 8 oz Cream Cheese, 0.5 cup Mayonnaise, 2 tbsp Soy Sauce, 1 tbsp Sriracha, and the remaining ½ tsp Salt.
Fold everything together gently with a spatula until just combined—overmixing will break down the salmon too much. The spread should look creamy with visible flakes of salmon, not a smooth paste. Taste and adjust the spice level with more sriracha if needed, but remember the flavors will intensify slightly during baking.
Step 3: Layer and Build the Sushi Bake
Preheat your oven to 400°F. Spread the seasoned sushi rice evenly in a greased 8×8-inch baking dish, pressing down lightly to create a firm base. I use the back of a spoon to smooth the surface without compacting it too much.
Spread the salmon mixture evenly over the rice layer, ensuring full coverage. The top should be smooth but not perfectly flat—small peaks will brown beautifully. This layer thickness is key: too thin and it dries out, too thick and it won’t cook through properly.
Step 4: Bake to Golden Perfection
Bake for 18-22 minutes until the top develops a deep golden-brown crust and the edges begin to bubble slightly. I start checking at 15 minutes—every oven varies, and you want that perfect balance between a crispy top and creamy interior.
The bake is done when the center no longer jiggles when gently shaken and the crust has developed a slight resistance when pressed. If it’s browning too quickly, tent with foil for the remaining time. Remove from the oven and let it rest for 5 minutes before adding toppings.
Step 5: Add Toppings and Serve
While the sushi bake rests, prepare the toppings: thinly slice the 4 whole Green Onions, dice the 0.5 whole Cucumber and 1 whole Avocado, and cut the 2 sheets Nori Sheets into thin strips. Sprinkle these evenly over the top along with the 1 tbsp Sesame Seeds and 1 tbsp Furikake Seasoning for added texture and visual appeal.
Slice into squares and serve immediately while warm. The contrast between the creamy salmon layer, sticky rice, and crispy top should be evident in every bite. For best results, use a sharp knife dipped in hot water between cuts to ensure clean slices.
Pro Tips For Making Sushi Bake Recipe Salmon
- Pre-cook the rice: I learned this the hard way—par-cook your sushi rice for 10 minutes before baking, or it’ll turn out gummy and undercooked beneath the salmon.
- Pat salmon dry: Sounds weird, but it works: blot the fillet with paper towels before baking to get that nice crust instead of steamed fish.
- Don’t overmix vinegar: After burning three batches, I finally figured out that folding the rice vinegar mix gently—rather than stirring vigorously—keeps the grains intact.
- Use skin-on fillet: My grandmother swore by this, and she was right: the skin holds the salmon together when slicing and adds flavor to the bake.
Essential Equipment for This Recipe
Baking Dish Essentials
An 8×8-inch baking dish is ideal for even cooking and that perfect golden crust. I use my stoneware dish from Le Creuset—it distributes heat beautifully and looks gorgeous on the table. Avoid glass if possible, as it can cause uneven browning. 🔥
Rice Cooker Advantage
For the sushi rice, a rice cooker gives the most consistent results. My Zojirushi 3-cup model has a sushi rice setting that nails the texture every time. If you don’t have one, a heavy pot with a tight lid works too.
Mixing Tools
A silicon spatula is perfect for folding the salmon mixture—it scrapes the bowl clean and won’t scratch. I also keep a fine-mesh sieve handy for rinsing the rice thoroughly. These small tools make a big difference in texture.
Oven Thermometer
Don’t trust your oven’s built-in thermometer. I use a Taylor oven thermometer to verify the 400°F temperature. Many ovens run hot or cold, and precise heat is key for that golden crust.
Sharp Knife
A sharp chef’s knife (I use Wüsthof 8-inch) is crucial for clean slices. Dip it in hot water between cuts to prevent sticking. This ensures each serving looks as good as it tastes.
Topping Prep Tools
For the toppings, a mandoline slicer makes quick work of the cucumber and avocado. I also keep a small paring knife for the nori strips. Uniform slices make for a beautiful presentation.
Frequently Asked Questions
Can I use cooked salmon instead of raw?
Yes, but use 1.5 cups flaked cooked salmon and reduce baking time to 12-15 minutes. The texture will be slightly denser than with raw.
Why did my topping slide off?
This happens if the rice is too wet or not pressed firmly enough. Let rice cool completely before assembling, and press it down well in the dish.
How do I make it ahead?
Prepare rice and salmon mixture separately up to 1 day ahead. Assemble and bake just before serving for best texture.
Nutrition Facts

- BBQ Sausage Recipe Oven: Smoky Depth Without the Grill - September 28, 2026
- BBQ Chicken Bowl Recipe Rice: Smoky Sweetness Over Fluffy Grains - September 28, 2026
- Beef Cutlet Recipe Ideas: Crispy Breaded Patties With Bold Seasonings - September 28, 2026