
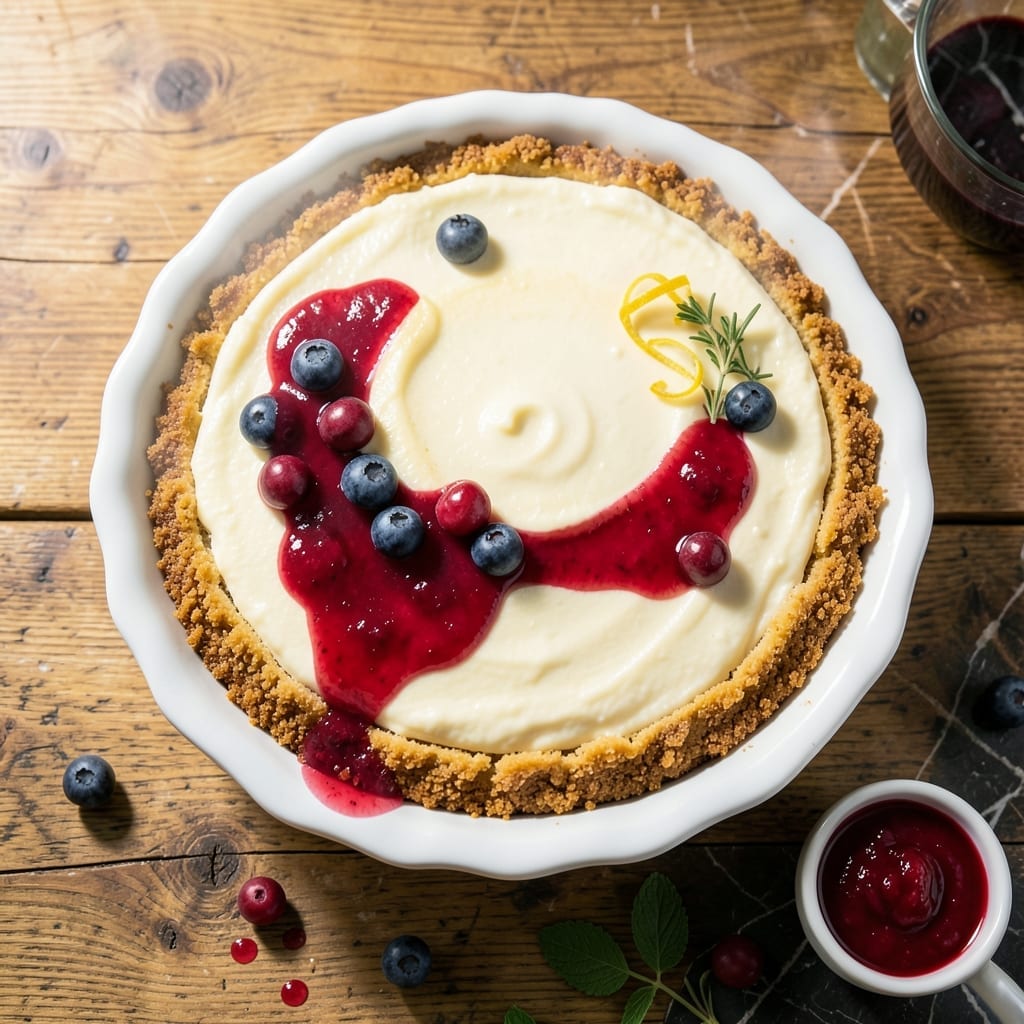
This cheesecake delivers the creamy texture and rich vanilla flavor that defines a perfect dessert. No shortcuts here—just a proven method for dense, velvety results every time.
I’ve refined this recipe to ensure a smooth, crack-free surface with that signature tangy sweetness. The secret lies in room-temperature ingredients and precise mixing to avoid lumps or air bubbles.
With a buttery graham cracker crust and a filling that bakes up dense yet silky, this is the kind of cheesecake that earns seconds. The vanilla shines through without overpowering.
Serve chilled for the best texture. This is dessert done right.
Ingredients for Taste of Home Cheesecake
Quality ingredients create that signature dense, creamy texture everyone loves in this dessert.
| Ingredient | Amount | Notes |
|---|---|---|
| Graham Cracker Crumbs 🍪 | 2 cups | Finely ground for crust base |
| Granulated Sugar 🍚 | ¼ cup | For crust sweetness balance |
| Unsalted Butter 🧈 | ½ cup | Melted for crust binding |
| Cream Cheese 🧀 | 4 packages | Full-fat, room temperature, 8 oz each |
| Granulated Sugar 🍚 | 1 ¼ cups | For filling sweetness |
| Vanilla Extract 🌿 | 2 tsp | Pure vanilla for depth |
| Large Eggs 🥚 | 4 whole | Room temperature for smooth texture |
| Heavy Whipping Cream 🥛 | ½ cup | Room temperature for consistency |
| All-Purpose Flour 🌾 | 2 tbsp | For structure stabilization |
| Sour Cream 🥛 | ½ cup | Full-fat for tangy richness |
| Salt 🧂 | ¼ tsp | Fine sea salt preferred |
| Lemon Zest 🍋 | 1 tsp | Freshly grated for brightness |
The cream cheese is non-negotiable for texture—Philadelphia brand sets the standard. Full-fat is mandatory; reduced-fat versions yield a grainy filling. Use block cream cheese, not the spreadable kind in tubs. Room temperature is critical: cold cream cheese lumps no matter how long you beat it. Costco sells it in bulk if you bake often.
No sour cream? Full-fat Greek yogurt works at a 1:1 ratio. Vanilla bean paste can replace extract at half the amount—scrape the seeds for visual appeal. Graham cracker substitutes: digestive biscuits or even vanillas wafers for a sweeter crust. Skip the butter entirely for a no-bake crust using sweetened condensed milk.
Baked cheesecake keeps 5 days refrigerated in an airtight container. Freeze for up to 3 months—slice before freezing for easy portions. Always chill completely before serving, preferably overnight. Room-temperature ingredients are the secret to that smooth, crack-free surface.
Why You’ll Love This Recipe
- No-Fuss Base: I just mix graham crumbs, sugar, and melted butter—press it in and it’s done before the oven even heats up.
- Buttery Cream Heaven: That first bite with the crisp crust and rich cream cheese center? I’ve caught my husband sneaking seconds.
- Crowd-Pleaser Guaranteed: I bring this to potlucks and it’s the first thing gone—birthdays, holidays, or just because.
- Leftovers? Ha: Honestly, between us, there’s never any. But if there were, it keeps beautifully for days.
Step-by-Step Instructions for Dense and Creamy Vanilla Cheesecake
This method ensures a velvety texture and perfectly set filling without cracks or sinking.
Step 1: Prepare the Graham Cracker Crust
Preheat your oven to 350°F. In a medium bowl, combine the 2 cups Graham Cracker Crumbs, 0.25 cup Granulated Sugar, and 0.5 cup Unsalted Butter melted. The mixture should resemble wet sand and hold together when pressed.
Press the crust mixture firmly into the bottom of a 9-inch springform pan, using a measuring cup to compact it evenly. Bake for 8-10 minutes until golden brown and fragrant. The edges should pull away slightly from the pan. Remove and let cool completely while you prepare the filling—this prevents the crust from becoming soggy.
Step 2: Beat the Cream Cheese and Sugar Base
In a stand mixer fitted with the paddle attachment, beat the 4 packages Cream Cheese on medium speed for 2 minutes until completely smooth and free of lumps. Scrape down the bowl and paddles frequently to ensure even mixing.
Gradually add the 1.25 cups Granulated Sugar, beating for an additional 3-4 minutes until the mixture is light and fluffy. The sugar should be fully dissolved into the cream cheese with no visible grains. This step is critical for achieving that signature dense yet creamy texture.
Step 3: Incorporate Remaining Filling Ingredients
Add the 2 tsp Vanilla Extract, 1 tsp Lemon Zest, and 0.25 tsp Salt, mixing until just combined. Then, add the 4 whole Large Eggs one at a time, mixing on low speed for 20-30 seconds after each addition. Overmixing at this stage incorporates too much air, which can cause cracks.
Finally, fold in the 0.5 cup Sour Cream, 0.5 cup Heavy Whipping Cream, and 2 tbsp All-Purpose Flour by hand using a silicone spatula. The batter should be smooth, thick, and pourable. Pour it over the cooled crust in the springform pan.
Step 4: Bake in a Water Bath for Even Cooking
Wrap the bottom of the springform pan tightly in heavy-duty aluminum foil to prevent water from seeping in. Place the pan in a larger roasting pan and add hot water to the outer pan until it reaches halfway up the sides of the springform pan.
Bake at 325°F for 55-65 minutes. The edges should be set with a slight wobble in the center when gently shaken. Turn off the oven, crack the door open, and let the cheesecake cool inside for 1 hour to prevent sudden temperature changes that cause cracks.
After cooling in the oven, transfer the cheesecake to a wire rack and let it cool to room temperature. Then, refrigerate for at least 4 hours or preferably overnight. This chilling period is essential for the filling to fully set and develop its creamy density.
Pro Tips For Making Taste Of Home Cheesecake
- Room Temperature Cream Cheese: Let the cream cheese sit out for at least 30 minutes before mixing—I learned this the hard way after ending up with lumpy batter that just wouldn’t smooth out.
- Press Crust Firmly: Use the bottom of a glass to really pack the graham cracker crumb mixture into the pan, or you’ll get a loose, crumbly base that falls apart when you slice it.
- Skip Overmixing: Once the eggs go in, mix just until combined. Overbeating adds air, which can cause cracks in your cheesecake as it bakes.
- Water Bath Works: Wrap the bottom of your springform pan in foil and bake it in a water bath—sounds like a hassle, but it prevents the dreaded center crack every time.
Wine and Beer Pairings for taste of home cheesecake
Sweet Dessert Wines
Pair this creation with a Moscato d’Asti from Italy—its light fizz and honeyed peach notes complement the vanilla beautifully. For something richer, try Sauternes from Bordeaux. The honey and apricot flavors enhance the creamy filling without overwhelming it. 🍷
Coffee Pairings
A bold espresso or cold brew cuts through the richness with its deep, bitter notes. I love serving slices with a shot of espresso on the side for dipping. The contrast between sweet and bitter is absolutely perfect.
Dessert Beers
For beer lovers, a stout like Guinness offers chocolate and coffee undertones that pair wonderfully. A Belgian quadrupel with its caramel and dark fruit notes also creates an interesting contrast against the tangy cream cheese. 🍺
Sparkling Options
A glass of Prosecco with its crisp apple and pear flavors cleanses the palate between bites. The bubbles also help reset your taste buds for each delicious forkful of cheesecake.
Non-Alcoholic Choices
For a non-alcoholic pairing, serve with sparkling apple cider or a vanilla chai latte. The warm spices in chai echo the vanilla notes in the dessert, while the cider’s acidity balances the creaminess.
Nutrition Facts
Frequently Asked Questions
Why does my cheesecake crack on top?
Cracks often happen from overmixing or sudden temperature changes. Avoid overbeating the batter and let it cool gradually in the turned-off oven.
Can I make this ahead of time?
Cheesecake actually improves with time. Make it 1-2 days ahead and refrigerate for best texture and flavor.
What can I use instead of graham crackers?
Try digestive biscuits, vanilla wafers, or even crushed pretzels for a salty twist. Each gives a different but delicious base.
How do I know when it’s done baking?
The edges should be set with a slight wobble in the center. It will firm up completely during cooling.

- BBQ Sausage Recipe Oven: Smoky Depth Without the Grill - September 28, 2026
- BBQ Chicken Bowl Recipe Rice: Smoky Sweetness Over Fluffy Grains - September 28, 2026
- Beef Cutlet Recipe Ideas: Crispy Breaded Patties With Bold Seasonings - September 28, 2026