
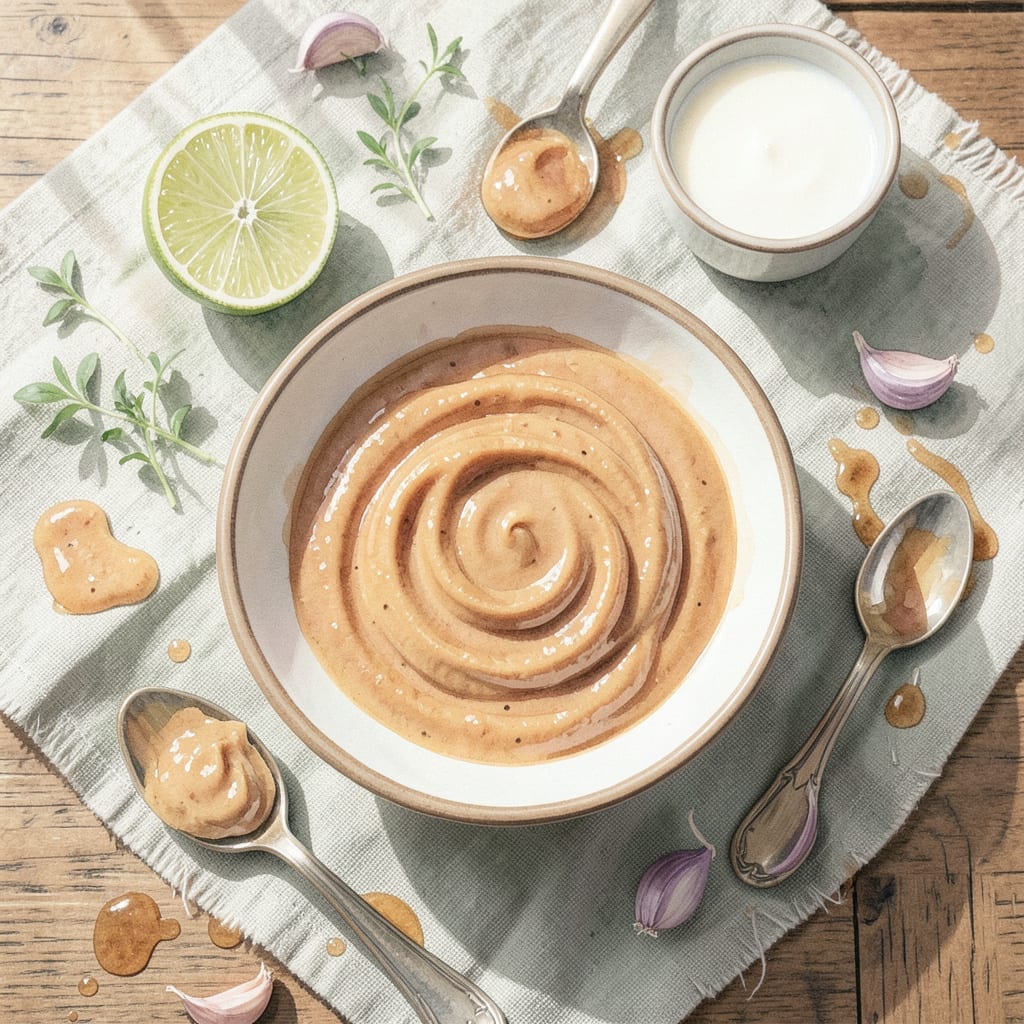
This Thai peanut sauce transforms any dish with its rich, velvety texture and balanced sweet-spicy flavor. I developed this version to work perfectly with coconut milk, creating a dip that’s as smooth as it is flavorful.
The secret is in the layering—peanut butter, coconut milk, and a touch of lime create depth without overpowering. A splash of soy sauce and a hint of chili add the authentic Thai profile that makes this sauce irresistible.
It’s incredibly versatile: drizzle over noodles, use as a satay dip, or toss with fresh spring rolls. The sauce thickens as it cools, making it ideal for dipping or drizzling without running off the food.
Make a batch ahead—it keeps well in the fridge and tastes even better the next day as the flavors meld together.
Ingredients for Thai Peanut Sauce Recipe Coconut Milk
Nine ingredients create this rich, velvety sauce with authentic Thai flavors.
| Ingredient | Amount | Notes |
|---|---|---|
| Creamy Peanut Butter 🥜 | ¾ cup | Unsweetened, natural style |
| Full-Fat Coconut Milk 🥥 | 1 can | 13.5 oz can, well shaken |
| Fresh Lime Juice 🍋 | 2 tbsp | About 1 large lime |
| Soy Sauce 🫒 | 3 tbsp | Tamari for gluten-free |
| Maple Syrup 🍁 | 2 tbsp | Or agave nectar |
| Fresh Garlic Cloves 🧄 | 2 cloves | Minced finely |
| Fresh Ginger 🌿 | 1 tbsp | Peeled and grated |
| Red Chili Flakes 🌶️ | ½ tsp | Adjust to taste |
| Rice Vinegar 💧 | 1 tbsp | Balances sweetness |
The peanut butter is non-negotiable here. Natural, unsweetened gives you the cleanest flavor—Jif or Skippy work in a pinch but add a little extra salt to compensate. Coconut milk matters too: full-fat for that creamy texture (light won’t emulsify right). I grab mine from Trader Joe’s or the Asian market on 5th—both have good options without weird additives.
No coconut milk? Cashew cream gets you close, though it’ll be thicker. Out of maple syrup? Brown sugar dissolved in a splash of water works. The soy sauce can be coconut aminos for a gluten-free swap. Fresh ginger is ideal, but ground ginger at one-third the amount saves time. Lime juice is key—bottled just doesn’t cut it.
Sauce thickens as it sits. Store in an airtight jar in the fridge for up to 1 week. Freezes beautifully for 3 months—portion into ice cube trays for easy single servings. Stir before using (it’ll separate).
Why You’ll Love This Recipe
- 5-Minute Whisk: I dump everything in one bowl—peanut butter, coconut milk, lime juice—and whisk. No chopping, no fuss.
- Rich and Balanced: The coconut milk mellows the peanut butter’s intensity while soy sauce and lime keep it bright, not heavy.
- Drizzle on Anything: I’ve tossed it with noodles, drizzled it on chicken, and even used it as a dip for spring rolls.
- Keeps for Days: Honestly, it tastes even better after a night in the fridge, and it stays fresh for up to a week.
Step-by-Step Instructions for Thai Peanut Sauce
This sauce comes together in minutes with just a bowl and a whisk.
Step 1: Combine the Base Ingredients
In a medium bowl, add the 0.75 cup Creamy Peanut Butter and 1 can Full-Fat Coconut Milk. The coconut milk should be well-shaken so the cream and liquid are fully incorporated. I use natural-style peanut butter here because it blends smoothly without added sugars.
The mixture will look thick and separated at first—that’s normal. As you whisk, it’ll start to loosen and come together into a velvety base. Don’t be tempted to add water yet; the coconut milk’s natural fats will help emulsify everything.
Step 2: Add the Flavor Layers
To the peanut mixture, add the 2 tbsp Fresh Lime Juice, 3 tbsp Soy Sauce, 2 tbsp Maple Syrup, 1 tbsp Rice Vinegar, 2 cloves Fresh Garlic Cloves (minced), and 1 tbsp Fresh Ginger (grated). Each ingredient plays a crucial role: the lime brightens, the soy adds umami depth, the maple balances, and the vinegar keeps it from being cloying.
Whisk vigorously for 1-2 minutes until the sauce is completely smooth. You’ll notice the color deepen and the texture become glossy—that’s how you know the peanut butter is fully incorporated. If it’s too thick, don’t panic; the next step will fix that.
Step 3: Adjust Consistency and Heat
Now add the 0.5 tsp Red Chili Flakes. Taste and adjust—if you want more heat, add a pinch more, but remember the flavor develops as it sits. For a thinner sauce (perfect for drizzling), whisk in 1-2 tablespoons of warm water, one at a time, until it reaches your desired consistency.
Let the sauce rest for 5-10 minutes to allow the flavors to meld. You’ll see the garlic and ginger infuse the sauce during this time, and the heat from the chili flakes will balance out. The finished sauce should coat the back of a spoon but still be pourable.
Step 4: Serve or Store for Later
Use immediately as a dip for satay, a dressing for noodles, or a marinade for grilled meats. The sauce will thicken slightly as it cools, so if you’re making it ahead, store it in an airtight container in the refrigerator for up to 5 days.
When ready to use, give it a good stir—natural peanut butter will cause some separation. If it’s too thick after chilling, whisk in a splash of warm water to loosen it. The flavors actually improve overnight, with the ginger and garlic becoming more pronounced.
Pro Tips For Making Thai Peanut Sauce Recipe Coconut Milk
- Warm the coconut milk: Heat the coconut milk gently in a saucepan before mixing—cold coconut milk can cause the peanut butter to seize up and turn lumpy.
- Use natural peanut butter: Skip the pre-sweetened stuff; natural creamy peanut butter blends smoother and lets you control the sweetness with the maple syrup.
- Whisk before adding lime: I learned this the hard way—mix the peanut butter, coconut milk, and soy sauce into a smooth paste first, or the lime juice can make it curdle.
- Taste before thinning: After combining all ingredients, check the flavor before adding water to thin—sometimes a splash of soy sauce or lime fixes the taste better than diluting it.
Creative Variations of This thai peanut sauce recipe coconut milk
Spicy Sriracha Kick
Add 1 tbsp Sriracha along with the chili flakes for a bolder heat profile. The garlic in the Sriracha complements the fresh garlic in the recipe beautifully. I also add 1 tsp toasted sesame oil for depth. 🌶️
Creamy Tahini Twist
Replace ¼ cup of peanut butter with ¼ cup tahini for a nutty, Middle Eastern-inspired variation. The tahini’s bitterness balances the sweetness of the coconut milk. I love this with grilled vegetables.
Zesty Lime Boost
Double the lime juice to 4 tbsp and add 1 tsp lime zest for a brighter, tangier sauce. This version works wonderfully with seafood, especially shrimp skewers. The acidity cuts through the richness perfectly.
Sweet Chili Glaze
Swap the maple syrup for 2 tbsp sweet chili sauce for a Thai street food vibe. The sticky, slightly spicy glaze adds complexity. I often add 1 tbsp fish sauce (use coconut aminos for vegan) for extra umami.
Herb-Infused Freshness
Stir in 2 tbsp chopped fresh cilantro and 1 tbsp chopped mint at the end for a fresh, herbaceous note. This variation is incredible with fresh spring rolls or as a salad dressing. 💛
Crunchy Peanut Topping
Fold in ¼ cup crushed roasted peanuts for added texture. This gives the sauce a satisfying bite, perfect for topping rice bowls or noodle dishes. I use lightly salted peanuts to enhance the flavor.
Nutrition Facts
Frequently Asked Questions
Can I use powdered peanut butter?
Not recommended. Powdered versions lack the natural oils for a smooth, creamy texture. Stick with natural peanut butter for the best results.
How do I fix a sauce that’s too thick?
Whisk in warm water, 1 tablespoon at a time, until it reaches your desired consistency. The coconut milk will thicken as it cools, so adjust gradually.
Can I make this sauce nut-free?
Yes! Replace peanut butter with sunflower seed butter or tahini. Note that the flavor will differ slightly but still pairs well with coconut milk.
Why does my sauce separate after refrigeration?
Natural peanut butter settles over time. Simply stir vigorously before use, or warm it slightly to restore the creamy texture. This is normal and doesn’t affect flavor.

- BBQ Sausage Recipe Oven: Smoky Depth Without the Grill - September 28, 2026
- BBQ Chicken Bowl Recipe Rice: Smoky Sweetness Over Fluffy Grains - September 28, 2026
- Beef Cutlet Recipe Ideas: Crispy Breaded Patties With Bold Seasonings - September 28, 2026