
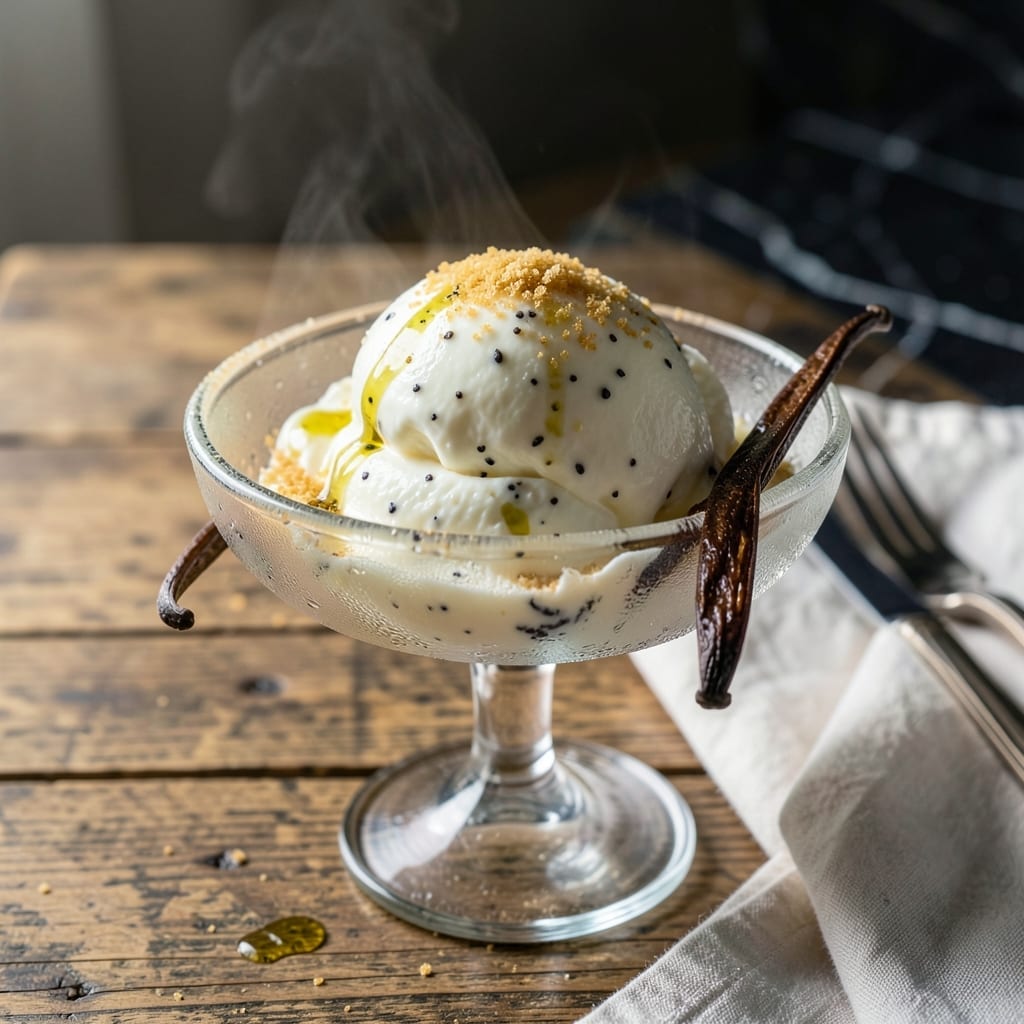
There’s nothing quite like homemade ice cream with the rich, authentic flavor of real vanilla beans. This recipe delivers a creamy, speckled treat that outshines store-bought versions every time.
By using a vanilla bean, you unlock a depth of flavor that extracts simply can’t match. The process takes patience, but the result is well worth the wait.
Ingredients for Vanilla Ice Cream Recipe Vanilla Bean
Rich dairy and real vanilla bean create that signature speckled creaminess everyone loves.
| Ingredient | Amount | Notes |
|---|---|---|
| Heavy Cream 🥛 | 2 cups | Full-fat for creaminess |
| Whole Milk 🥛 | 1 cup | Cold, for smooth texture |
| Granulated Sugar 🍚 | ¾ cup | Fine grain for even dissolving |
| Vanilla Bean 🌿 | 1 whole | Split and scraped |
| Large Egg Yolks 🥚 | 6 pieces | Room temperature preferred |
| Vanilla Extract 💧 | 1 tsp | Pure, for depth |
| Salt 🧂 | ¼ tsp | Fine sea salt |
| Unsalted Butter 🧈 | 2 tbsp | Melted for richness |
The vanilla bean is non-negotiable here. Madagascar Bourbon vanilla beans from Nielsen-Massey or Heavenly Vanilla Beans deliver the most robust flavor. Split them lengthwise with a sharp knife and scrape out the seeds—those tiny black specks are the hallmark of quality. Heavy cream should be at least 36% fat for that ultra-smooth texture. Most grocery stores carry it in the dairy case.
No vanilla bean? Use 2 tsp of pure vanilla extract instead, but the speckled appearance won’t be there. Short on yolks? Whole eggs at a 1:1 ratio work, though the texture may be slightly less rich. The milk can be swapped for half-and-half if you want it even creamier. Avoid low-fat dairy—full-fat is essential for that perfect scoop.
The base keeps in the fridge for 24 hours before churning. Once spun, store in an airtight container with parchment pressed directly on the surface to prevent ice crystals. Stays fresh for 1 week in the freezer. Best served slightly softened after 5-10 minutes at room temperature.
Why You’ll Love This Recipe
- No Fuss Base: I love that it’s just cream, milk, sugar, and egg yolks—no hunting for weird ingredients.
- Real Vanilla Perfection: The scraped vanilla bean flecks make every bite taste like a fancy scoop shop.
- Crowd Pleaser: Honestly, it’s the one dessert my picky nephew and foodie bestie both beg for.
- Freezer Stash: A batch lasts us a week of midnight cravings and impromptu sundaes.
Step-by-Step Instructions for Vanilla Bean Ice Cream
Master the custard base and churning process for ice cream with authentic vanilla specks and velvety texture.
Step 1: Infuse Cream with Vanilla Bean
In a saucepan, combine the 2 cups Heavy Cream and 1 cup Whole Milk over medium heat. As it warms, split the 1 whole Vanilla Bean lengthwise with a sharp knife, scrape out the seeds, and add both seeds and pod to the mixture. Heat until small bubbles form around the edges and steam rises—180-185°F.
Remove from heat, cover, and let steep for 30 minutes to fully infuse the cream with vanilla flavor. This resting period extracts maximum aroma from the pod and seeds, giving your ice cream those characteristic black specks and deep vanilla notes.
Step 2: Temper Egg Yolks with Sugar
In a separate bowl, whisk together the 6 pieces Large Egg Yolks and 0.75 cup Granulated Sugar until pale and thick—about 2-3 minutes of vigorous whisking. The mixture should fall in ribbons that hold their shape momentarily when the whisk is lifted.
Slowly pour 1 cup of the warm, infused cream mixture into the yolk mixture while whisking constantly. This tempering process gradually raises the egg temperature, preventing the yolks from curdling when combined with the remaining hot liquid.
Step 3: Cook Custard Base to Thickness
Return the tempered egg mixture to the saucepan with the remaining cream. Add the 0.25 tsp Salt. Cook over medium-low heat, stirring constantly with a wooden spoon, until the custard thickens enough to coat the back of the spoon and leaves a clear path when you run your finger through it—approximately 170-175°F.
This step requires patience. If you rush it over high heat, the custard will curdle. The process should take 8-10 minutes. Once thickened, immediately remove from heat and stir in the 2 tbsp Unsalted Butter and 1 tsp Vanilla Extract until fully melted and incorporated.
Step 4: Chill and Age the Custard
Strain the custard through a fine-mesh sieve into a clean bowl to remove the vanilla pod and any cooked bits of egg. Press plastic wrap directly onto the surface of the custard to prevent a skin from forming. Refrigerate until completely chilled—4 hours or preferably overnight.
Aging the custard is crucial for developing the full flavor and achieving the smoothest texture. The cold temperature also helps the churning process later. Don’t skip this step; the difference in final texture is significant.
Step 5: Churn and Freeze to Perfection
Pour the chilled custard into your ice cream maker and churn according to the manufacturer’s instructions—typically 20-25 minutes. The ice cream is ready when it reaches the consistency of soft-serve and holds its shape when scooped.
Transfer to a lidded container and freeze for at least 4 hours or until firm. The finished ice cream will have a rich, creamy texture with visible vanilla bean specks throughout. Serve slightly softened for the best scooping consistency.
Pro Tips For Making Vanilla Ice Cream Recipe Vanilla Bean
- Temper the yolks: Slowly whisk about a cup of the hot cream mixture into the egg yolks before combining everything—I learned this the hard way after scrambling my first two batches.
- Scrape the bean: Split the vanilla bean lengthwise and scrape out every last speck of seeds with the back of your knife; those tiny black flecks carry most of the flavor.
- Watch the simmer: Keep the custard just below a boil, around 170-175°F, or you’ll end up with sweetened scrambled eggs instead of silky ice cream base.
- Chill overnight: After churning, let the ice cream set in the freezer for at least 4 hours—I skip this when I’m lazy, but the texture is noticeably better when I don’t.
Perfect Pairings for This vanilla ice cream recipe vanilla bean
Warm Dessert Pairings
Nothing beats a scoop of this creation over warm apple crisp or peach cobbler. The contrast of hot and cold is magical. I love it with a brown butter cake—the vanilla specks add elegance to the presentation. 🔥
Fruit Complements
Fresh strawberries or raspberries add a bright, tangy contrast. A blueberry compote swirls beautifully through the ice cream. For a tropical twist, try it with grilled pineapple or mango chunks.
Sauce Enhancements
Drizzle with hot fudge or caramel sauce for a classic sundae. My go-to is a raspberry coulis—just blend 1 cup raspberries with 2 tbsp sugar and strain. A sprinkle of sea salt on top elevates the flavors perfectly. ✨
Crunchy Toppings
Add texture with toasted nuts—pecans or almonds work wonderfully. Crushed Oreos or graham crackers bring a cookies-and-cream vibe. I always keep candied pecans on hand for a quick gourmet touch.
Beverage Pairings
Serve with hot coffee or espresso to create an affogato-style treat. For a boozy twist, pair with a dessert wine like Sauternes. Iced chai tea with its warm spices complements the vanilla beautifully. 💛
Frequently Asked Questions
Why use a whole bean instead of extract?
Whole beans provide authentic flavor and visible specks that extract can’t. 1 bean equals about 1 tablespoon of extract, but with more complex, natural vanilla notes.
Can I make this without an ice cream maker?
Yes! Freeze the custard in a shallow dish, stirring vigorously with a fork every 30 minutes for 3-4 hours to break up ice crystals.
What if my custard curdles during cooking?
Immediately remove from heat and blend with an immersion blender to smooth it out. To prevent this, keep heat at medium-low and stir constantly.
How long does homemade ice cream last?
Stored in an airtight container with parchment on the surface, it stays fresh for up to 1 week in the freezer. Best texture when eaten within 3-4 days.
Nutrition Facts

- BBQ Sausage Recipe Oven: Smoky Depth Without the Grill - September 28, 2026
- BBQ Chicken Bowl Recipe Rice: Smoky Sweetness Over Fluffy Grains - September 28, 2026
- Beef Cutlet Recipe Ideas: Crispy Breaded Patties With Bold Seasonings - September 28, 2026