
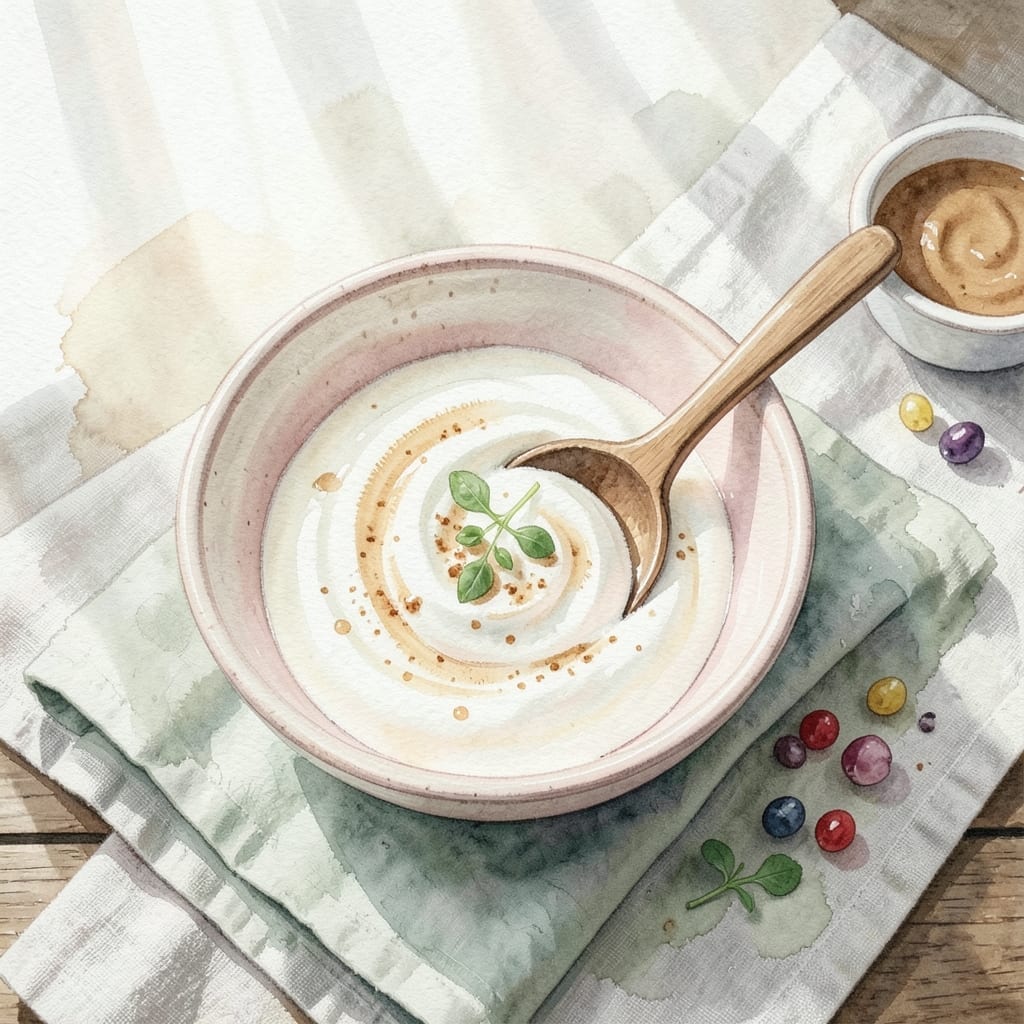
This vanilla yogurt recipe creates the smoothest, most creamy base for both sweet and savory applications. I’ve tested countless variations to perfect a version that’s rich yet balanced, with just the right touch of vanilla to enhance rather than overpower.
The process is simple but precise: gently warming the milk, culturing it properly, and adding vanilla at the optimal moment. This ensures a velvety texture and pure, clean flavor that works in desserts, parfaits, or even as a tangy addition to savory dishes.
What you’ll get is a versatile yogurt that’s thick, luscious, and subtly sweet—ideal for layering with fruit, drizzling with honey, or enjoying plain. The vanilla shines through without masking the yogurt’s natural tang.
Use it as a blank canvas for your favorite toppings or as a base for dips and sauces. Here’s how to make it right every time.
Ingredients for Vanilla Yogurt Recipe Ideas
A few quality ingredients create this luscious vanilla yogurt base with rich, velvety texture.
| Ingredient | Amount | Notes |
|---|---|---|
| Whole Milk 🥛 | 4 cups | Full-fat for creaminess |
| Heavy Cream 🥛 | ½ cup | Cold, not whipped |
| Plain Greek Yogurt 🥣 | ¼ cup | Full-fat, with live cultures |
| Granulated Sugar 🍚 | ⅓ cup | Adjust to taste preference |
| Pure Vanilla Extract 🌿 | 1 tbsp | Real vanilla, not imitation |
| Vanilla Bean 🌿 | 1 whole | Split and scraped (optional) |
| Honey 🍯 | 2 tbsp | For natural sweetness |
| Salt 🧂 | ¼ tsp | Fine sea salt preferred |
| Cornstarch 🌾 | 1 tsp | For thickening if needed |
| Lemon Zest 🍋 | 1 tsp | Freshly grated for brightness |
The dairy quality is non-negotiable here. Whole milk and heavy cream from grass-fed cows yield the creamiest results. Organic Valley or local dairy farms are excellent sources. For the starter, use a plain, unsweetened Greek yogurt with live active cultures—Fage or Stonyfield are reliable. The vanilla bean, while optional, adds depth that extract alone can’t match (splurge on Madagascar Bourbon if you can).
No vanilla bean? Double the extract—just ensure it’s pure, not imitation. For a tangier result, reduce sugar to one-quarter cup. Swap honey for maple syrup if you prefer a neutral sweetness. The cornstarch is insurance against curdling but can be omitted if you’re confident in your temperature control. Whole milk only—lower fat percentages won’t achieve the same luxurious mouthfeel.
This keeps for 7-10 days refrigerated in a sealed container. The flavor actually improves after 24 hours as the vanilla infuses. For longer storage, freeze in portions for up to 3 months—thaw overnight in the fridge before using. Stir well before serving, as separation is natural.
Why You’ll Love This Recipe
- Five-Minute Mix: It’s just warm milk, cream, and yogurt in a jar—no fancy equipment, no fuss.
- Velvety Vanilla: The real vanilla extract and heavy cream give it that rich, smooth taste that store-bought can’t touch.
- Endless Uses: I swirl it into oatmeal, layer it with fruit for parfaits, or just eat it straight with a drizzle of honey.
Step-by-Step Instructions for Vanilla Yogurt
Here’s the method I use to create a smooth, creamy base that’s endlessly versatile.
Step 1: Heat and Temper the Dairy
Pour the 4 cups Whole Milk and 0.5 cup Heavy Cream into a heavy-bottomed saucepan. Heat over medium heat until the mixture reaches 180°F on an instant-read thermometer—you’ll see tiny bubbles forming at the edges and steam rising from the surface.
This heating process pasteurizes the dairy and helps create a thicker final product. While it heats, whisk in the 0.33 cup Granulated Sugar until fully dissolved. Don’t let it boil; that would scorch the milk and create off flavors.
Step 2: Infuse with Vanilla and Cool
Remove the saucepan from heat. Stir in the 1 tbsp Pure Vanilla Extract and the seeds scraped from the 1 whole Vanilla Bean (if using). Add the 1 tsp Lemon Zest for a subtle brightness that balances the sweetness.
Let the mixture cool to 110°F—warm to the touch but not hot. This is the perfect temperature for adding the starter culture without killing the beneficial bacteria. I speed this up by placing the pot in an ice bath and stirring occasionally.
Step 3: Add Starter Culture and Sweeten
In a small bowl, whisk together the 0.25 cup Plain Greek Yogurt, 2 tbsp Honey, 0.25 tsp Salt, and 1 tsp Cornstarch until smooth. The cornstarch ensures a luscious thickness, while the salt enhances all the flavors.
Gradually whisk about 1 cup of the warm milk mixture into the yogurt mixture to temper it. Then pour this back into the saucepan with the remaining milk. This prevents shocking the live cultures, which is crucial for proper fermentation.
Step 4: Incubate for Creamy Perfection
Transfer the mixture to clean glass jars or a bowl. Cover with a clean kitchen towel or lid (not airtight) and let it sit undisturbed in a warm place for 6-8 hours. I use my oven with the light on, which maintains a consistent 100-110°F.
You’ll know it’s ready when the yogurt has thickened to a custard-like consistency and pulls away slightly from the sides of the container. The longer it incubates within this window, the tangier it becomes—stop when it reaches your preferred flavor.
Step 5: Chill and Enjoy
Once thickened, stir gently to incorporate any separated liquid (this is normal whey). Cover with a tight lid and refrigerate for at least 4 hours to chill completely and allow the flavors to meld.
The yogurt will continue to thicken as it cools. Serve it chilled with your favorite toppings, or use it as a base for smoothies, parfaits, or baking. The texture should be velvety smooth with a perfect balance of sweetness and vanilla aroma.
Pro Tips For Making Vanilla Yogurt Recipe Ideas
- Warm the Dairy: Heat the whole milk and heavy cream to 180°F before cooling—this kills unwanted bacteria and creates a cleaner base for your yogurt to ferment properly.
- Use Live Cultures: Pick a plain Greek yogurt with active cultures as your starter; I learned this the hard way after using a pasteurized version that failed to set.
- Skip the Boiling: Resist the urge to boil the milk—it can scorch and ruin the texture, and you only need it hot enough to dissolve the sugar and pasteurize.
- Sweeten After Fermenting: Stir in the granulated sugar and vanilla extract after the yogurt has set to avoid interfering with the fermentation process.
Essential Equipment for This Recipe
Precision Thermometer
A digital instant-read thermometer is non-negotiable for hitting the critical 180°F and 110°F marks. I use the ThermoWorks ThermoPop for its accuracy and speed. Skipping this risks scorching or ineffective culturing. 🌡️
Heavy Saucepan
Invest in a heavy-bottomed stainless steel saucepan—All-Clad or Cuisinart work beautifully. The even heat distribution prevents hot spots that could curdle your dairy. A 3-quart size handles this recipe perfectly.
Glass Fermentation Jars
Wide-mouth mason jars or Weck jars make culturing and storing effortless. I prefer 16-ounce sizes for portion control. The glass won’t absorb odors, and you can monitor the thickening process visually.
Whisk and Spoon
A balloon whisk ensures smooth incorporation of sugar and vanilla without creating foam. For stirring the culture, a silicone spatula gently folds ingredients without deflating the developing yogurt.
Warm Incubation Space
My oven with the light on maintains a consistent 100-110°F. Alternatively, a yogurt maker like the Euro Cuisine YM80 provides foolproof temperature control. Avoid drafty areas that could disrupt fermentation. 💡
Fine Mesh Strainer
Use a fine-mesh sieve to remove any vanilla bean pods or lemon zest before culturing. This ensures a silky texture. A 5-inch strainer fits perfectly over standard jars for easy pouring.
Nutrition Facts
Frequently Asked Questions
Can I use low-fat milk instead of whole?
Using low-fat milk will produce a thinner yogurt. For best results, stick with whole milk and heavy cream to achieve that rich, velvety texture. The fat content is key for creaminess.
How long does homemade vanilla yogurt last?
Your homemade yogurt will stay fresh in the fridge for 7-10 days. For longer storage, freeze it for up to 3 months—just thaw overnight before using.
Why did my yogurt turn out runny?
Runny yogurt often means the culture didn’t set properly. Ensure your starter yogurt has live cultures and the incubation temperature stays between 100-110°F for 6-8 hours.
Can I skip the cornstarch?
Yes, you can omit the 1 tsp Cornstarch, but it helps guarantee thickness. If you skip it, be extra careful with temperature control during heating and cooling.

- BBQ Sausage Recipe Oven: Smoky Depth Without the Grill - September 28, 2026
- BBQ Chicken Bowl Recipe Rice: Smoky Sweetness Over Fluffy Grains - September 28, 2026
- Beef Cutlet Recipe Ideas: Crispy Breaded Patties With Bold Seasonings - September 28, 2026