
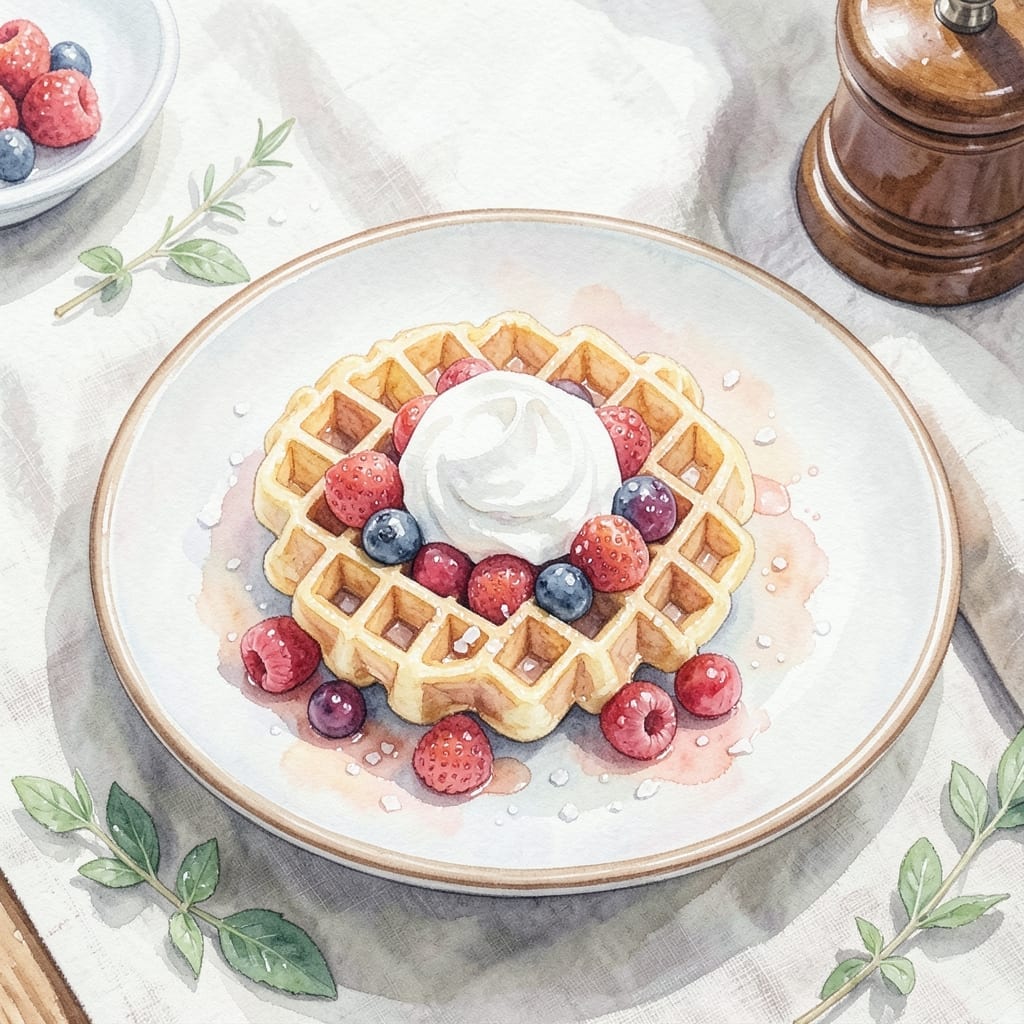
I’ve discovered that making waffle bowls at home is simpler than it looks, and the results are impressive. A crisp, golden vessel ready to hold ice cream, fruit, or whipped cream transforms dessert into an experience.
The key is using a waffle bowl maker or a standard waffle iron with the right batter consistency. Cooking at 375°F ensures even browning and a sturdy structure that won’t collapse under toppings.
Once cooled, these bowls hold their shape beautifully, creating the perfect edible container. The texture is crispy outside with a tender interior, ideal for scoops of your favorite treats.
Customize with chocolate, cinnamon, or citrus zest in the batter for extra flavor. The possibilities are endless.
Ingredients for Waffle Bowl Recipe Ideas
A handful of pantry staples transforms into crisp, golden edible vessels ready for your favorite treats.
| Ingredient | Amount | Notes |
|---|---|---|
| All-Purpose Flour 🌾 | 2 cups | Sifted for lighter texture |
| Granulated Sugar 🍚 | ¼ cup | Fine white sugar preferred |
| Baking Powder 🧂 | 2 tsp | Fresh for best rise |
| Salt 🧂 | ½ tsp | Fine sea salt or kosher |
| Large Eggs 🥚 | 2 whole | Room temperature preferred |
| Whole Milk 🥛 | 1 ½ cups | Full-fat for richness |
| Unsalted Butter 🧈 | ½ cup | Melted and cooled |
| Vanilla Extract 🌿 | 2 tsp | Pure extract recommended |
| Vegetable Oil 🫒 | 2 tbsp | For greasing iron |
| Cinnamon 🌿 | 1 tsp | Ground, for warmth |
| Chocolate Chips 🍫 | ½ cup | Semi-sweet or dark |
| Citrus Zest 🍊 | 1 tbsp | Orange or lemon preferred |
The batter needs to be thick but pourable—King Arthur Flour is my go-to for consistent results. If you’re using a waffle bowl maker, check that it’s preheated to 375°F before adding the mix. For the milk, whole milk gives the best richness, but 2% works in a pinch. Butter should be melted and cooled slightly so it doesn’t cook the eggs when mixed in.
No whole milk? Half-and-half plus a splash of water mimics the fat content. Out of vanilla extract? Vanilla bean paste at half the amount adds extra depth. Want to skip the chocolate chips? Chopped nuts or sprinkles work just as well. The citrus zest can be swapped for a teaspoon of ground nutmeg if you prefer a different spice profile.
Batter can be mixed the night before and refrigerated. Cooked bowls stay crisp for 2 days in an airtight container. For longer storage, freeze the bowls for up to 1 month—re-crisp in the oven before serving.
Why You’ll Love This Recipe
- One Bowl Wonder: I just dump the flour, sugar, baking powder, salt, and eggs in one bowl, mix, and go—no extra dishes to wash.
- Sweet & Crispy: That sugar in the batter caramelizes into a delicate crunch that pairs perfectly with any filling I throw in.
- Endless Fillings: I’ve stuffed these with ice cream, fresh fruit, even chili—honestly, they work for breakfast, dessert, or a fun snack.
- Budget Breakfast: A handful of pantry staples makes a batch that feeds my family for days, and it costs pennies compared to store-bought bowls.
Step-by-Step Instructions for Waffle Bowls
This method creates crispy, moldable bowls perfect for holding your favorite scoops.
Step 1: Prepare the Waffle Batter
In a large mixing bowl, whisk together the 2 cups All-Purpose Flour, 0.25 cup Granulated Sugar, 2 tsp Baking Powder, 0.5 tsp Salt, and 1 tsp Cinnamon until fully combined. Sifting the flour first creates a lighter texture, so don’t skip this if you have the time.
In a separate bowl, beat the 2 whole Large Eggs with the 1.5 cups Whole Milk, 0.5 cup Unsalted Butter (melted and cooled), and 2 tsp Vanilla Extract until smooth. Gradually pour the wet ingredients into the dry, stirring just until combined—small lumps are fine. Overmixing develops gluten, which makes the waffles tough.
Gently fold in the 0.5 cup Chocolate Chips and 1 tbsp Citrus Zest. The zest adds a bright, aromatic note that balances the richness of the chocolate. Let the batter rest for 10 minutes while you preheat your waffle iron.
Step 2: Preheat and Grease the Waffle Iron
Preheat your waffle iron to medium-high heat. This is crucial—if the iron isn’t hot enough, the waffles won’t crisp properly and will stick. While it heats, brush the plates lightly with vegetable oil using a pastry brush. Even if your iron is nonstick, a thin layer of oil ensures easy release and extra crispness.
Here’s the thing—waffle irons vary, so you might need to adjust the heat setting. If the first waffle browns too quickly, lower the heat slightly. If it’s pale and soggy, increase it. You’re aiming for a deep golden brown color with a crisp exterior.
Step 3: Cook the Waffles and Shape Immediately
Pour about ½ cup of batter onto the center of the preheated, greased waffle iron. Close the lid and cook for 3-4 minutes, or until the waffle is golden brown and crisp. Avoid opening the iron too soon—this can tear the waffle and prevent even cooking.
As soon as the waffle is done, work quickly. The key to shaping is speed—waffles stiffen as they cool. Drape the hot waffle over a heatproof bowl or mold (like an overturned oven-safe bowl) and gently press it into place. Hold it for 20-30 seconds until it sets. If it cracks, don’t worry—just press the edges together gently.
Step 4: Cool and Crisp the Bowls
Let the shaped waffle bowls cool on the mold for 5 minutes. This allows them to firm up completely while retaining their structure. If they lose their shape, reheat them in the waffle iron for 1-2 minutes to soften slightly, then reshape.
For extra crispness, place the cooled bowls on a wire rack in a 200°F oven for 10-15 minutes. This step removes any residual moisture, ensuring they stay crunchy even when filled with ice cream. Store in an airtight container at room temperature for up to 2 days, but they’re best served fresh.
Pro Tips For Making Waffle Bowl Recipe Ideas
- Preheat the Iron: Get your waffle maker screaming hot before adding batter—I learned this the hard way after pulling out half-cooked bowls that stuck like cement.
- Whisk Eggs First: Beat the eggs until they’re frothy and pale, about 2 minutes with a hand mixer. Sounds weird, but it works: your bowls will be lighter and crispier.
- Skip Overmixing: Stir the batter just until the flour disappears—lumps are fine. Overworking it makes tough waffle bowls that crack when you try to shape them.
- Use a Muffin Tin: Press the hot waffle into a greased muffin tin to set its shape—no special tools needed and it holds while you fill the rest with ice cream or fruit.
Pro Cooking Tips for This Recipe
Batter Consistency
The batter should be thick but pourable—like pancake batter. If it’s too thin, add 1-2 tbsp extra flour. Too thick? Thin with 1-2 tbsp milk. I’ve found that King Arthur Flour gives the most consistent texture. 💡
Iron Temperature
Preheat your waffle iron to 375°F for even cooking. Use a thermometer to check if your iron runs hot or cold. I always grease mine with vegetable oil even if it’s nonstick—it ensures a clean release.
Cooking Time
Cook for 3-4 minutes until deep golden brown. Resist peeking too soon—opening the iron early can tear the waffle. If your iron has adjustable settings, start with medium-high heat and tweak as needed.
Shaping Technique
Work fast after cooking. Drape the hot waffle over a heatproof bowl and press gently. Hold for 20-30 seconds until it sets. If it cracks, press the edges together—they’ll fuse as it cools.
Crisping Trick
For extra crunch, place cooled bowls on a wire rack in a 200°F oven for 10-15 minutes. This removes moisture, ensuring they stay crisp even with ice cream. Store in an airtight container for up to 2 days. 🔥
Batter Resting
Let the batter rest for 10 minutes before cooking. This allows the flour to hydrate fully, creating a more tender waffle. I notice a big difference in texture when I skip this step.
Nutrition Facts
Frequently Asked Questions
What can I use if I don’t have a waffle bowl maker?
A standard waffle iron works fine. Cook the batter for 3-4 minutes, then quickly drape the hot waffle over a heatproof bowl to shape it. Press gently for 20-30 seconds until set.
How do I keep my waffle bowls from getting soggy?
Cool them completely on a wire rack first, then crisp in a 200°F oven for 10-15 minutes. This removes moisture so they stay crunchy with ice cream.
Can I make the batter ahead of time?
Yes! Mix the batter the night before and refrigerate. Let it sit at room temperature for 30 minutes before using to ensure even cooking.
Why did my waffle bowl crack while shaping?
It likely cooled too much before shaping. Work immediately after cooking and press gently. Small cracks can be pressed together—they’ll fuse as it cools.

- BBQ Sausage Recipe Oven: Smoky Depth Without the Grill - September 28, 2026
- BBQ Chicken Bowl Recipe Rice: Smoky Sweetness Over Fluffy Grains - September 28, 2026
- Beef Cutlet Recipe Ideas: Crispy Breaded Patties With Bold Seasonings - September 28, 2026