
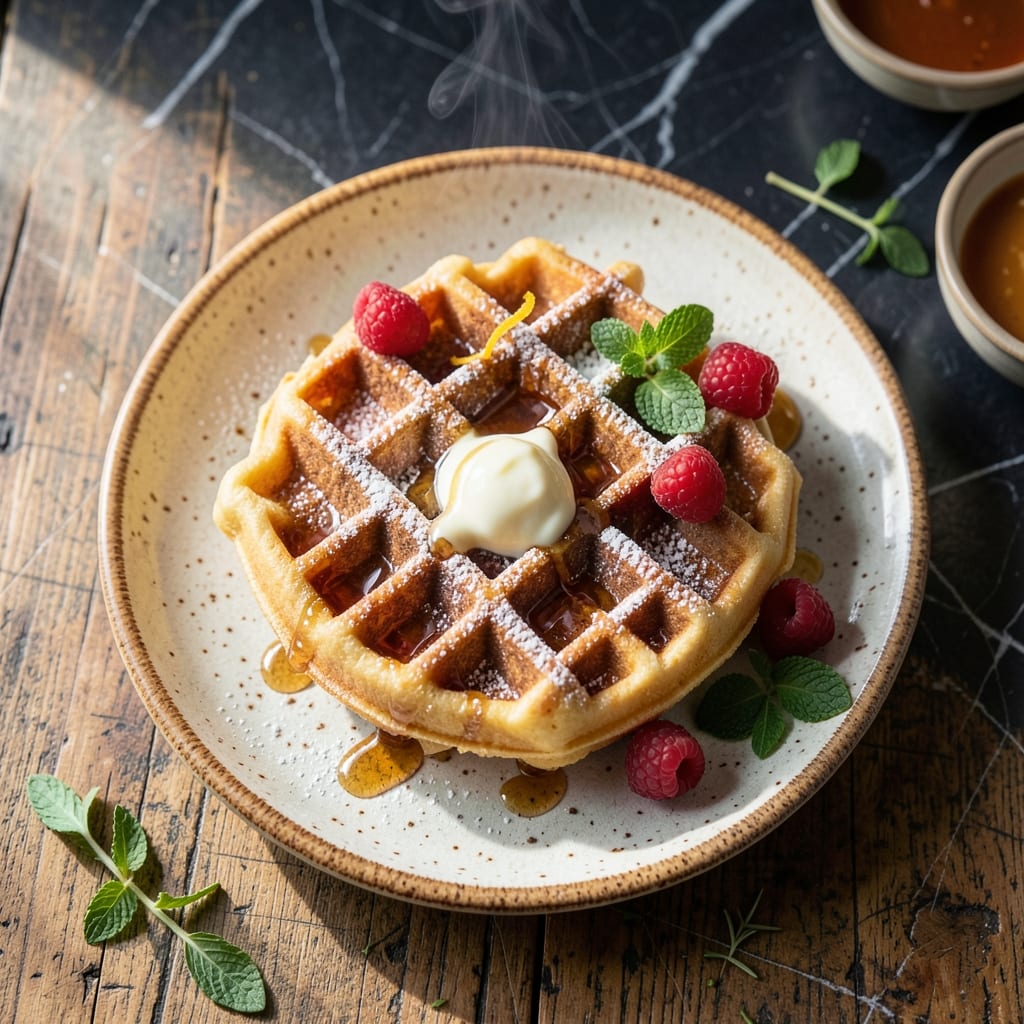
Making waffles for one doesn’t mean sacrificing texture or flavor. This recipe delivers crisp edges and a fluffy interior in minutes, using basic pantry staples. No leftover batter, no waste.
I’ve refined this method to ensure perfect results every time. The key is a balanced batter with just enough fat for richness and structure for lift. A hot waffle iron does the rest.
In under 15 minutes, you’ll have a single golden waffle ready to top with syrup, fruit, or nothing at all. The process is straightforward, with no shortcuts in quality.
This approach proves that single-serving meals can be just as satisfying as a full batch. Simple, efficient, and delicious.
Ingredients for Waffle Recipe for 1
Basic pantry items come together for a single golden, crisp-edged waffle with no waste.
| Ingredient | Amount | Notes |
|---|---|---|
| All-Purpose Flour 🌾 | ½ cup | Sifted for lighter texture |
| Baking Powder 🧂 | ½ tsp | For rise and fluffiness |
| Salt 🧂 | 0.125 tsp | Balances sweetness |
| Granulated Sugar 🍚 | 1 tbsp | For subtle sweetness |
| Large Egg 🥚 | 1 whole | Room temperature preferred |
| Whole Milk 🥛 | 0.375 cup | Or any milk you have |
| Unsalted Butter 🧈 | 2 tbsp | Melted and cooled slightly |
| Vanilla Extract 💧 | ¼ tsp | Pure for best flavor |
| Vegetable Oil 🫒 | 1 tsp | For waffle iron greasing |
The flour is your foundation—King Arthur or Gold Medal are reliable choices. Baking powder loses potency over time, so check the expiration date (yes, it has one). For the milk, whole milk gives the richest result, but any milk works. The egg is the structure—room temperature blends more evenly into the batter (worth the extra minute).
No buttermilk? Whole milk plus ½ tsp lemon juice or vinegar sits for 5 minutes. Out of vanilla? Almond extract at half the amount (but it’s stronger). Sugar can be swapped for maple syrup or honey at the same volume. The butter can be replaced with coconut oil for a dairy-free version—same amount, same melted state.
Batter keeps in the fridge for 24 hours. Cooked waffles freeze beautifully—1 month in a sealed bag. Reheat in the toaster for crisp edges. No leftover batter means no storage headaches here.
Why You’ll Love This Recipe
- Single Serving Simplicity: I mix the dry ingredients in one bowl, the egg in another, and it’s done before my coffee gets cold.
- Golden, Crisp Perfection: The sugar caramelizes just enough to give that satisfying crunch with every bite.
- My Solo Morning Fix: Honestly, it’s my go-to when I want a hot breakfast without making a whole batch.
- Pantry Staples Only: Between us, I already have all these ingredients—no special trips to the store.
Step-by-Step Instructions for Single-Serve Waffles
Here’s the method. Straightforward, tested, works every time.
Step 1: Combine Dry Ingredients for Even Distribution
In a medium bowl, whisk together the 0.5 cup All-Purpose Flour, 0.5 tsp Baking Powder, 0.125 tsp Salt, and 1 tbsp Granulated Sugar until no lumps remain. I always sift the flour first for a lighter texture, but whisking thoroughly works just as well.
This step ensures the leavening agent and seasonings are evenly distributed throughout the batter. You’ll see the mixture take on a uniform color with no visible streaks of white or brown—this is your visual cue that it’s properly combined.
Step 2: Mix Wet Ingredients Separately
In another bowl, crack the 1 whole Large Egg and whisk it lightly. Add the 0.375 cup Whole Milk, 2 tbsp Unsalted Butter (melted and cooled slightly), and 0.25 tsp Vanilla Extract to the egg. Whisk until the mixture is smooth and pale yellow.
The melted butter should be warm but not hot—if it’s too hot, it will cook the egg. I test it by touching the bottom of the bowl; it should feel comfortably warm, not scorching. This creates a silky base for your batter.
Step 3: Combine Wet and Dry Mixtures Gently
Pour the wet ingredients into the dry ingredients bowl. Using a silicone spatula, fold the mixtures together just until combined. You’ll notice the batter is slightly lumpy—that’s perfect. Overmixing at this stage develops gluten, which makes waffles tough instead of tender.
Stop mixing as soon as you no longer see dry flour streaks. The batter should be thick but pourable. If it seems too thick, resist the urge to add more milk; the consistency will be correct for the waffle iron.
Step 4: Cook in Preheated Waffle Iron
Preheat your waffle iron according to manufacturer instructions. Brush both grids lightly with the 1 tsp Vegetable Oil to prevent sticking. Pour half the batter onto the center of the hot waffle iron—this recipe makes two single-serve waffles.
Close the lid and cook for 3-5 minutes until the waffle is golden brown and crisp. Most irons have an indicator light, but I also check by lifting the lid slightly to peek at the color. The waffle should release easily when it’s done.
Step 5: Serve Immediately for Optimal Texture
Transfer the cooked waffle to a wire rack or directly to a plate. Don’t stack them, as this traps steam and makes them soggy. Repeat with the remaining batter, brushing the iron with a tiny bit more oil if needed.
Serve immediately while still hot and crisp. The exterior should be golden and crunchy, while the interior stays light and fluffy. This contrast in textures is what makes these single-serve waffles so satisfying.
Pro Tips For Making Waffle Recipe For 1
- Preheat the Iron: I learned this the hard way—always let your waffle iron heat for at least 5 minutes before adding batter. A properly hot iron guarantees a crispy exterior without raw batter inside.
- Whisk the Egg: Beat that single egg vigorously for 30 seconds until frothy. This adds air to the batter, making your single-serving waffle light instead of dense.
- Skip Overmixing: Stir the batter just until the flour disappears. After ruining a few waffles with tough, chewy texture, I finally realized that lumps are better than overworking the gluten.
- Use Room-Temp Egg: Sounds weird, but it works: pull your egg out of the fridge 10 minutes before mixing. It blends more evenly into the batter, especially when making just one waffle.
Regional Styles of This Dish
Belgian Style
For a thicker, airier waffle, separate the 1 whole Large Egg and whip the white to stiff peaks before folding it into the batter. Use ½ cup All-Purpose Flour and add ¼ tsp yeast for extra lift. Cook in a deep-pocketed iron. 💛
Southern Buttermilk
Swap the 0.375 cup Whole Milk for buttermilk and add ½ tsp cornmeal for a tangy crunch. The acidity reacts beautifully with the 0.5 tsp Baking Powder for a taller, crispier result.
French Buckwheat
Replace ¼ cup All-Purpose Flour with buckwheat flour for a nutty, earthy flavor. Reduce the 1 tbsp Granulated Sugar to 1 tsp to balance the bitterness. These are traditionally served with savory toppings.
Scandinavian Cardamom
Add ¼ tsp ground cardamom to the dry ingredients for a warm, aromatic twist. Pair with lingonberry jam instead of syrup. The spice complements the 0.25 tsp Vanilla Extract beautifully.
Liege-Style Pearl Sugar
Fold in 2 tbsp pearl sugar after combining wet and dry ingredients. The sugar caramelizes in the iron, creating a sweet, crispy crust. Skip the 1 tbsp Granulated Sugar in the batter to avoid over-sweetening.
Nutrition Facts
Frequently Asked Questions
Can I make this without a waffle iron?
Unfortunately no—waffle irons create the signature grid pattern and crisp texture. You could pour the batter into a greased pan for pancakes, but the result won’t be the same.
Why does my waffle stick to the iron?
This usually means the iron wasn’t hot enough or properly greased. Always preheat for 5 minutes and brush with oil between batches. Nonstick irons still need light oil.
Can I use a different flour?
Whole wheat flour works but makes denser waffles. For gluten-free, use a 1:1 blend. Avoid almond flour alone—it lacks the structure for proper rise.
How do I keep waffles warm while cooking more?
Place finished waffles on a wire rack in a 200°F oven. Never stack them—they’ll steam and lose crispness. This works for up to 15 minutes.

- Peanut Brittle Recipe With Dry Roasted Peanuts: Crunchy Caramelized Sweetness - October 7, 2026
- Peanut Butter and Banana Bread Recipe UK: Moist Crumb With Nutty Swirls - October 7, 2026
- Frittata Recipe Oven: Fluffy Eggs with Crisp Golden Top - October 7, 2026