
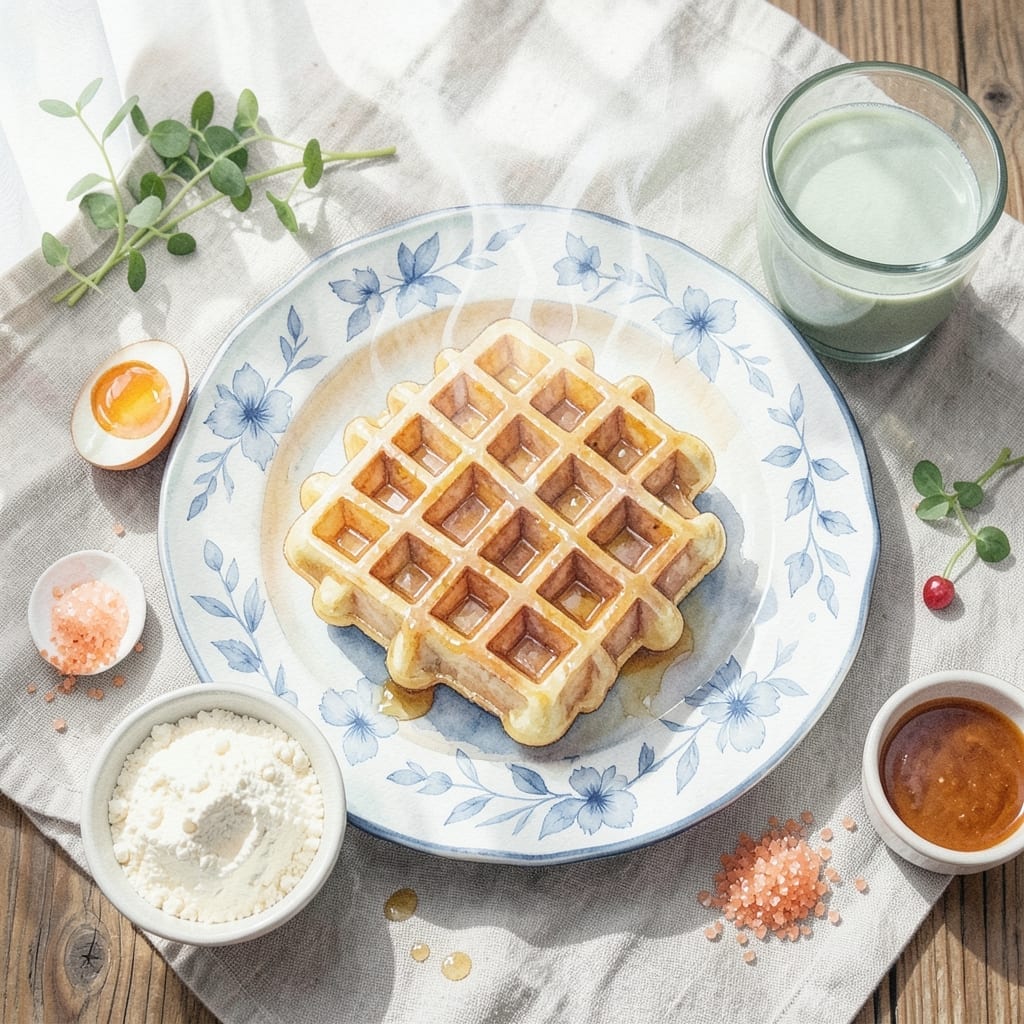
This mini waffle maker recipe delivers crispy, golden results with minimal effort. The compact size ensures each bite cooks evenly, while a simple batter yields perfect texture every time.
The key is a balanced mix of flour, eggs, and milk that creates a light, airy interior. A touch of sugar enhances browning, while baking powder guarantees lift in the tight confines of a mini maker.
You’ll achieve fast cooking with consistent results—no soggy centers or burnt edges. The batter comes together in minutes, making it ideal for busy mornings or weekend brunches.
Serve with syrup, fresh fruit, or powdered sugar for a satisfying start to the day.
Ingredients for Waffle Recipe Mini Waffle Maker
Nine ingredients create light, airy mini waffles with crisp edges every time.
| Ingredient | Amount | Notes |
|---|---|---|
| All-Purpose Flour 🌾 | 2 cups | Sifted for lighter texture |
| Granulated Sugar 🍚 | 2 tbsp | For browning and sweetness |
| Baking Powder 🧂 | 2 tsp | Ensures proper rise |
| Salt 🧂 | ½ tsp | Balances sweetness |
| Large Eggs 🥚 | 2 whole | Room temperature preferred |
| Whole Milk 🥛 | 1 ½ cups | Full-fat for richness |
| Unsalted Butter 🧈 | ¼ cup | Melted and cooled |
| Vanilla Extract 💧 | 1 tsp | Pure for best flavor |
| Vegetable Oil 🫒 | 1 tbsp | For greasing maker |
The flour is your foundation here. King Arthur or Gold Medal all-purpose work perfectly—no need for anything fancy. Baking powder is what gives these their lift in the tight space of a mini maker. Check the expiration date on yours (old baking powder loses its oomph). I grab mine from Whole Foods or any standard supermarket baking aisle.
No whole milk? 2% works fine, or use buttermilk for extra tang. Out of vanilla? Skip it rather than using imitation—the difference is noticeable. The melted butter can be swapped for coconut oil if you’re avoiding dairy. For sweeter waffles, bump the sugar to 3 tablespoons.
Batter keeps in the fridge for 24 hours if you want to prep ahead. Cooked waffles stay crisp if you warm them in a 200°F oven on a rack. They freeze beautifully for 3 months—reheat in a toaster.
Why You’ll Love This Recipe
- One-Bowl Wonder: I mix the flour, sugar, baking powder, salt, and eggs in a single bowl—no fuss, no extra dishes.
- Crispy Edges Always: The mini waffle maker gives them that golden, slightly crisp exterior with a tender center every time.
- Breakfast or Snack: I make a batch on Sunday and reheat for quick breakfasts, or the kids grab one as an after-school treat.
- Budget-Friendly Staples: All-purpose flour and eggs are pantry basics, so I can whip these up without a special grocery trip.
Step-by-Step Instructions for Mini Waffle Maker Bites
Here’s the method tested for perfect crispy edges and golden centers every time.
Step 1: Combine Dry Ingredients Thoroughly
In a large mixing bowl, whisk together the 2 cups All-Purpose Flour, 2 tbsp Granulated Sugar, 2 tsp Baking Powder, and 0.5 tsp Salt until fully incorporated and no streaks remain. I always sift the flour first for a lighter texture in the finished waffles.
This step ensures even distribution of leavening agents, which guarantees your waffles rise properly. The baking powder needs to be fully mixed with the dry ingredients to work effectively when the liquid is added.
Step 2: Create the Wet Mixture
In a separate bowl, beat the 2 whole Large Eggs lightly, then whisk in the 1.5 cups Whole Milk, 0.25 cup Unsalted Butter (melted and cooled), and 1 tsp Vanilla Extract. The butter should be cool enough that it doesn’t cook the eggs when combined.
Using room temperature eggs and milk helps create a smoother batter. The vanilla extract adds depth of flavor, but make sure it’s pure extract for the best results. The mixture should be pale yellow and slightly frothy on top.
Step 3: Combine Wet and Dry Ingredients
Pour the wet ingredients into the dry ingredients and stir gently with a spatula until just combined. It’s okay if there are a few small lumps remaining—overmixing will develop the gluten in the flour, resulting in tough waffles.
The batter should be thick but pourable. If it seems too thick, resist the urge to add more milk. The consistency is perfect for mini waffle makers, which require a slightly thicker batter than full-size waffle irons.
Step 4: Preheat and Grease the Mini Waffle Maker
Plug in your mini waffle maker and let it preheat fully. Most models have an indicator light that turns on when ready. While it heats, use a pastry brush to lightly coat both the top and bottom plates with some of the 1 tbsp Vegetable Oil.
Proper preheating is crucial for achieving crispy waffles. The oil creates a barrier that prevents sticking and promotes even browning. Even if your waffle maker has a non-stick surface, a light coating of oil ensures the waffles release easily.
Step 5: Cook Until Golden and Crisp
Pour batter onto the preheated waffle maker, filling each well about ¾ full. Close the lid and cook for 3-4 minutes, or until the waffles are golden brown and crispy. The exact time may vary depending on your specific waffle maker model.
Check for doneness by gently lifting a corner—if it releases easily and the waffle is golden brown with crisp edges, it’s ready. Remove carefully with a small spatula or fork and transfer to a wire rack to maintain crispness. Repeat with the remaining batter, greasing the plates between batches as needed.
Pro Tips For Making Waffle Recipe Mini Waffle Maker
- Preheat the Iron: I learned this the hard way—always preheat your mini waffle maker for at least 5 minutes. Cold batter on a cool surface makes for dense, pale waffles.
- Whip the Eggs: Separate the yolks and whites, then whip the whites to stiff peaks before folding them in. Sounds like extra work, but it’s what gives those mini waffles their airy lift.
- Skip Overmixing: Stir the batter just until the flour disappears—lumps are fine. Overmixing toughens the gluten, and you’ll end up with rubbery waffles instead of tender ones.
- Use a Cookie Scoop: A small cookie scoop or tablespoon measure makes portioning batter into the mini waffle maker fast and mess-free. No more spills or uneven cooking.
Best Sauces and Condiments for waffle recipe mini waffle maker
Classic Maple Syrup
Pure maple syrup is my top choice—its rich, complex sweetness complements the crispy texture perfectly. Use Grade A amber for balanced flavor. Warm it slightly for easier pouring over your mini waffle bites. 💛
Fresh Berry Compote
Simmer 1 cup mixed berries with 2 tbsp sugar and 1 tsp lemon juice for 5 minutes. The natural tartness cuts through the richness. I love strawberry-rhubarb in spring.
Whipped Cream Variety
Sweetened whipped cream adds a light, airy contrast. For extra flair, fold in 1 tsp vanilla or cinnamon. Use heavy cream chilled to 35°F for best volume.
Nut Butter Drizzle
Drizzle with 2 tbsp warmed peanut butter or almond butter for protein-packed indulgence. Thin with 1 tsp milk if too thick. A sprinkle of sea salt enhances the flavor. 🔥
Chocolate Sauce
Melt ½ cup chocolate chips with 2 tbsp cream for a decadent topping. Use dark chocolate for sophisticated depth or milk chocolate for classic sweetness.
Citrus Glaze
Mix 1 cup powdered sugar with 2 tbsp orange juice for a bright, tangy finish. Add ½ tsp zest for extra zing. This pairs especially well with the vanilla in the batter.
Nutrition Facts
Frequently Asked Questions
How do I prevent sticking in my mini waffle maker?
Always preheat the maker and brush both plates with vegetable oil before adding batter. Even non-stick surfaces benefit from a light coating.
Can I make the batter ahead of time?
Yes! The batter keeps in the fridge for up to 24 hours. Stir before using, as it may thicken slightly. For best results, use room temperature batter.
Why are my mini waffles not crispy?
Overfilling the wells or removing them too soon can cause sogginess. Cook until golden brown and transfer to a wire rack, not a plate.
What’s the best way to reheat leftover waffles?
Use a toaster or warm in a 200°F oven for 5-10 minutes. This restores crispness better than a microwave.

- BBQ Sausage Recipe Oven: Smoky Depth Without the Grill - September 28, 2026
- BBQ Chicken Bowl Recipe Rice: Smoky Sweetness Over Fluffy Grains - September 28, 2026
- Beef Cutlet Recipe Ideas: Crispy Breaded Patties With Bold Seasonings - September 28, 2026