
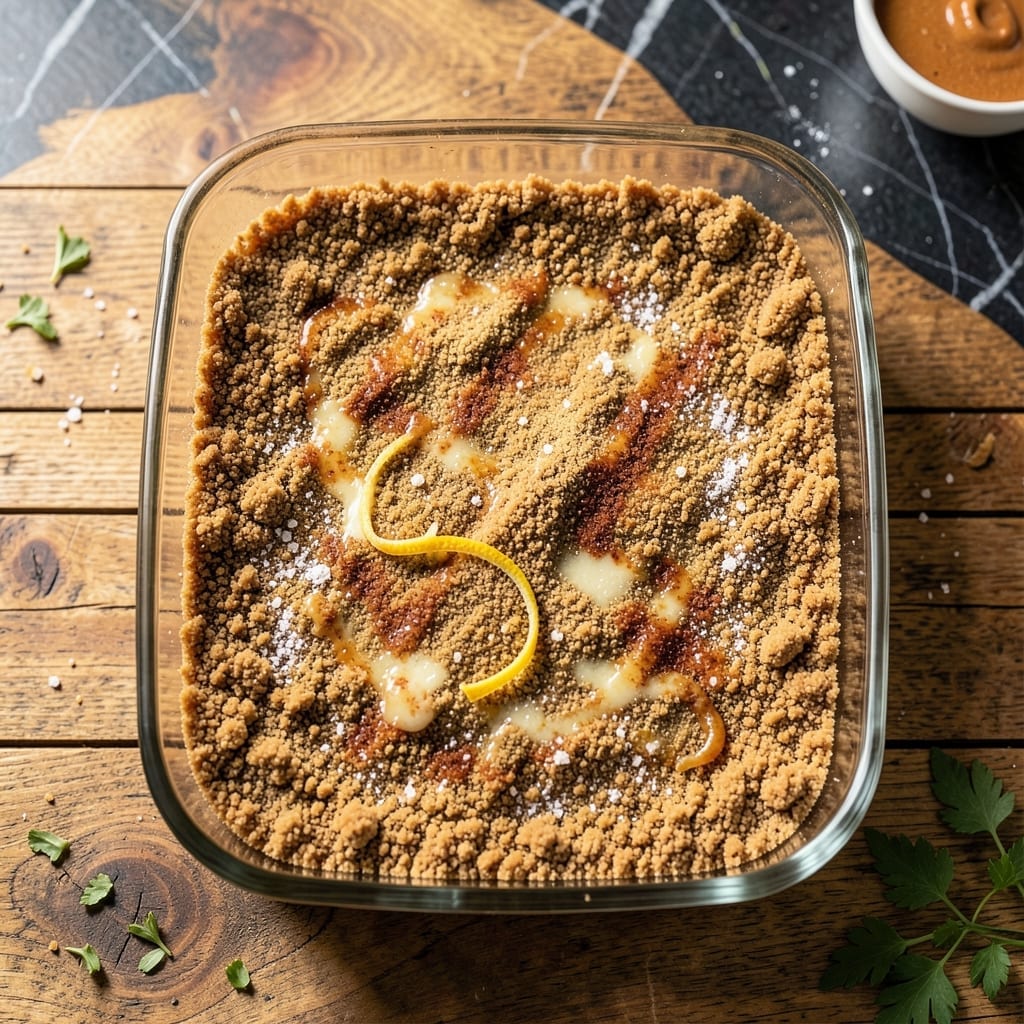
This 9×13 graham cracker crust delivers a buttery, crisp base that elevates any pie or cheesecake to professional quality. The secret lies in the perfect ratio of crushed crackers to melted butter, pressed firmly into the pan.
With just 5 ingredients and 10 minutes of prep, this crust comes together effortlessly. Pre-baking ensures it stays firm under fillings, while a touch of sugar enhances the natural honeyed flavor of the graham crackers.
What results is a golden, sturdy foundation that holds its shape when sliced. It pairs beautifully with creamy fillings, fruity toppings, or even as a no-bake base for icebox desserts.
Let this become your go-to crust for reliable, delicious results every time.
Ingredients for 9 X 13 Graham Cracker Crust
Five ingredients, one pan, endless possibilities for your dessert base.
| Ingredient | Amount | Notes |
|---|---|---|
| Graham Cracker Crumbs 🍪 | 3 cups | From about 24 full sheets |
| Unsalted Butter 🧈 | ¾ cup | Melted and cooled slightly |
| Granulated Sugar 🍚 | ¼ cup | Adjust to taste preference |
| Ground Cinnamon 🌿 | ½ tsp | Optional for warmth |
| Salt 🧂 | ¼ tsp | Fine sea salt preferred |
The graham crackers matter here. Honey Maid or Annie’s have the right sweetness and crunch—avoid the low-fat versions (they don’t crush as well). I grab mine from Target or Walmart when they’re on sale. The butter should be unsalted so you control the salt content. If you only have salted, reduce the added salt to a pinch. Store-bought crumbs work, but crushing your own gives better texture.
No graham crackers? Digestive biscuits or vanilla wafers make a fine substitute—just adjust the sugar down a touch. Vegan? Coconut oil or vegan butter swaps in perfectly at a 1:1 ratio. Want extra flavor? Toast the crumbs in the oven for 5 minutes before mixing with butter. The cinnamon is optional but adds a nice warmth that pairs well with apple or pumpkin fillings.
Pressed crust can sit at room temp for 2 hours before baking, or freeze for up to 1 month wrapped tightly. Baked crust keeps 3-4 days in the fridge. Always pre-bake if adding a wet filling to prevent sogginess.
Why You’ll Love This Recipe
- 5-Minute Base: I crush the graham crackers, melt the butter, and press it in—no mixer, no fuss, just done.
- Warm Cinnamon Hug: The cinnamon and sugar in the crumbs make it taste like a cozy autumn dessert.
- Crowd-Pleasing Canvas: I use this crust for cheesecakes, pies, or even no-bake bars for every potluck.
- Pantry Staple Win: Between us, I always have graham crackers and butter on hand, so it’s my last-minute hero.
Step-by-Step Instructions for 9 X 13 Graham Cracker Crust
This method delivers a crisp, buttery foundation that holds together beautifully for any pie.
Step 1: Melt and Cool the Butter
Begin by melting the 0.75 cup Unsalted Butter in a microwave-safe bowl or small saucepan over low heat. Watch it closely—you want it fully melted but not hot enough to bubble or brown. This takes about 45-60 seconds in the microwave.
Let the melted butter cool for 5 minutes at room temperature. It should still be liquid but not warm to the touch. This step prevents the fat from separating from the crumbs when you mix everything together, which would create a greasy crust instead of a firm, cohesive base.
Step 2: Combine Dry Ingredients
In a large mixing bowl, combine the 3 cups Graham Cracker Crumbs, 0.25 cup Granulated Sugar, 0.5 tsp Ground Cinnamon, and 0.25 tsp Salt. Use a fork or whisk to distribute the sugar and spices evenly throughout the crumbs.
I always taste the mixture at this point to check the sweetness level—you can add a pinch more sugar if needed, but remember the butter will mellow the overall flavor. The cinnamon should be subtle, adding warmth without overpowering the graham flavor.
Step 3: Mix in the Butter
Slowly pour the cooled melted butter over the dry ingredients while stirring with a rubber spatula or wooden spoon. Mix until every crumb is evenly coated and the mixture resembles wet sand. You should be able to press a handful together and have it hold its shape briefly.
If the mixture seems too dry and crumbly, it means the butter wasn’t fully incorporated—keep mixing. If it’s too wet, you might have added too much butter, but with the exact 0.75 cup measurement, this shouldn’t happen. The texture should be slightly crumbly but press together easily.
Step 4: Press and Pre-Bake the Crust
Transfer the crumb mixture to a 9 x 13-inch baking dish. Use the bottom of a measuring cup or your fingers to press the mixture firmly and evenly into the bottom of the pan. Press hard—this compaction is what gives the crust its structure and prevents it from crumbling when sliced.
For a no-bake crust, refrigerate for at least 1 hour to set. For a baked crust, preheat the oven to 350°F and bake for 8-10 minutes until the edges are light golden brown and the center looks dry. Let it cool completely before adding any filling.
Pro Tips For Making 9 X 13 Graham Cracker Crust
- Press Firmly: Use the bottom of a glass to really pack those crumbs into the pan—this prevents the crust from crumbling when you slice it later. I learned this the hard way after my first few pies looked like gravel pits.
- Melt Butter Slowly: Brown the butter just until it starts to smell nutty, then let it cool for 5 minutes before mixing—hot butter makes the crumbs soggy. Sounds weird, but it works.
- Skip the Pre-Bake: Unless your filling is custard-based, there’s no need to pre-bake the crust. Resist the urge to overcomplicate it—just chill it for 30 minutes to set.
- Use Fine Crumbs: Pulse your graham crackers in the food processor until they’re almost powdery—big chunks mean a weak structure. My grandmother swore by this, and she was right.
Wine and Beer Pairings for These Flavors
Dessert Wine Pairings
For a creamy cheesecake, I love pairing this crust with Moscato d’Asti—its light fizz and peach notes complement the buttery graham flavor beautifully. A Riesling Kabinett from Germany adds a touch of honey and citrus that enhances the crust’s sweetness. 🍷
Rich Red Options
Surprisingly, a Ruby Port works wonders with chocolate or caramel fillings. The berry flavors and sweetness match the crust’s richness. For a bolder choice, try Banyuls, a French dessert wine with caramel and nut undertones.
Beer Pairings
A stout or porter like Guinness or Founders KBS brings out the toasty, buttery notes of the crust. The roasted malt flavors create a perfect contrast with the sweetness. For a lighter option, a Belgian dubbel like Chimay Red offers caramel and dark fruit notes.
Coffee Pairings
If you prefer non-alcoholic options, a cold brew coffee with a splash of cream mirrors the crust’s depth. The bitterness balances the sweetness, while the creaminess echoes the butter in the recipe. 💛
Nutrition Facts
Frequently Asked Questions
Do I need to pre-bake the crust?
Yes, pre-baking at 350°F for 8-10 minutes prevents sogginess with wet fillings. Skip this only for no-bake desserts, where chilling sets the crust.
Can I use store-bought crumbs?
but homemade crumbs from full sheets give better texture. If using pre-made, measure 3 cups tightly packed and reduce sugar slightly.
How do I make it gluten-free?
Swap graham crackers for gluten-free digestive biscuits or almond flour. The ratio remains the same, but press extra firmly for cohesion.
Why did my crust crumble when sliced?
It likely needed more butter or pressing. Ensure the mixture resembles wet sand before pressing and chill for 1 hour before slicing.

- BBQ Oysters Recipe Grill: Smoky Garlic Butter Bliss - September 28, 2026
- Crock Pot Mac and Cheese Recipe Paula Deen: Ultra Creamy Southern-Style Comfort - September 28, 2026
- Beyond Burger Recipe Ideas: Plant-Based Creativity for Every Meal - September 28, 2026