
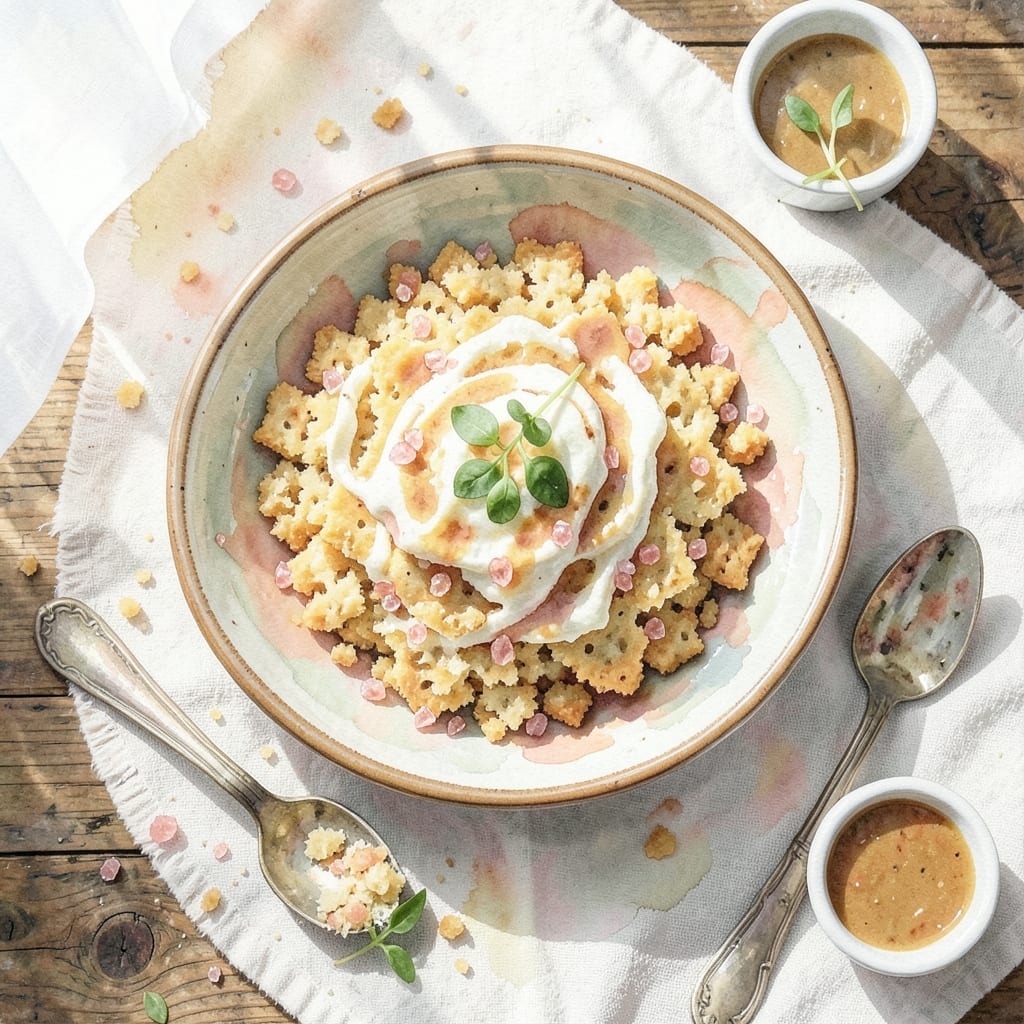
I’ve discovered the perfect foundation for a no-bake cheesecake that’s both simple and foolproof. Graham crackers, crushed and mixed with melted butter, create a sturdy yet tender base that holds up beautifully.
This method requires no oven and just 10 minutes of prep. The buttery crumb mixture presses into the pan, forming a compact layer that chills into a crisp, golden crust.
It pairs effortlessly with any creamy filling, from classic cheesecake to chocolate mousse. The result is a dessert with a satisfying texture contrast—smooth filling meets crunchy base.
Ideal for warm weather or when you need a quick, impressive treat. The possibilities with this base are endless.
Ingredients for Recipe Using Graham Crackers
A few simple ingredients create this no-bake dessert base with perfect crunch and flavor.
| Ingredient | Amount | Notes |
|---|---|---|
| Graham Crackers 🍪 | 2 cups | Finely crushed, about 15 full sheets |
| Unsalted Butter 🧈 | ½ cup | Melted and slightly cooled |
| Granulated Sugar 🍚 | 2 tbsp | Optional for extra sweetness |
| Ground Cinnamon 🌿 | ½ tsp | For warm spice flavor |
| Salt 🧂 | ¼ tsp | Balances the sweetness |
| Vanilla Extract 🌿 | ½ tsp | Pure extract for best flavor |
| Cream Cheese 🧀 | 16 oz | Softened to room temperature |
| Powdered Sugar 🍚 | ¾ cup | Sifted for smooth texture |
| Heavy Whipping Cream 🥛 | 1 cup | Cold, for whipping |
| Lemon Juice 🍋 | 1 tbsp | Freshly squeezed preferred |
The graham crackers are key—Honey Maid or store-brand both work, but avoid the cinnamon-flavored ones unless you want extra spice. I grab mine from Target or Walmart in bulk. The butter needs to be unsalted so you control the salt level. For the best texture, pulse the crackers in a food processor (or seal in a bag and smash with a rolling pin). Freshly crushed tastes better than pre-made crumbs.
No graham crackers? Digestive biscuits or vanilla wafers work in a pinch. Out of cream cheese? Mascarpone at a 1:1 ratio gives a lighter texture. Skip the cinnamon if you prefer a classic flavor. The vanilla extract can be swapped for almond extract (use half the amount). Heavy cream is non-negotiable for the filling—no substitutions here.
The crust keeps in the fridge for up to 3 days before adding filling. Once assembled, the whole cheesecake stays fresh for 4-5 days. Freeze the crust alone for up to 1 month—just thaw before using. Always press the mixture firmly into the pan for that crisp finish.
Why You’ll Love This Recipe
- Five Minute Base: I crush the graham crackers right in the bag, melt the butter in the same bowl I’ll mix everything in, and it’s basically done.
- Warm Cinnamon Hug: Butter and sugar caramelize just enough to make the cinnamon pop—like a cozy campfire in dessert form.
- Snack or Dessert: I’ve served it as a pie crust, a no-bake bar, and even a topping for ice cream. One batch, endless options.
- Pantry Hero: Honestly, I always have these ingredients on hand, so it’s my go-to when I need something sweet without a store run.
Step-by-Step Instructions for No-Bake Cheesecake Base
Here’s the method. Straightforward, tested, works every time.
Step 1: Prepare the Graham Cracker Crust
Finely crush the 2 cups Graham Crackers in a food processor or sealed plastic bag with a rolling pin until you achieve a sand-like texture. This ensures a uniform crust that binds well and provides the perfect foundation for your cheesecake.
Transfer the crumbs to a bowl and stir in the 2 tbsp Granulated Sugar, 0.5 tsp Ground Cinnamon, and 0.25 tsp Salt. The cinnamon adds a warm depth, while the salt balances the sweetness. Pour in the 0.5 cup Unsalted Butter and mix until the crumbs are evenly moistened and hold together when pressed.
Step 2: Press and Set the Crust
Dump the buttery crumb mixture into a 9-inch springform pan and press it firmly into the bottom using a measuring cup or the back of a spoon. I like to start with the edges and work my way inward, creating an even layer about ¼-inch thick.
For a flawless base, use a straight-sided glass to press and compact the crust further. This prevents crumbly edges and ensures a professional finish. Chill in the refrigerator for 15 minutes to set while you prepare the filling.
Step 3: Make the Cream Cheese Filling
In a large mixing bowl, beat the 16 oz Cream Cheese until smooth and creamy. I always use room-temperature cream cheese—this prevents lumps and guarantees a silky texture. Add the 0.75 cup Powdered Sugar and mix on medium speed for 2 minutes until fully incorporated.
Stir in the 0.5 tsp Vanilla Extract and 1 tbsp Lemon Juice. The vanilla enhances the sweetness, while the lemon juice adds a subtle brightness that cuts through the richness. Scrape down the sides of the bowl as needed to ensure even mixing.
Step 4: Whip and Fold the Cream
In a separate chilled bowl, whip the 1 cup Heavy Whipping Cream on high speed until stiff peaks form. This should take about 3-4 minutes. Be careful not to over-whip, or the cream will turn grainy. Gently fold the whipped cream into the cream cheese mixture using a spatula, maintaining as much volume as possible.
The filling should be light, airy, and spreadable. Overmixing at this stage can deflate the cream, so use a gentle hand. Once fully combined, the mixture should hold its shape but still be smooth and creamy.
Step 5: Assemble and Chill
Spoon the cream cheese filling over the chilled crust and smooth the top with an offset spatula or the back of a spoon. Tap the pan lightly on the counter to remove any air bubbles and create an even surface.
Refrigerate for at least 4 hours or overnight to allow the filling to set completely. This no-bake method relies on chilling time to achieve the perfect sliceable texture. Once set, run a knife around the edge before releasing the springform pan for clean, professional slices.
Pro Tips For Making Recipe Using Graham Crackers
- Crush Evenly: Pulse graham crackers in a food processor until they’re fine crumbs—about 10-12 quick bursts. I learned this the hard way after ending up with chunky bits that made the base uneven.
- Melt Slowly: Heat the butter over low, not medium, to avoid browning. After burning two batches, I finally figured out that gentle heat keeps the color and flavor clean.
- Season the Crumbs: Mix the cinnamon and salt directly into the graham crumbs before adding butter. Sounds weird, but it works—way better distribution than tossing it all together at the end.
- Press Firmly: Use the bottom of a glass to compact the crust into the pan, pressing hard for at least 30 seconds. This isn’t the prettiest method, but it’s the tastiest—prevents a crumbly mess when you slice it later.
Flavor Customization for This Recipe
Sweet Spice Boost
Add 1 tsp pumpkin pie spice to the crust mixture for a warm, aromatic twist. This blend of cinnamon, nutmeg, and ginger pairs beautifully with the graham crackers’ natural sweetness. I love this for fall-themed desserts.
Chocolate Lovers
Mix ¼ cup cocoa powder into the crushed crackers for a rich chocolate crust. This works especially well with chocolate cheesecake fillings or mint-flavored toppings. The contrast between the dark crust and creamy filling is divine. 💫
Citrus Zing
Incorporate 1 tbsp orange zest into the crust mixture for a bright, citrusy note. This complements fruit toppings like berries or lemon curd. The zest adds freshness that cuts through the richness.
Nutty Crunch
Stir in ½ cup finely chopped pecans or almonds for added texture and depth. Toast the nuts first at 350°F for 5 minutes to enhance their flavor. This gives your base an elegant, gourmet touch.
Coconut Twist
Replace ½ cup of graham crackers with ½ cup toasted coconut flakes for a tropical flavor. Press firmly into the pan as coconut can be less sticky. Perfect for piña colada-inspired desserts.
Espresso Kick
Add 1 tsp instant espresso powder to the crust mixture for a subtle coffee note. This pairs wonderfully with mocha or tiramisu-style fillings. The espresso enhances the chocolate flavors without overpowering them. 🔥
Nutrition Facts
Frequently Asked Questions
Can I use pre-crushed graham cracker crumbs?
Yes, store-bought crumbs work fine. Use 2 cups of pre-crushed crumbs and proceed as directed. Freshly crushed often tastes slightly better, but the convenience factor makes pre-crushed a great option.
How long can I store the crust before adding filling?
The pressed crust keeps well in the fridge for up to 3 days if tightly covered. For best results, add the filling immediately after the initial 15-minute chill to prevent sogginess.
What if my crust is too crumbly?
Press harder when compacting the mixture and add an extra 1-2 tbsp of melted butter. Chill for the full 15 minutes before adding filling. This usually solves any structural issues.

- BBQ Sausage Recipe Oven: Smoky Depth Without the Grill - September 28, 2026
- BBQ Chicken Bowl Recipe Rice: Smoky Sweetness Over Fluffy Grains - September 28, 2026
- Beef Cutlet Recipe Ideas: Crispy Breaded Patties With Bold Seasonings - September 28, 2026