
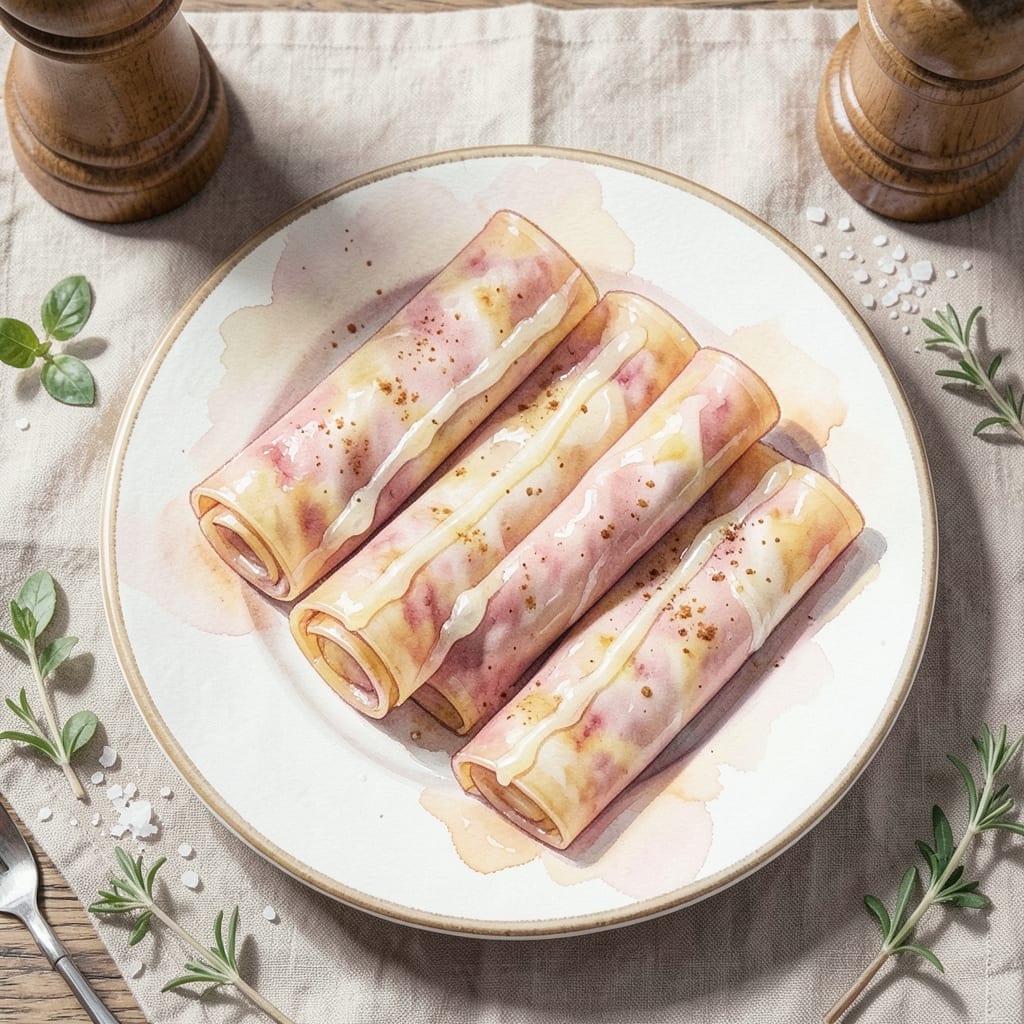
There’s something magical about transforming fresh apples into chewy, sweet fruit roll-ups right in your own kitchen. This dehydrator method preserves the natural flavor while creating a snack that’s far superior to store-bought versions.
The process is surprisingly simple: blend ripe apples with a touch of sweetener, spread the puree thinly, and let the dehydrator work its magic. No artificial colors or preservatives—just pure, concentrated apple goodness in every bite.
You’ll end up with flexible sheets of apple leather that peel easily away from the parchment. The texture is perfectly chewy, the flavor intensely apple, and the satisfaction of making it yourself is unmatched.
Perfect for lunchboxes, hiking trips, or a healthy afternoon treat. This method delivers consistent results every time.
Ingredients for Apple Fruit Roll Up Recipe Dehydrator
Fresh apples and a few pantry staples transform into these chewy, sweet fruit roll-ups.
| Ingredient | Amount | Notes |
|---|---|---|
| Ripe Apples 🍎 | 6 whole | Sweet variety like Fuji or Gala |
| Lemon Juice 🍋 | 2 tbsp | Freshly squeezed preferred |
| Granulated Sugar 🍚 | 2 tbsp | Optional for extra sweetness |
| Ground Cinnamon 🌿 | ½ tsp | Warm spice for depth |
| Vanilla Extract 🌿 | ½ tsp | Pure extract for best flavor |
| Water 💧 | 2 tbsp | As needed for blending |
| Salt 🧂 | 0.125 tsp | Pinch to enhance flavor |
| Parchment Paper 📄 | 1 sheet | For dehydrator trays |
| Plastic Wrap 📄 | 1 sheet | For covering puree |
The apples are everything here. Fuji or Gala give the sweetest, most consistent results, but any variety works if it’s perfectly ripe. Farmers markets are ideal for in-season fruit, but grocery store apples are fine too—just taste one first for sweetness. If they’re a bit tart, lean into the optional sugar. Avoid mealy or overripe apples, as they won’t puree smoothly.
No dehydrator? An oven set to 170°F with the door slightly ajar works in a pinch. Swap cinnamon for pumpkin pie spice for a warm twist, or add a pinch of nutmeg. For a tangy kick, replace lemon juice with orange juice. If the puree is too thick to spread, thin it with an extra tablespoon of water—just don’t overdo it.
Store these in an airtight container with parchment between layers to prevent sticking. They keep at room temperature for 1 week, in the fridge for 2 weeks, or frozen for 3 months. Perfect for portioning into strips for easy grab-and-go snacking.
Why You’ll Love This Recipe
- 5-Minute Prep: I just core the apples, blend with lemon juice and spices, then spread—no peeling, no fuss.
- Cinnamon-Vanilla Magic: That warm cinnamon and vanilla swirl with the sweet-tart apples tastes like autumn in a bite.
- Snack Stash Savior: I make a big batch on Sunday and pack them all week for lunchboxes or hiking trips.
- Pantry Hero: Ripe apples on the verge? This turns them into shelf-stable treats instead of waste.
Step-by-Step Instructions for Apple Fruit Roll Ups Using a Dehydrator
This method ensures perfectly chewy, flavorful fruit leather with minimal effort and maximum control.
Step 1: Prepare and Puree the Apples
Core and roughly chop all 6 whole Ripe Apples. There’s no need to peel them—the skin adds fiber and a subtle texture to the final product. Place the chopped apples in a blender or food processor along with the 2 tbsp Lemon Juice.
The lemon juice prevents browning and adds a bright note to balance the sweetness. Pulse until you achieve a smooth puree. If the mixture seems too thick, add the 2 tbsp Water to help it blend uniformly. The consistency should resemble thick applesauce.
Step 2: Sweeten and Season the Puree
Transfer the apple puree to a mixing bowl. Stir in the 2 tbsp Granulated Sugar, 0.5 tsp Ground Cinnamon, 0.5 tsp Vanilla Extract, and 0.125 tsp Salt. Taste and adjust sweetness or spice levels if desired.
The sugar enhances the natural sweetness of the apples, while the cinnamon and vanilla add depth. The salt might seem insignificant, but it heightens all the flavors. Mix thoroughly to ensure even distribution of seasonings throughout the puree.
Step 3: Spread the Puree Evenly on Parchment
Line your dehydrator trays with the 1 sheet Parchment Paper, trimming to fit if necessary. Pour the seasoned apple puree onto the parchment and spread it into an even layer, approximately ⅛-inch thick, using a silicone spatula.
Uniform thickness is crucial for even drying. Leave a ½-inch border around the edges to prevent the puree from touching the sides of the dehydrator. If your dehydrator has multiple trays, you may need to divide the puree between them.
Step 4: Dehydrate Until Leathery
Set your dehydrator to 135°F. Place the trays in the dehydrator and let them dry for 4-6 hours. Check periodically after the 4-hour mark—the fruit leather is done when it peels away from the parchment easily and feels tacky but not sticky to the touch.
If any spots remain wet, continue dehydrating and check every 30 minutes until fully set. Avoid the temptation to turn up the heat; higher temperatures can cause the edges to dry too quickly while leaving the center underdone.
Step 5: Cool, Slice, and Store
Once dehydrated, remove the trays from the dehydrator and let the fruit leather cool completely on the parchment. This cooling step ensures it firms up properly. Gently peel the leather away from the parchment—if it resists, it may need more drying time.
Use clean kitchen shears to cut the leather into strips. Roll each strip up tightly and wrap with the 1 sheet Plastic Wrap for storage. These will keep at room temperature for up to 2 weeks, or in the refrigerator for 1 month.
Pro Tips For Making Apple Fruit Roll Up Recipe Dehydrator
- Thin Even Layers: Spread the puree no thicker than 1/8 inch—any deeper and it’ll take forever to dry, or worse, stay gummy in the middle. I learned this the hard way after peeling half-dry roll-ups off the tray.
- Use Tart Apples: Granny Smith or Honeycrisp hold up better than soft, mealy varieties. Sounds weird, but the extra acidity balances the sugar and keeps the color bright.
- Pre-Treat the Trays: Lightly oil or line your dehydrator sheets with parchment to prevent sticking. After ruining two batches that fused to the plastic, I finally wised up.
- Rotate for Consistency: Swap the trays halfway through drying—most dehydrators have hot spots. My first few batches had some sheets crisp and others still wet.
Common Mistakes When Making Great apple fruit roll up recipe dehydrator
Uneven Puree Thickness
Spreading the puree too thick or unevenly is the most common mistake. Aim for a consistent ⅛-inch thickness across the entire tray. Thicker spots won’t dry properly, while thinner areas may over-dehydrate. I use an offset spatula for precision. 💡
Skipping the Lemon Juice
Omitting the 2 tbsp Lemon Juice leads to browning and a duller flavor. The acidity brightens the apple taste and preserves the vibrant color. Even if your apples seem sweet enough, don’t skip this step—it’s non-negotiable for quality results.
Overcrowding Trays
Leaving insufficient space between puree portions causes uneven drying. Maintain at least a ½-inch border around each tray’s edges. If your dehydrator has limited space, use fewer trays and work in batches. Patience ensures even texture throughout.
High Temperature Temptation
Setting the dehydrator above 135°F speeds up the process but ruins the texture. Higher heat dries the edges too quickly, leaving the center gummy. Stick to the recommended temperature for 4-6 hours—trust me, the wait is worth it.
Premature Peeling
Removing the leather before it’s fully cooled causes tearing. Let it cool completely on the parchment for at least 30 minutes after dehydrating. This step firms up the leather, making it easier to peel and cut cleanly. 🔥
Improper Storage
Stacking roll-ups without separation leads to sticking. Store them in an airtight container with parchment between layers. At room temperature, they’ll last 1 week—any longer and they’ll lose their ideal chewy texture.
Nutrition Facts
Frequently Asked Questions
Do I need to peel the apples first?
No peeling required! The skin adds fiber and texture to your roll-ups. Just wash them well and remove the core before blending.
How thin should the puree be spread?
Aim for a consistent ⅛-inch thickness. Use an offset spatula for even spreading. Too thick means uneven drying.
Can I make this without a dehydrator?
Yes! Use your oven set to its lowest temperature, about 170°F, with the door slightly open. Expect 6-8 hours drying time.
Why did my roll-ups turn out sticky?
They likely need more drying time. They’re done when tacky but not sticky to touch. Return to dehydrator for 30-minute increments until proper texture is achieved.

- BBQ Sausage Recipe Oven: Smoky Depth Without the Grill - September 28, 2026
- BBQ Chicken Bowl Recipe Rice: Smoky Sweetness Over Fluffy Grains - September 28, 2026
- Beef Cutlet Recipe Ideas: Crispy Breaded Patties With Bold Seasonings - September 28, 2026