
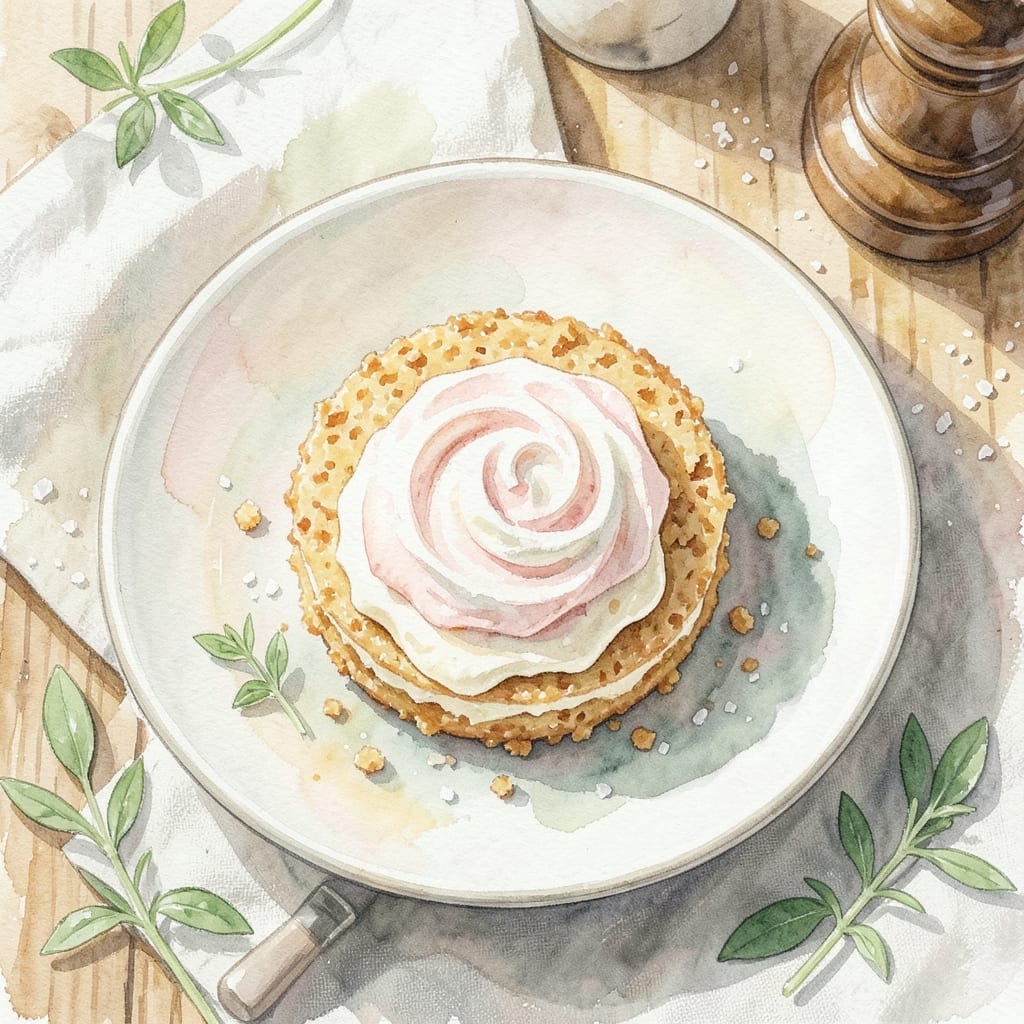
There’s something truly special about this layered dessert that brings back childhood memories with every bite. I’ve refined this version to capture the perfect balance of creamy, crunchy, and sweet that defines the classic.
The beauty lies in its simplicity—just a few pantry staples transformed into a show-stopping treat. Vanilla wafers soften just enough to meld with the creamy layers while maintaining their signature texture. It’s the kind of dessert that looks impressive but requires minimal effort.
What you’ll end up with is a no-bake masterpiece that serves a crowd and keeps well in the fridge. The layers develop even more flavor after chilling, making it the perfect make-ahead option for gatherings or potlucks.
Serve chilled for the best texture and flavor. This recipe proves that sometimes the simplest creations are the most memorable.
Ingredients for Recipe for Yum Yum Cake
Transform pantry staples into this nostalgic layered dessert everyone loves instantly.
| Ingredient | Amount | Notes |
|---|---|---|
| Vanilla Wafers 🍪 | 14 ½ oz | About 1 box, crushed |
| Instant Vanilla Pudding Mix 🥄 | 3.4 oz | 1 box, small size |
| Cold Whole Milk 🥛 | 2 cups | For pudding preparation |
| Heavy Whipping Cream 🥣 | 2 cups | Chilled for whipping |
| Powdered Sugar 🧂 | ½ cup | Sifted for smoothness |
| Vanilla Extract 🌿 | 1 tsp | Pure extract preferred |
| Crushed Pineapple 🍍 | 1 can | 20 oz, undrained |
| Maraschino Cherries 🍒 | 1 cup | Chopped, for topping |
| Chopped Pecans 🌰 | ½ cup | Toasted optional |
| Unsalted Butter 🧈 | ¼ cup | Melted for base layer |
The vanilla wafers are non-negotiable—Nilla Wafers are the classic choice and widely available at any grocery store. I grab mine from Walmart in the cookie aisle, but any brand works. The pudding mix needs to be instant (not cook-and-serve) for the right texture. Jell-O brand is reliable, but store brands are just as good. The crushed pineapple adds moisture and sweetness—make sure it’s undrained for the best results.
No instant pudding? Vanilla custard powder works in a pinch. Skip the pecans if allergies are a concern—walnuts or almonds are great substitutes. Want it extra rich? Use half-and-half instead of milk in the pudding. The whipped cream can be store-bought (about 8 oz tub), but homemade tastes better and holds up longer in the layers.
This keeps beautifully in the fridge for 3-4 days—if it lasts that long. Cover tightly with plastic wrap to prevent drying. Freezing isn’t recommended as the wafers get soggy when thawed. Perfect for potlucks since it serves a crowd and travels well chilled.
Why You’ll Love This Recipe
- No-Bake Bliss: I love that there’s zero oven time—just mix, layer, and chill while the pudding and cream work their magic.
- Vanilla Cloud: The whipped cream and pudding create this light, dreamy texture that melts in your mouth.
- Potluck MVP: Honestly, it’s my go-to for summer picnics because it travels well and disappears fast.
- Budget Friendly: Five simple ingredients, most of which I already have, and it feeds a crowd without breaking the bank.
Step-by-Step Instructions for Yum Yum Cake
This no-bake layered dessert comes together beautifully with just a little patience and planning.
Step 1: Prepare the Vanilla Wafer Base
Melt the 0.25 cup Unsalted Butter and pour it into a 9×13-inch baking dish. Tilt the dish to coat the bottom evenly. This creates a moisture barrier that prevents the vanilla wafers from getting soggy too quickly.
Arrange a single layer of 14.5 oz Vanilla Wafers over the melted butter, breaking some to fit as needed. Press them gently into the butter so they adhere. I like to place them close together but not overlapping—this ensures every bite has that buttery, crisp base.
Step 2: Make the Vanilla Pudding Layer
In a large bowl, whisk together the 3.4 oz Instant Vanilla Pudding Mix and 2 cups Cold Whole Milk for 2 minutes until thickened and smooth. The pudding will set almost immediately, so work quickly.
Fold in the 1 can Crushed Pineapple with all its juice. This adds a sweet-tart brightness that cuts through the richness. The mixture should be thick but pourable—if it seems too firm, stir in an extra splash of milk.
Spread this pudding mixture evenly over the vanilla wafer layer. Use a spatula to smooth the top, making sure it reaches all the edges. The pudding will continue to set as it sits, so don’t worry if it looks a bit loose at this stage.
Step 3: Whip the Cream Topping
In a chilled bowl, combine the 2 cups Heavy Whipping Cream, 0.5 cup Powdered Sugar, and 1 tsp Vanilla Extract. Beat on medium-high speed until stiff peaks form—this usually takes 3-4 minutes with a hand mixer.
Watch for the cream to hold its shape when the beaters are lifted. Be careful not to over-whip, or it’ll turn grainy. The sugar stabilizes the cream, giving it a smooth, spreadable texture that holds up well in layers.
Spread the whipped cream evenly over the pudding layer. This creates a light, airy contrast to the denser layers below. Use the back of a spoon to create gentle swirls or peaks for visual appeal.
Step 4: Add the Final Toppings
Sprinkle the 0.5 cup Chopped Pecans evenly over the whipped cream. These add a satisfying crunch and nutty depth. If you prefer, lightly toast the pecans first to enhance their flavor—just let them cool completely before adding.
Scatter the 1 cup Maraschino Cherries over the top, pressing them lightly into the cream so they stay in place. I like to chop them for even distribution, but leaving some whole adds a pop of color. For extra flair, save a few cherries to arrange in a decorative pattern.
Step 5: Chill and Serve
Cover the dish with plastic wrap and refrigerate for at least 4 hours, or overnight if possible. This chilling time is crucial—it allows the vanilla wafers to soften slightly while the layers meld together into that signature yum yum cake texture.
When ready to serve, slice into squares and enjoy cold. The flavors deepen as it sits, so leftovers (if there are any!) taste even better the next day. Each serving should showcase all the layers: the buttery base, creamy pudding, light whipped topping, and colorful garnishes.
Pro Tips For Making Recipe For Yum Yum Cake
- Chill the Bowl: Pop your mixing bowl and beaters in the freezer for 10 minutes before whipping the cream. I learned this the hard way—warm tools mean flat, sad whipped cream instead of those perfect stiff peaks.
- Crush Evenly: Pulse the vanilla wafers in a food processor until they’re fine crumbs, but don’t overdo it or you’ll end up with paste. A few larger crumbs are fine and actually give it a nicer texture.
- Fold Gently: When combining the pudding mixture with the whipped cream, use a spatula and fold just until blended. Overmixing deflates the cream, and suddenly your cake loses that airy, dreamy quality.
- Layer Immediately: Spread each layer right after mixing—if you let the pudding sit too long, it thickens and becomes harder to spread evenly. Sounds obvious, but I’ve rushed this step and regretted it every time.
Flavor Customization for This recipe for yum yum cake
Chocolate Lover’s Twist
Swap the vanilla pudding for 3.4 oz chocolate instant pudding mix and use chocolate vanilla wafers if available. The crushed pineapple still works beautifully, adding moisture. For extra decadence, fold in ½ cup mini chocolate chips before spreading the pudding layer. 🍫
Tropical Paradise Version
Replace the crushed pineapple with 1 can mandarin oranges, drained but not rinsed, for a citrusy twist. Add ½ cup toasted coconut flakes to the whipped cream layer. The bright orange flavor pairs wonderfully with the creamy base.
Berry Delight
Mix 1 cup fresh strawberries, diced and lightly sweetened, into the pudding layer. Top with sliced berries instead of cherries. For extra flavor, add 1 tsp strawberry extract to the whipped cream. This version tastes like summer in every bite.
Coffee Infusion
Add 1 tbsp instant coffee granules to the pudding mix for a subtle coffee flavor. The bitterness balances the sweetness perfectly. Garnish with chocolate-covered espresso beans for crunch and visual appeal.
Spiced Chai Variation
Stir 1 tsp chai spice blend into the whipped cream before spreading. The warm spices—cinnamon, cardamom, ginger—add depth to the vanilla. Top with extra chai spice for a fragrant finish.
Lighter Citrus Option
Use lemon or orange pudding mix for a tangy twist. Replace the milk with 2 cups cold buttermilk for extra creaminess. Garnish with lemon zest for brightness and color.
Nutrition Facts
Frequently Asked Questions
Can I use store-bought whipped topping instead of heavy cream?
Yes, you can substitute 8 oz of thawed frozen whipped topping. However, homemade whipped cream holds up better and tastes fresher in this layered dessert.
How long does it need to chill before serving?
Allow at least 4 hours in the fridge, but overnight is ideal. This gives the vanilla wafers time to soften perfectly while the flavors meld together.
Can I make it without pineapple?
Try substituting with 1 can mandarin oranges or 1 cup diced strawberries for different flavor variations. Just keep the same liquid volume for best results.
What’s the best way to store leftovers?
Cover tightly with plastic wrap and refrigerate for up to 3-4 days. Avoid freezing as it can make the wafers soggy. The flavors actually improve after a day in the fridge!

- BBQ Sausage Recipe Oven: Smoky Depth Without the Grill - September 28, 2026
- BBQ Chicken Bowl Recipe Rice: Smoky Sweetness Over Fluffy Grains - September 28, 2026
- Beef Cutlet Recipe Ideas: Crispy Breaded Patties With Bold Seasonings - September 28, 2026