
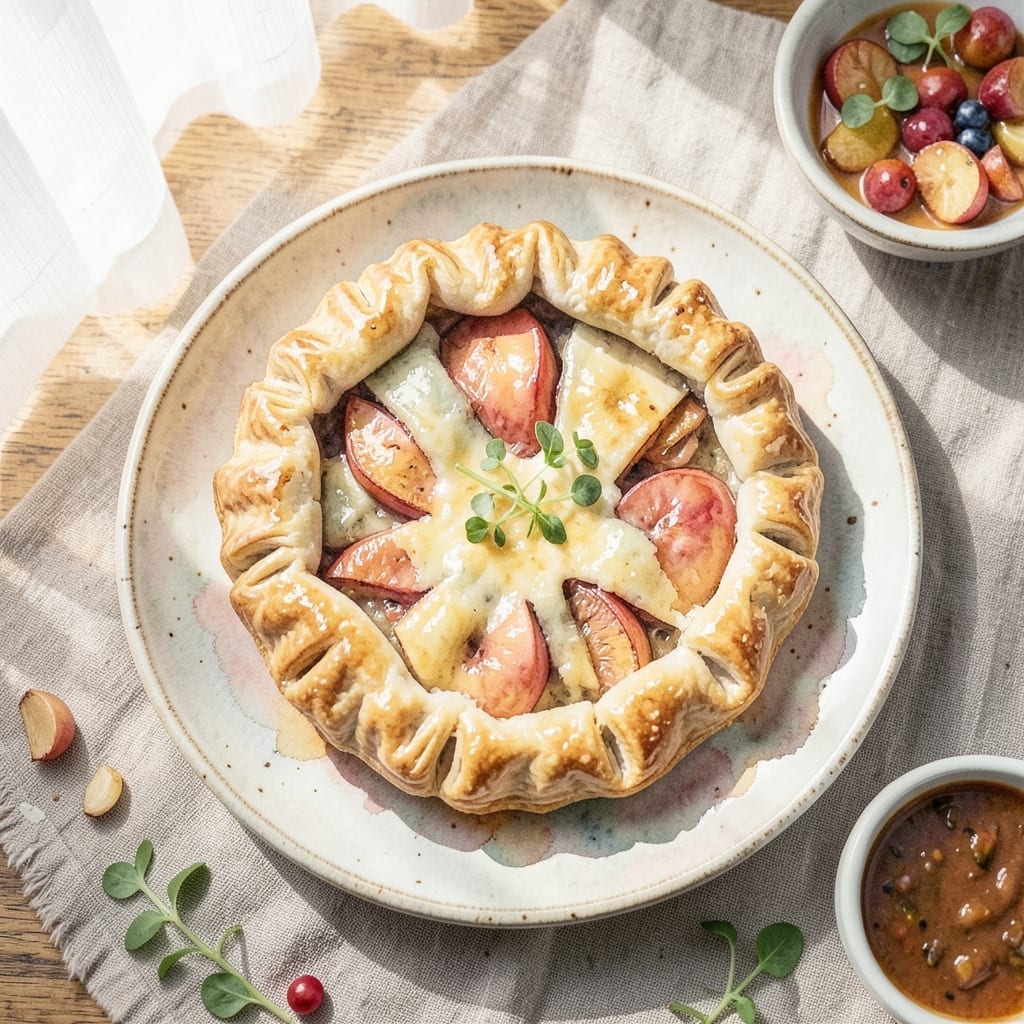
There’s something special about a warm apple pie with a flaky crust, even in a smaller portion. This scaled-down version delivers all the classic comfort of a full pie without the commitment.
I’ve refined this recipe to ensure the crust remains perfectly tender and layered, while the filling achieves that ideal balance of sweet, spiced apples. The key is using cold butter and minimal handling to create those coveted flaky layers.
You’ll get two generous servings with crisp, golden edges and a filling that’s tender yet holds its shape. The aroma alone makes it worth the effort, filling your kitchen with the scent of cinnamon and baked apples.
Perfect for date night or when you want pie without leftovers. Here’s how to make it.
Ingredients for Apple Pie Recipe for 2 Servings
Cold butter and minimal handling create that flaky crust you love. Just a few ingredients needed.
| Ingredient | Amount | Notes |
|---|---|---|
| All-Purpose Flour 🌾 | 1 ½ cups | Plus extra for dusting |
| Unsalted Butter 🧈 | ½ cup | Cold, cut into small cubes |
| Granulated Sugar 🍚 | 2 tbsp | Divided for crust and filling |
| Ice Water 💧 | 3 tbsp | For crust dough |
| Salt 🧂 | ¼ tsp | Fine grain for crust |
| Apples 🍏 | 2 whole | Peeled, cored, thinly sliced |
| Brown Sugar 🟤 | 2 tbsp | Packed, for filling |
| Ground Cinnamon 🌿 | ½ tsp | For warm spice flavor |
| Lemon Juice 🍋 | 1 tsp | Freshly squeezed |
| Vanilla Extract 🌿 | ½ tsp | Pure for best flavor |
| Cornstarch 🌽 | 1 tsp | To thicken filling |
| Egg 🥚 | 1 whole | For egg wash on crust |
The butter is everything here. Use a high-quality brand like Land O’Lakes or Organic Valley—it needs to stay cold for those layers. I grab mine from Whole Foods or Kroger. The flour should be all-purpose; skip the bread flour or cake flour for this. For the apples, Granny Smith or Honeycrisp hold up best to baking. Look for firm apples without bruises at your local market.
No all-purpose flour? Pastry flour works too, but don’t use self-rising—it’ll throw off the texture. Brown sugar can be swapped with coconut sugar at a 1:1 ratio. Out of cinnamon? Apple pie spice at half the amount gets you close. The egg wash can be replaced with a splash of milk for a vegan option (though this recipe isn’t fully vegan). Cornstarch not on hand? Arrowroot powder works the same.
The crust dough can rest in the fridge for up to 2 days if wrapped tightly. Once baked, the pie keeps at room temperature for 1 day or in the fridge for 3 days. Reheat slices in a 350°F oven for 10 minutes to crisp up the crust. Best eaten fresh, though!
Why You’ll Love This Recipe
- Small Batch Joy: No rolling out huge dough sheets—just enough for two, with minimal flour and butter to clean up.
- Buttery Flake Magic: The cold butter and ice water make the crust so tender it practically melts, while the sugar caramelizes into that classic pie sweetness.
- Date Night Ready: Honestly, it’s the perfect little dessert to share after dinner, without a whole pie tempting us for days.
- No Waste Here: I use every bit of the dough and filling—no leftovers to linger, and the ingredients are basic pantry staples.
Step-by-Step Instructions for Mini Apple Pie
Here’s how I create this mini pie with buttery, flaky layers every time.
Step 1: Prepare the Flaky Pie Crust
In a large bowl, whisk together the 1.5 cups all-purpose flour, 2 tbsp granulated sugar, and 0.25 tsp salt. The sugar adds subtle sweetness while the salt enhances all the flavors in the crust.
Cut in the 0.5 cup cold unsalted butter using a pastry cutter or your fingers until the mixture resembles coarse crumbs with pea-sized butter pieces. I work quickly here to keep the butter cold—that’s the secret to flakiness. Drizzle in the 3 tbsp ice water, one tablespoon at a time, mixing just until the dough comes together.
Step 2: Make the Cinnamon Apple Filling
In another bowl, gently toss the 2 peeled, cored, and thinly sliced apples with the 2 tbsp packed brown sugar, 0.5 tsp ground cinnamon, 1 tsp cornstarch, 1 tsp lemon juice, and 0.5 tsp vanilla extract. The lemon juice prevents browning while the cornstarch thickens the juices as it bakes.
Let this mixture sit for 5-10 minutes while you roll out the crust. You’ll notice the apples start to release some liquid—that’s normal and will create a beautiful, syrupy filling when baked.
Step 3: Assemble the Mini Pies
Divide the dough into two portions and roll each out on a lightly floured surface to about ⅛-inch thickness. Cut into circles slightly larger than your ramekins. I use two 6-ounce ramekins for perfect single-serving pies.
Line each ramekin with a dough circle, pressing gently into the bottom and sides. Spoon the apple filling into each crust, mounding slightly in the center. Top with another dough circle, crimping the edges to seal. Cut a few small slits in the top crust to allow steam to escape during baking.
Step 4: Bake to Golden Perfection
Preheat your oven to 375°F. Brush the top of each pie with a beaten egg (this creates that beautiful golden shine). Place the ramekins on a baking sheet to catch any drips.
Bake for 35-40 minutes until the crust is golden brown and the filling is bubbling. The egg wash will deepen in color as it bakes, giving you that professional bakery look. If the tops start browning too quickly, tent loosely with foil.
Let cool for at least 10 minutes before serving—the filling needs time to set. The crust should be crisp and flaky, with layers that separate beautifully when you take that first bite.
Pro Tips For Making Apple Pie Recipe For 2 Servings
- Chill the Dough: I learned this the hard way—let the dough rest in the fridge for at least 30 minutes before rolling, or it’ll shrink and tear. Cold butter is non-negotiable for that flaky crust.
- Use Ice-Cold Water: Sounds obvious, but I’ve ruined crusts with lukewarm water. Keep a bowl of ice water next to your flour and add just 1-2 tablespoons at a time—it makes a real difference in texture.
- Skip Overworking: After burning three batches, I finally figured out that overmixing the dough makes it tough. Stop as soon as it comes together, even if it looks shaggy.
- Blind Bake Bottom: My grandmother swore by this, and she was right: Pre-bake the bottom crust for 8-10 minutes to avoid a soggy pie. Just prick it with a fork and weigh it down with dried beans or pie weights.
Make-Ahead Tips for This apple pie recipe for 2 servings
Prep the Crust Ahead
You can make the crust dough 1-2 days in advance. After mixing, shape it into a disc, wrap tightly in plastic, and refrigerate. This actually improves flavor as the butter melts more evenly during baking. 💡
Pre-Slice Apples
Peel and slice your apples up to 24 hours ahead. Toss them with the 1 tsp lemon juice and store in an airtight container in the fridge. This prevents browning while keeping them crisp for baking.
Assemble Unbaked
Fully assemble your mini pies (crust and filling) up to 12 hours before baking. Cover tightly with plastic and refrigerate. When ready, bake straight from the fridge—just add 5-10 minutes to the cooking time.
Bake and Store
Once baked, let pies cool completely before storing. They’ll keep at room temperature for 1 day or in the fridge for 3 days. The crust stays crispest when stored uncovered.
Reheat for Freshness
To revive leftovers, warm in a 350°F oven for 10 minutes. This restores the flaky texture better than a microwave. I always add a scoop of vanilla ice cream on top! ❄️
Nutrition Facts
Frequently Asked Questions
Can I use store-bought pie crust instead?
Yes! Use 1 sheet of refrigerated pie crust, rolled thin. It won’t be as flaky as homemade, but saves time. Brush with egg wash and bake at 375°F as directed.
What’s the best apple for this recipe?
Granny Smith or Honeycrisp work best—they hold shape and offer a sweet-tart balance. Avoid soft varieties like Red Delicious.
How do I prevent a soggy bottom crust?
Sprinkle 1 tsp flour in the ramekin before adding dough. Also, bake on the lower oven rack for even heat distribution.
Can I make this without ramekins?
Use small oven-safe mugs or even a muffin tin for individual portions. Adjust baking time if pieces are smaller—start checking at 25 minutes.

- BBQ Sausage Recipe Oven: Smoky Depth Without the Grill - September 28, 2026
- BBQ Chicken Bowl Recipe Rice: Smoky Sweetness Over Fluffy Grains - September 28, 2026
- Beef Cutlet Recipe Ideas: Crispy Breaded Patties With Bold Seasonings - September 28, 2026