
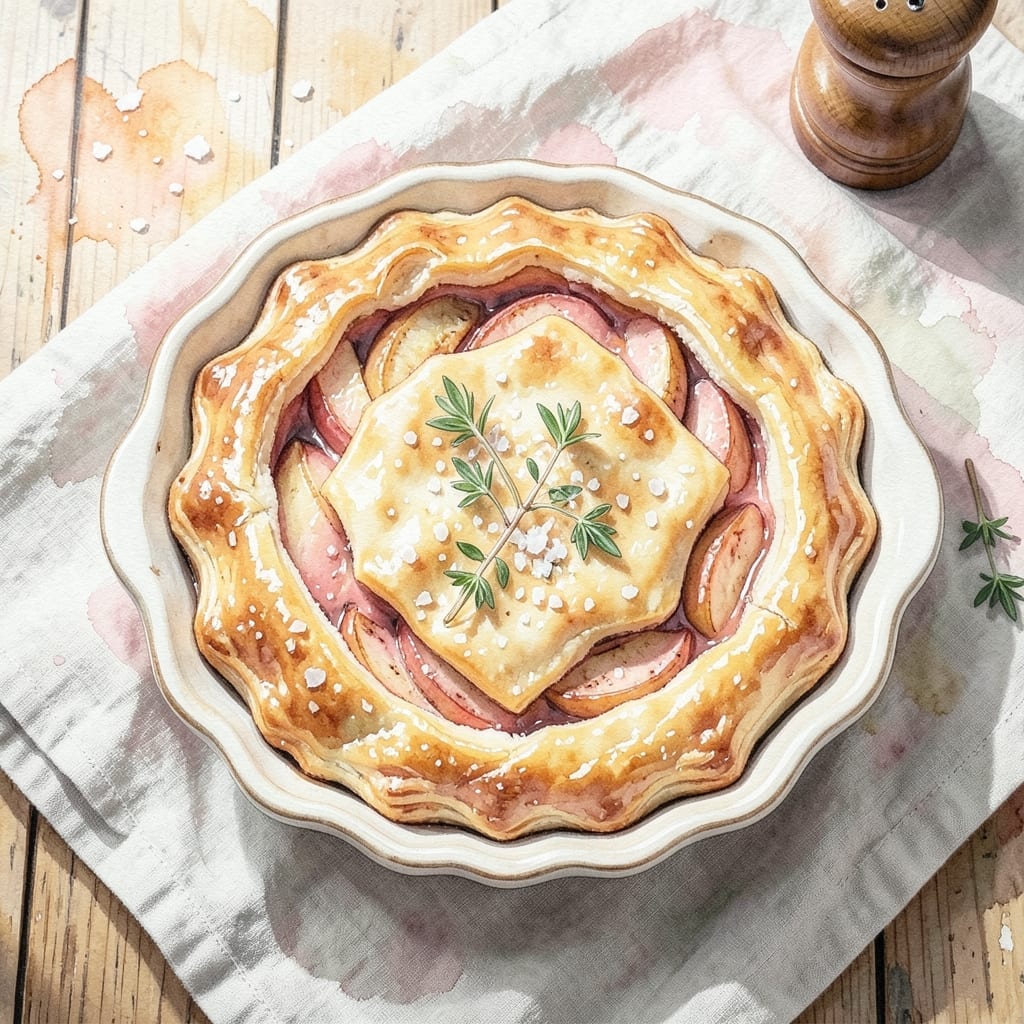
There’s something special about serving apple pie to a crowd, and this sheet pan version makes it effortless. Baking in a 9×13 pan transforms a classic into a shareable dessert with all the traditional flavors.
The secret to achieving that flaky crust lies in using cold butter and minimal handling. The filling combines tender apples with warm spices, creating a perfectly balanced sweetness that’s hard to resist.
This approach simplifies the process without sacrificing quality. The crust bakes up golden and crisp, while the apples soften into a luscious, spiced filling that’s ideal for feeding a group.
Whether for a holiday gathering or a casual weekend treat, this method delivers the comfort of homemade apple pie with ease.
Ingredients for Apple Pie Recipe in 9×13 Pan
A handful of pantry staples and fresh apples transform into this crowd-pleasing dessert with ease.
| Ingredient | Amount | Notes |
|---|---|---|
| All-Purpose Flour 🌾 | 3 cups | Plus extra for dusting surface |
| Granulated Sugar 🍚 | 1 ½ cups | Divided between crust and filling |
| Unsalted Butter 🧈 | 1 cup | Cold, cubed for crust |
| Ice Water 💧 | ½ cup | Plus 1 tbsp as needed |
| Salt 🧂 | 1 tsp | Fine sea salt preferred |
| Apples 🍎 | 3 ½ lb | Mixed variety, peeled and sliced |
| Brown Sugar 🟤 | ¾ cup | Light or dark variety |
| Ground Cinnamon 🌿 | 2 tsp | Freshly ground for best flavor |
| Ground Nutmeg 🌰 | ¼ tsp | Freshly grated preferred |
| Lemon Juice 🍋 | 1 tbsp | Freshly squeezed from whole lemon |
| Vanilla Extract 🌿 | 2 tsp | Pure extract recommended |
| Cornstarch 🌽 | 2 tbsp | For thickening filling |
| Large Egg 🥚 | 1 whole | For egg wash on crust |
The crust demands cold butter—Land O’Lakes or Plugrá work well. Use a food processor for even distribution, but a pastry cutter or fork method works too. The flour should be all-purpose; avoid self-rising. For the best flakiness, handle the dough minimally and keep it chilled between steps. The apples need to be a mix of sweet and tart varieties—Honeycrisp and Granny Smith are ideal for texture and flavor balance.
No mixed apple varieties? All Granny Smith will work (add 2 extra tbsp sugar). Swap cornstarch for instant tapioca at the same ratio if preferred. For a richer filling, use light brown sugar exclusively. The vanilla can be substituted with 1 tsp vanilla bean paste for visible specks. If avoiding eggs, brush the crust with milk or cream for a golden finish.
The assembled pie can rest in the fridge for up to 24 hours before baking. Leftovers keep at room temperature for 2 days or refrigerated for 5 days. The crust is best reheated in a 300°F oven for 10 minutes to restore crispness. Freeze individual slices for up to 3 months.
Why You’ll Love This Recipe
- One Pan Wonder: I roll out the crust right in the 9×13 pan, press it up the sides, and fill it—no transferring, no fuss.
- Buttery Perfection: The unsalted butter in the crust browns up flaky and rich, and the sugar caramelizes under the apples into this warm, gooey magic.
- Feeds the Crowd: I take it to potlucks and it’s always the first to disappear—no slicing individual pies, just scoop and serve.
- Leftovers for Days: Honestly, it tastes even better the next morning with coffee, and the whole pan lasts us through the weekend.
Step-by-Step Instructions for Apple Pie in 9×13 Pan
This method ensures a flaky crust and perfectly set filling every time.
Step 1: Prepare the Pie Crust
In a food processor, combine the 3 cups All-Purpose Flour, 1 tsp Salt, and 1.5 cups Granulated Sugar divided to ¾ cup for the crust. Pulse to combine. Add the 1 cup Unsalted Butter (cold and cubed) and pulse until the mixture resembles coarse crumbs with pea-sized butter pieces visible.
With the processor running, slowly drizzle in the 0.5 cup Ice Water through the feed tube. Stop as soon as the dough just begins to come together—it should look shaggy but hold when pressed. Avoid overmixing, as this develops gluten and results in a tough crust instead of a flaky one.
Step 2: Assemble the Crust in the Pan
Turn the dough out onto a lightly floured surface and divide it into two equal portions. Press one portion into the bottom of a 9×13-inch baking pan, extending it up the sides to create a rim. Use your fingers to crimp the edges evenly. Prick the bottom all over with a fork to prevent air pockets during baking.
Roll out the second portion of dough to fit the top of the pan. Set it aside while you prepare the filling. Chill both the bottom crust and the top dough in the refrigerator for 30 minutes—this relaxes the gluten and prevents shrinking during baking.
Step 3: Prepare the Apple Filling
In a large bowl, toss the 3.5 lb Apples (peeled and sliced) with the 0.75 cup Brown Sugar, 2 tsp Ground Cinnamon, 0.25 tsp Ground Nutmeg, 1 tbsp Lemon Juice, 2 tsp Vanilla Extract, and 2 tbsp Cornstarch. The cornstarch will thicken the juices as the apples bake, preventing a soggy filling.
Let the mixture sit for 10-15 minutes to allow the apples to begin releasing their juices. Stir once more before assembling to ensure the spices and thickener are evenly distributed.
Step 4: Assemble and Bake
Preheat your oven to 375°F. Spread the apple filling evenly over the chilled bottom crust. Drape the top dough over the filling, pressing the edges to seal with the bottom crust. Trim any excess dough and crimp the edges again for a secure seal.
Cut several 1-inch slits in the top crust to allow steam to escape. Brush the entire surface with the 1 whole Large Egg beaten with 1 tablespoon of water for a golden finish. Bake on the middle rack for 45-50 minutes until the crust is deep golden brown and the filling is bubbling through the vents.
Step 5: Cool and Serve
Remove the pan from the oven and let it cool on a wire rack for at least 2 hours before slicing. This resting period allows the filling to set completely—cutting too soon will result in a runny, under-thickened filling.
Serve warm or at room temperature. The crust should be flaky and crisp, with a rich, spiced apple filling that holds its shape when sliced. Store leftovers covered at room temperature for up to 2 days.
Pro Tips For Making Apple Pie Recipe In 9×13 Pan
- Chill the Dough: Let the crust rest in the fridge for at least 30 minutes before rolling—this keeps the butter from melting too fast and guarantees flaky layers.
- Precook the Filling: Sauté the apples with sugar and spices first to soften them and prevent a soggy bottom crust in the 9×13 pan.
- Use Ice-Cold Water: The colder the water, the flakier the crust; I learned this the hard way after tough, dense pie bases.
- Vent the Top Crust: Cut a few small slits in the top crust to let steam escape—skipping this led to my first exploded apple pie.
Storing and Reheating Leftovers
Room Temperature Storage
Let the pie cool completely, then cover with aluminum foil or a tight lid. It stays fresh at room temperature for up to 2 days. I find the flavors meld beautifully overnight, making leftovers taste even better. ❄️
Refrigerator Storage
For longer storage, refrigerate the covered pie for up to 5 days. The crust may soften slightly, but the filling remains perfectly spiced. Use an airtight container or wrap tightly in plastic wrap for best results.
Freezing Individual Slices
Slice the pie, wrap each piece in plastic wrap, then in aluminum foil. Freeze for up to 3 months. This method preserves both crust texture and filling freshness for future cravings.
Oven Reheating
Preheat to 300°F and warm slices for 10-12 minutes on a baking sheet. This restores the crust’s flakiness better than any other method. I always add 1 tsp water to the pan for extra moisture.
Microwave Reheating
For a quick option, microwave individual slices on 50% power for 30-45 seconds. Place a damp paper towel over the slice to prevent drying. The crust won’t be as crisp, but the filling stays warm and gooey. 🔥
Reviving the Crust
If the crust loses its crispness, pop the slice under the broiler for 1-2 minutes—watch closely! This trick works wonders for day-old pie. The sugars in the crust will caramelize slightly, adding a new depth of flavor.
Nutrition Facts
Frequently Asked Questions
What’s the best way to prevent a soggy bottom crust?
Chill the bottom crust for 30 minutes before adding filling. Also, sprinkle 1 tablespoon cornstarch over the crust before adding apples to absorb excess moisture.
Can I use a different pan size?
A 9×13 pan works best for even baking. For a different size, adjust baking time—start checking 10 minutes earlier for smaller pans. Avoid glass pans as they may over-brown the crust.
How do I know when it’s done baking?
The crust will be deep golden brown and filling will bubble through the vents. Internal temperature should reach 165°F in the center.
Can I make this ahead of time?
Yes! Assemble the pie, cover tightly, and refrigerate for up to 24 hours before baking. Add 5-10 minutes to baking time if starting from cold.

- BBQ Bison Recipe Steaks: Smoky Grill Mastery with Bold Flavor - September 28, 2026
- Chicken Breast Recipe Tender: Brine-Soaked Juiciness Without Overcooking - September 28, 2026
- Baked Chicken Recipe for Acid Reflux: Gentle Flavors for Sensitive Stomachs - September 28, 2026