
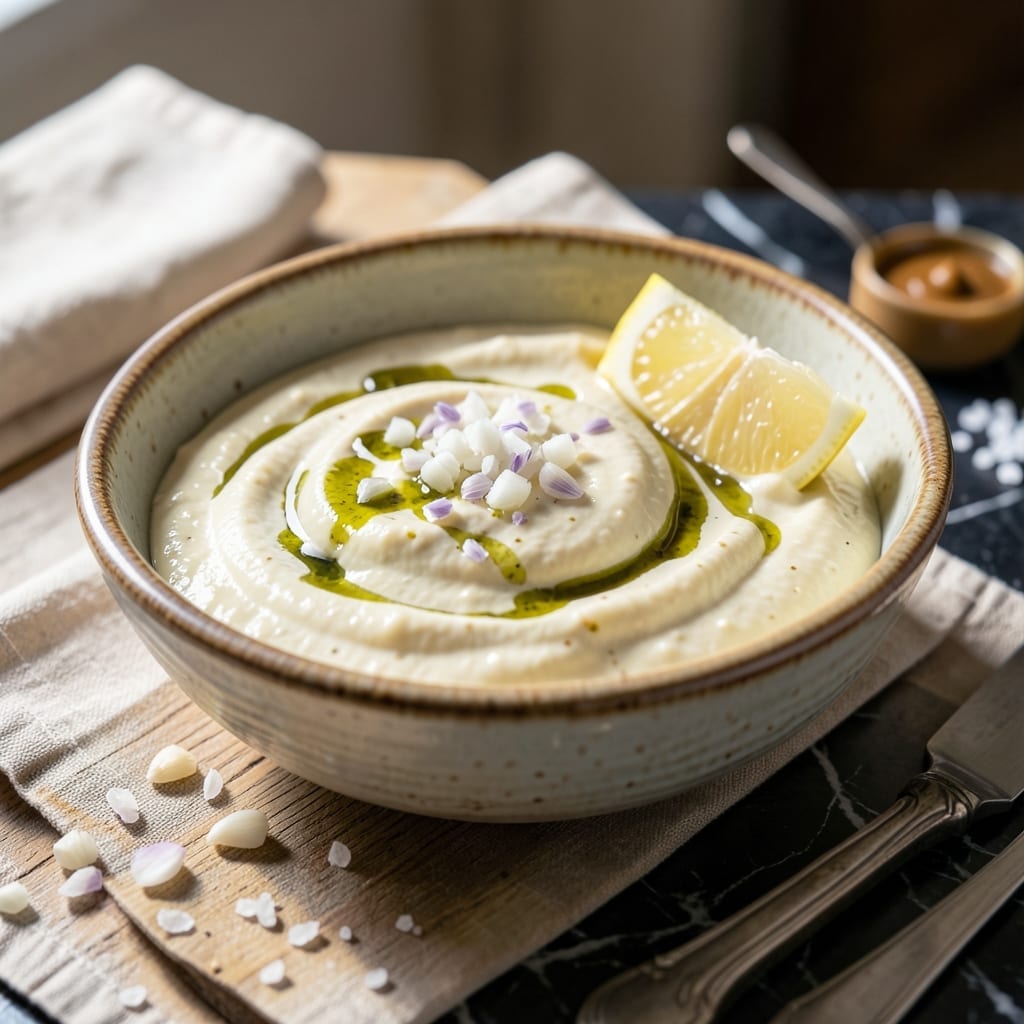
This is the real deal—garlic and olive oil transformed into a creamy, rich sauce through traditional emulsification. I’ve tested countless variations, and this method stays true to its Mediterranean roots while ensuring foolproof results every time.
Authenticity here means no shortcuts: fresh garlic, high-quality oil, and patience. The key is slowly drizzling the oil into the garlic while whisking vigorously, creating a thick, velvety texture that clings perfectly to bread, seafood, or vegetables.
What you’ll get is a bold, garlic-forward aioli with a smooth consistency that’s far superior to store-bought versions. It’s versatile enough for dipping, spreading, or drizzling, and the flavor deepens after a few hours in the fridge.
Make a small batch fresh, as it’s best enjoyed within 3 days. Here’s how to nail this classic.
Ingredients for Authentic Aioli
Seven simple ingredients transform into a bold, creamy, garlic-forward classic.
| Ingredient | Amount | Notes |
|---|---|---|
| Fresh Garlic Cloves 🧄 | 4 cloves | Peeled, finely minced or pressed |
| Extra-Virgin Olive Oil 🫒 | 1 ½ cups | High quality, mild flavor preferred |
| Lemon Juice 🍋 | 1 tbsp | Freshly squeezed for brightness |
| Dijon Mustard 🟡 | 1 tsp | Optional for stability and depth |
| Egg Yolk 🥚 | 1 whole | Room temperature for emulsification |
| Sea Salt 🧂 | ½ tsp | Fine grain for even distribution |
| White Wine Vinegar 🍷 | ½ tsp | Balances richness, optional |
The olive oil is non-negotiable here. Splurge on a high-quality extra-virgin—this isn’t the time for that bargain bottle. California Olive Ranch or Colavita are solid grocery store picks. Fresh garlic is key too; avoid the pre-minced stuff in jars (it lacks the punch). If your garlic is sprouting, plant it and grab a fresh head—it’ll taste sweeter and more aromatic.
No egg yolk? Omit it entirely for a traditional Provençal aioli—just be prepared to whisk like crazy. Lemon juice can be swapped for lime or white wine vinegar at 1:1 ratio. Dijon haters can leave it out, but it adds a subtle depth that balances the garlic. For a lighter version, use half the oil and add a splash of water to thin.
Aioli doesn’t keep long. Store in an airtight container in the fridge for up to 3 days. The flavor actually improves after a few hours as the garlic mellows. If it separates (rare with this method), just whisk it back together. Don’t freeze—it’ll break the emulsion.
Why You’ll Love This Recipe
- Five-Minute Magic: I can make this between stirring the soup and setting the table—just whisk, drizzle, done.
- Garlic’s True Voice: The fresh cloves and lemon juice hit that bright, punchy note store-bought can’t touch.
- Dips with Everything: Slather it on sandwiches, dunk fries, or dollop over grilled fish without missing a beat.
- Keeps for Days: A small jar in the fridge stays creamy and bold, so I always have a flavor boost ready.
Step-by-Step Instructions for Authentic Aioli
This traditional method builds a stable emulsion with rich garlic flavor and creamy texture.
Step 1: Prepare the Garlic Base
Finely mince or press the 4 cloves fresh garlic cloves until it forms a smooth paste. I prefer using a mortar and pestle for this—it releases the garlic’s natural oils and creates a more uniform texture that blends seamlessly into the emulsion.
In a medium bowl, combine the garlic paste with the 1 tsp Dijon mustard, 0.5 tsp sea salt, 1 tbsp lemon juice, and 0.5 tsp white wine vinegar. The acidity from the lemon juice and vinegar helps stabilize the emulsion while balancing the richness of the oil.
Step 2: Incorporate the Egg Yolk
Add the 1 whole egg yolk (make sure it’s at room temperature) to the garlic mixture. I like to whisk this vigorously for 1-2 minutes until the mixture becomes pale and slightly thickened—this is your foundation for the emulsion.
The egg yolk contains lecithin, a natural emulsifier that will help bind the oil with the water-based ingredients. At this stage, your mixture should look creamy and slightly frothy. If it appears too thin, don’t worry; it will thicken as you add the oil.
Step 3: Emulsify the Olive Oil
Here’s where the magic happens. Begin adding the 1.5 cups extra-virgin olive oil in a very slow, thin stream while whisking constantly. I mean a drop at a time at first—this is crucial for building a stable emulsion.
As the mixture begins to thicken and emulsify, you can increase the oil to a thin trickle, still whisking continuously. The aioli should become pale, thick, and creamy, like a rich mayonnaise. If it starts to separate, stop adding oil and whisk vigorously until it comes back together before continuing.
Step 4: Adjust and Finish
Once all the oil is incorporated, taste and adjust seasoning if needed. The aioli should have a bold garlic flavor with a perfect balance of acidity from the lemon juice and vinegar. If it’s too thick, you can thin it with a teaspoon of water.
Transfer to a jar or bowl and let it rest for 10-15 minutes before serving. This allows the flavors to meld together. The finished aioli should be thick enough to coat the back of a spoon but still pourable.
Serve at room temperature for the best texture and flavor. This authentic aioli will keep in the refrigerator for up to 3 days, though it’s best enjoyed fresh.
Pro Tips For Making Authentic Aioli
- Slowly Drizzle Oil: Add the olive oil drop by drop at first, then in a thin stream once the emulsion starts—rushing it is how you end up with a broken, greasy mess.
- Crush Garlic First: Mash the fresh garlic with a pinch of salt into a paste before adding other ingredients; it blends smoothly and avoids harsh, chunky bits in your aioli.
- Skip Cold Ingredients: Make sure your egg yolk and oil are at room temperature, or the emulsion will struggle to come together—I learned this the hard way after three failed batches.
- Use a Mortar: A mortar and pestle gives the best texture for crushing the garlic and mustard into a creamy base before whisking in the oil—sounds old-school, but it works.
Regional Styles of This Recipe
Provençal Tradition
In the South of France, aioli is a garlic-only emulsion, traditionally made in a mortar and pestle. The garlic is crushed with a pinch of salt until it forms a paste, then oil is slowly drizzled in while grinding continuously. No egg yolk—just pure garlic and oil. 🗺️
Spanish Alioli
Catalan aioli often includes bread or boiled potato to help stabilize the emulsion. The bread is soaked in water, then mashed with garlic before adding oil. This version is thicker and milder, perfect for serving with grilled meats or fish.
Mallorcan Variation
On the island of Mallorca, aioli is sometimes made with red bell peppers roasted until charred. The peppers are peeled, seeded, and blended with garlic and oil for a smoky, slightly sweet twist. It’s a vibrant red and pairs wonderfully with seafood.
Modern French
In contemporary French kitchens, chefs often add Dijon mustard or an egg yolk for extra stability. This method, closer to mayonnaise, ensures a foolproof emulsion every time. I prefer this approach for its reliability, especially for beginners.
Greek Skordalia
Greece’s answer to aioli is skordalia, a thick dip made with garlic, bread, and olive oil, often with potatoes or almonds. It’s less emulsified and more like a spread, but the garlic punch is just as bold.
Serve it with fried cod or as a meze with crusty bread.
Nutrition Facts
Frequently Asked Questions
Why does my aioli separate?
This usually happens if the oil is added too quickly. Start with a drop at a time while whisking, then gradually increase to a thin stream. If it breaks, stop adding oil and whisk vigorously to re-emulsify before continuing.
Can I make aioli without an egg yolk?
Yes! Traditional Provençal aioli uses just garlic, oil, and salt. Use a mortar and pestle to crush the garlic into a paste first, then slowly drizzle in the oil while grinding continuously.
What’s the best oil for aioli?
A high-quality extra-virgin olive oil with a mild flavor works best. Avoid strongly flavored oils as they can overpower the garlic. For a lighter taste, use a mix of olive oil and neutral oil like grapeseed.

- BBQ Sausage Recipe Oven: Smoky Depth Without the Grill - September 28, 2026
- BBQ Chicken Bowl Recipe Rice: Smoky Sweetness Over Fluffy Grains - September 28, 2026
- Beef Cutlet Recipe Ideas: Crispy Breaded Patties With Bold Seasonings - September 28, 2026