
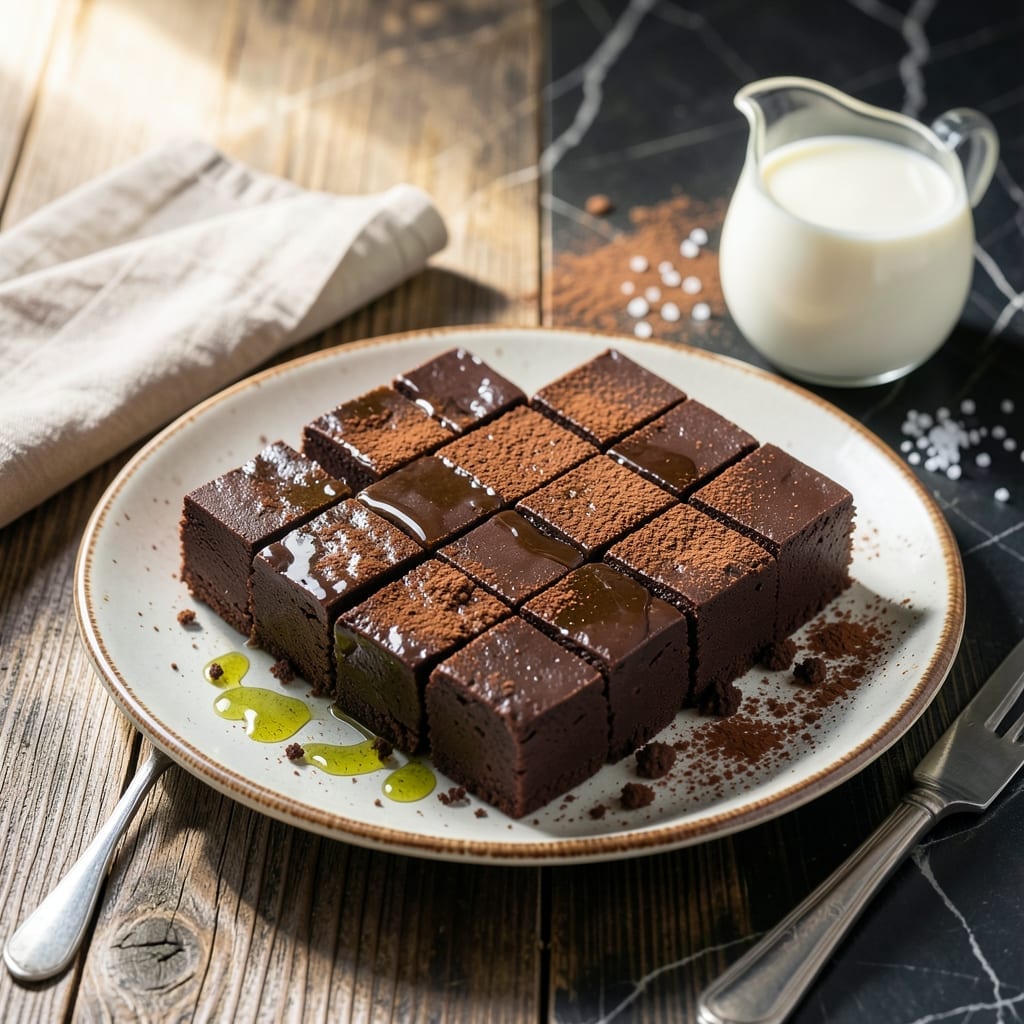
There’s a reason old-fashioned fudge has remained a classic for generations. This recipe delivers that perfect balance of rich chocolate flavor and melt-in-your-mouth texture we all crave.
The secret lies in precise timing and temperature control. I’ve tested this method repeatedly to ensure consistent results every time, whether you’re a first-timer or experienced candy maker.
You’ll end up with smooth, velvety squares that are sweet without being cloying. The chocolate flavor is deep and satisfying, with just the right amount of density.
Perfect for gifting or enjoying at home, this fudge keeps well for weeks when stored properly. The process is straightforward but requires attention to detail.
Ingredients for Betty Crocker Old Fashioned Fudge
Classic ingredients for that melt-in-your-mouth texture everyone loves in this timeless treat.
| Ingredient | Amount | Notes |
|---|---|---|
| Granulated Sugar 🍚 | 3 cups | Fine white granulated preferred |
| Unsweetened Cocoa Powder 🍫 | ¾ cup | Dutch-process for richer flavor |
| Whole Milk 🥛 | ¾ cup | Full-fat for creaminess |
| Unsalted Butter 🧈 | ¼ cup | Cut into small pieces |
| Light Corn Syrup 🧴 | ¼ cup | Prevents graininess |
| Vanilla Extract 🌿 | 1 tsp | Pure extract recommended |
| Salt 🧂 | ¼ tsp | Fine table salt |
| Chopped Walnuts 🌰 | ½ cup | Optional, toasted if desired |
| Semi-Sweet Chocolate Chips 🍫 | 1 cup | High-quality for best melt |
| Heavy Cream 🥛 | 2 tbsp | For extra richness |
The cocoa powder is what gives this its depth. Hershey’s Special Dark is my go-to for a robust flavor, but any Dutch-process works. Whole milk is non-negotiable—lower fat versions make the fudge grainy. I grab mine at Kroger or whatever’s on sale. Salt might seem minor, but it balances the sweetness. Use fine table salt, not kosher (that’s too coarse).
No cocoa powder? Melted semi-sweet chocolate at 3 oz can substitute, but the texture won’t be as smooth. Light corn syrup can be swapped for honey or agave, but avoid dark corn syrup—it’ll change the color. Out of walnuts? Pecans or almonds work just as well. The vanilla extract can be imitation in a pinch, but pure tastes better.
Store this in an airtight container at room temp for up to 2 weeks. For longer storage, freeze for 3 months (thaw before serving). If it’s humid, a slice of bread in the container keeps it from drying out.
Why You’ll Love This Recipe
- No-Fuss Method: I just dump sugar, cocoa, milk, butter, and corn syrup in a pot—no fancy steps, no special tools.
- Rich Chocolate Hit: Honestly, the deep cocoa flavor with that smooth, melt-in-your-mouth texture is what keeps me coming back.
- Gift-Worthy Treats: I wrap squares in parchment for teacher gifts, holiday plates, or just because my neighbors ask for it.
- Budget-Friendly Batch: Five basic ingredients make a big batch, and it costs pennies compared to store-bought fudge.
Step-by-Step Instructions for Decadent Chocolate Fudge
This classic method delivers rich, velvety fudge with the perfect melt-in-your-mouth texture.
Step 1: Combine and Heat the Sugar Mixture
In a heavy-bottomed saucepan, combine the 3 cups Granulated Sugar, 0.75 cup Unsweetened Cocoa Powder, and 0.75 cup Whole Milk. Stir well to dissolve the sugar completely—this prevents graininess in your finished fudge.
Place the saucepan over medium heat and bring to a gentle boil, stirring constantly. I use a silicone spatula to prevent sticking. You’ll notice the mixture thickening slightly as it heats.
Once boiling, stop stirring and let it cook undisturbed until it reaches 234-238°F on a candy thermometer. This is the soft-ball stage, and it’s critical for that perfect fudge consistency.
Step 2: Incorporate the Fats and Flavorings
Remove the saucepan from heat and immediately stir in the 0.25 cup Unsalted Butter, 0.25 cup Light Corn Syrup, and 0.25 tsp Salt. The butter should melt completely into the hot mixture, creating a glossy, smooth texture.
Next, add the 1 tsp Vanilla Extract and 2 tbsp Heavy Cream. Stir vigorously for 1-2 minutes until the mixture is fully combined and slightly cooled. The heavy cream adds extra richness, while the corn syrup ensures a smooth, grain-free texture.
Step 3: Fold in the Chocolate and Nuts
Add the 1 cup Semi-Sweet Chocolate Chips to the warm mixture and let them sit for 1 minute to soften. Then, fold them in gently until fully melted and incorporated. The residual heat will do most of the work—no need for additional cooking.
For a nutty crunch, stir in the 0.5 cup Chopped Walnuts. If you prefer a smoother fudge, you can omit these, but I love the contrast of textures they provide. Ensure everything is evenly distributed before moving to the next step.
Step 4: Cool and Set the Fudge
Pour the mixture into a greased 8×8-inch baking dish or a lined pan. Smooth the top with a spatula, then let it cool at room temperature for 1 hour. Resist the urge to stir or disturb it—this can cause graininess.
Once slightly cooled but still warm, score the top into squares with a knife. This makes cutting easier later. Allow the fudge to set completely at room temperature for 2-3 hours, or refrigerate for 1 hour for faster results.
The fudge is ready when it’s firm to the touch and holds its shape when cut. Store in an airtight container at room temperature for up to 2 weeks, or freeze for longer storage.
Pro Tips For Making Betty Crocker Old Fashioned Fudge
- Use a Candy Thermometer: I learned this the hard way—guessing the soft-ball stage leads to grainy or rock-hard fudge. Aim for 234-238°F for that perfect smooth texture.
- Sift the Cocoa: Unsweetened cocoa clumps like crazy. Sift it first or you’ll end up with bitter little specks in your fudge—I skip this when I’m lazy, but the texture suffers.
- Avoid Stirring While Cooking: Resist the urge to stir once it starts boiling. Stirring can cause sugar crystals to form, and suddenly you’ve got fudge that’s gritty instead of silky.
- Butter the Pan Well: Sounds obvious, but I used to skim on this and spent 20 minutes chiseling fudge out of the pan. Use a solid tablespoon of butter and coat every nook.
Wine and Beer Pairings for These Flavors
Dessert Wines
For a classic pairing, try a Ruby Port like Graham’s Six Grapes. Its rich berry flavors and sweetness complement the deep chocolate notes beautifully. Serve slightly chilled at 60-64°F for the best experience. 🍷
Coffee Pairings
A strong espresso or cold brew from Starbucks Reserve cuts through the richness with its bold, bitter notes. The contrast enhances both the coffee and the fudge, creating a perfect balance.
Beer Options
Dark beers like Guinness Stout or Founders KBS work wonderfully. Their roasted malt flavors mirror the cocoa undertones, while the carbonation cleanses your palate between bites. Serve at 45-50°F. 🍺
Milk Pairings
A cold glass of whole milk is a nostalgic choice that enhances the creamy texture. For something richer, try chocolate milk—it’s indulgent but creates a harmonious match with the fudge’s flavor.
Non-Alcoholic
Sparkling pomegranate juice or cherry cola adds a fruity contrast that brightens each bite. I love how the bubbles lift the richness of this creation without overwhelming it.
Nutrition Facts
Frequently Asked Questions
Why does my fudge turn out grainy?
Graininess usually happens if sugar crystals form during cooking. Stirring after it boils or not reaching 234-238°F can cause this. Use a candy thermometer for accuracy.
Can I skip the corn syrup?
Not recommended—it prevents crystallization and adds smoothness. In a pinch, use honey or agave, but the texture may differ slightly.
How long can I store homemade fudge?
At room temperature in an airtight container, it stays fresh for 2 weeks. For longer storage, freeze for up to 3 months.
Can I use evaporated milk instead of whole milk?
Yes, but reduce it slightly to account for the thicker consistency. The result will be richer, but the process remains the same.

- Bread Recipe KitchenAid Mixer: Foolproof Loaf With Perfect Rise - September 28, 2026
- BBQ Oysters Recipe Grill: Smoky Garlic Butter Bliss - September 28, 2026
- Crock Pot Mac and Cheese Recipe Paula Deen: Ultra Creamy Southern-Style Comfort - September 28, 2026