
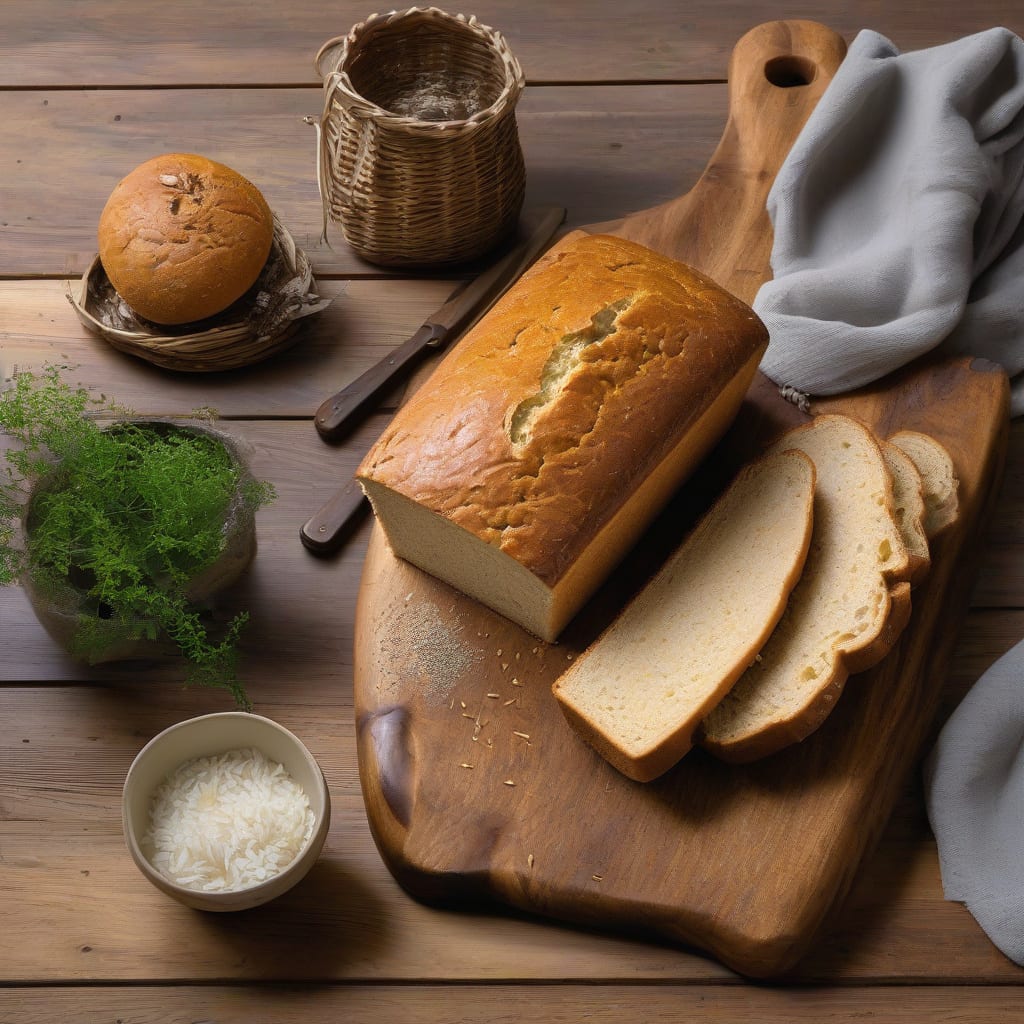
I’ve perfected a simple blender rice bread recipe that yields soft and fluffy results every time. This homemade bread is made possible by blending rice with basic pantry ingredients, creating a dough that’s easy to work with.
The result is a deliciously tender loaf with a subtle rice flavor that’s perfect for sandwiches or toast. With just a few minutes of prep and some patience, you’ll have fresh homemade bread ready to enjoy.
Ingredients for Blender Rice Bread
Simple pantry staples come together to create this soft, fluffy rice bread.
| Ingredient | Amount | Notes |
|---|---|---|
| Uncooked White Rice 🍚 | 2 cups | Long-grain or jasmine rice preferred |
| Warm Water 💧 | 1 ½ cups | Not boiling, just warm |
| Active Dry Yeast 🍞 | 2 tsp | Make sure it's active |
| All-Purpose Flour 🌾 | 3 cups | Unbleached, all-purpose works best |
| Salt 🧂 | 1 tsp | Kosher or sea salt preferred |
| Sugar 🍮 | 1 tbsp | Granulated white sugar |
| Olive Oil 🫒 | 2 tbsp | Extra-virgin for richness |
The rice matters here. Long-grain or jasmine gives better texture. Most grocery stores carry it, or you can grab it at Whole Foods or Trader Joe’s. Make sure it’s uncooked and not instant rice—that won’t work. I usually keep a bag in my pantry for this recipe.
No active dry yeast? Instant yeast works too, just reduce by 25%. If you’re out of sugar, a pinch of honey (about 1/4 tsp) can substitute. The olive oil can be swapped with other neutral oils if needed, but extra-virgin gives a nice richness. For a different flavor profile, try avocado oil.
This bread keeps well for 3-4 days at room temperature. Store in a bread bag or wrapped in parchment to keep soft. It freezes beautifully too—just slice before freezing so you can grab individual portions. To reheat, a quick toast or a few seconds in the microwave does the trick.
❤️
Why You’ll Love This Recipe
- Minimal Fuss: I blend everything together – rice, water, yeast, flour, and salt – in one go, no kneading required.
- Rice-y Goodness: The uncooked white rice gives this bread a unique, slightly sweet flavor that I just can’t get enough of.
- Weeknight Staple: I can make this bread on a busy Tuesday (yes, even on a Tuesday night) and have it ready for dinner or lunch the next day.
- Frugal Favorite: This recipe is ridiculously budget-friendly since it uses pantry staples like rice and flour, and it makes great leftovers for toast or sandwiches.
Step-by-Step Instructions for Blender Rice Bread
Let’s get started with making this soft and fluffy homemade bread – it’s easier than you think.
Step 1: Blend the Rice into Fine Flour
Begin by adding the 2 cups Uncooked White Rice to your blender. Blend on high speed for 2-3 minutes until the rice turns into a fine, powdery flour. You’ll know it’s ready when the mixture becomes smooth and there’s no grainy texture left. This rice flour is the base of your bread, giving it a unique texture and flavor.
Transfer the rice flour to a large mixing bowl and set it aside. Be careful as the flour might be slightly warm from blending – this is normal and won’t affect the final result.
Step 2: Activate the Yeast in Warm Water
In a separate bowl, combine the 1.5 cups Warm Water and 2 tsp Active Dry Yeast. Stir gently to dissolve the yeast, then let it sit for 5-10 minutes until it becomes frothy and bubbly. The mixture should have a creamy foam on top – this indicates that your yeast is active and ready to help your bread rise.
If your mixture doesn’t foam, it might be a sign that your yeast is expired. In that case, you’ll need to start over with fresh yeast to ensure your bread rises properly.
Step 3: Combine Dry Ingredients and Wet Ingredients
Add the 3 cups All-Purpose Flour, 1 tsp Salt, and 1 tbsp Sugar to the bowl with the rice flour. Whisk these dry ingredients together until they’re well combined. The mixture should be smooth and free of lumps.
Make a well in the center of the dry ingredients and pour in the yeast mixture along with the 2 tbsp Olive Oil. Mix everything together until you get a sticky dough. Don’t worry if it seems wet – this is exactly what you want at this stage.
Step 4: Knead the Dough to Develop Gluten
Turn the sticky dough out onto a floured surface and knead for 10-15 minutes until it becomes smooth and elastic. You can also use a stand mixer with a dough hook attachment for this step. The dough is ready when it passes the “windowpane test” – you can stretch it thin enough to see light through without it tearing.
As you knead, you’ll notice the dough transforming from a sticky mess to a smooth, shiny ball. This development of gluten is crucial for your bread’s structure and texture.
Step 5: Let the Dough Rise and Bake to Perfection
Place the dough in a greased bowl, cover it with plastic wrap or a damp towel, and let it rise in a warm, draft-free place for 1-2 hours until it has doubled in size. Preheat your oven to 375°F while the dough is rising.
Once risen, shape the dough into a loaf and place it in a greased loaf pan. Bake for 35-40 minutes until the bread is golden brown on top and sounds hollow when tapped on the bottom. Let it cool in the pan for 10 minutes before transferring to a wire rack to cool completely.
👨🍳
Pro Tips For Making Blender Rice Bread
- Soak Rice Overnight: Soaking the uncooked white rice overnight makes it blend smoother and easier to digest, resulting in a better texture. I learned this the hard way—skipping this step leaves you with a grittier bread.
- Check Yeast Activity: Before mixing everything together, proof your active dry yeast by dissolving it in warm water (around 100°F to 110°F) with a pinch of sugar. If it doesn’t foam after 5-10 minutes, your yeast is dead, and you need to start over.
- Don’t Overblend: Blend your rice mixture just until it’s smooth. Overblending can make the mixture too thin and affect the bread’s structure. Stop blending as soon as you achieve a smooth consistency.
- Use Warm Water: Using warm water (around 90°F to 100°F) when mixing the dough helps activate the yeast faster. This simple step can reduce the overall rising time by about 30 minutes, getting you to fresh bread faster.
Common Mistakes When Making This Dish
Blending Mistakes to Avoid
When blending rice for this bread, it’s crucial to achieve a fine, powdery consistency. I blend for 2-3 minutes on high speed to ensure there are no grainy bits left. If you stop too soon, the texture will be off. Over-blending can also be a problem – watch for signs of rice becoming too hot or developing a burnt smell. 🔥
Yeast Activation Errors
Proper yeast activation is critical for this bread to rise. Use warm water between 100°F-110°F – too hot kills the yeast, while too cold slows activation. Let it sit for 5-10 minutes until you see frothy bubbles on the surface. If it doesn’t foam, your yeast might be expired. I always check the expiration date before starting.
Dough Mixing Mistakes
When combining wet and dry ingredients, mix just until they come together in a shaggy dough. Overmixing develops too much gluten, making the bread dense. I use a gentle fold rather than vigorous mixing to keep the dough tender. The dough should still look slightly rough when you stop mixing.
Kneading Errors to Watch For
Kneading is essential for developing gluten, but there’s a fine line. Knead for 10-15 minutes until the dough becomes smooth and elastic. The “windowpane test” is your best indicator – when you can stretch the dough thin enough to see light through without it tearing, it’s ready. Under-kneading leaves the bread dense, while over-kneading makes it tough.
Rising Environment Matters
Create a warm, draft-free space for your dough to rise. I usually let it rise in a turned-off oven with the light on – this provides gentle warmth without risk of overproofing. Let it double in size, which typically takes 1-2 hours. Be patient – rushing this step affects the final texture.
Baking Temperature Check
Preheat your oven to 375°F and make sure it’s fully heated before baking. An oven thermometer ensures accuracy – many modern ovens run a bit off. Bake for 35-40 minutes until the top is golden brown and the bread sounds hollow when tapped. Let it cool properly before slicing for best results.
Nutrition Facts
220kcal
Frequently Asked Questions
Can I use brown rice instead of white rice for this bread recipe?
Yes, you can use brown rice, but you’ll need to adjust the blending time as it’s harder to grind. Blend for 3-4 minutes until it reaches a fine consistency. Keep in mind that brown rice will give your bread a nuttier flavor and denser texture. The bread might also be slightly darker in color due to the bran content in brown rice.
How do I store leftover bread to keep it fresh?
Store your blender rice bread in an airtight container or bread bag at room temperature for up to 3-4 days. For longer storage, slice the bread before freezing it. Frozen bread keeps well for up to 3 months. When you’re ready to eat it, simply toast or microwave the frozen slices.
Why didn’t my bread rise properly?
If your bread didn’t rise, check that your yeast was active and not expired. Ensure the water temperature was between 100°F-110°F for proper yeast activation. Also, verify that you let the dough rise for the full 1-2 hours in a warm, draft-free area. If the environment was too cold, the rise would be slower.
Can I make this recipe without a stand mixer for kneading?
Absolutely! While a stand mixer with a dough hook attachment makes kneading easier, you can knead by hand. Simply turn the dough out onto a floured surface and knead for 10-15 minutes until it becomes smooth and elastic. The “windowpane test” will help you determine if it’s ready. Kneading by hand gives you more control over the dough’s development.

- Beyond Burger Recipe Ideas: Plant-Based Creativity for Every Meal - September 28, 2026
- BBQ Bison Recipe Steaks: Smoky Grill Mastery with Bold Flavor - September 28, 2026
- Chicken Breast Recipe Tender: Brine-Soaked Juiciness Without Overcooking - September 28, 2026