
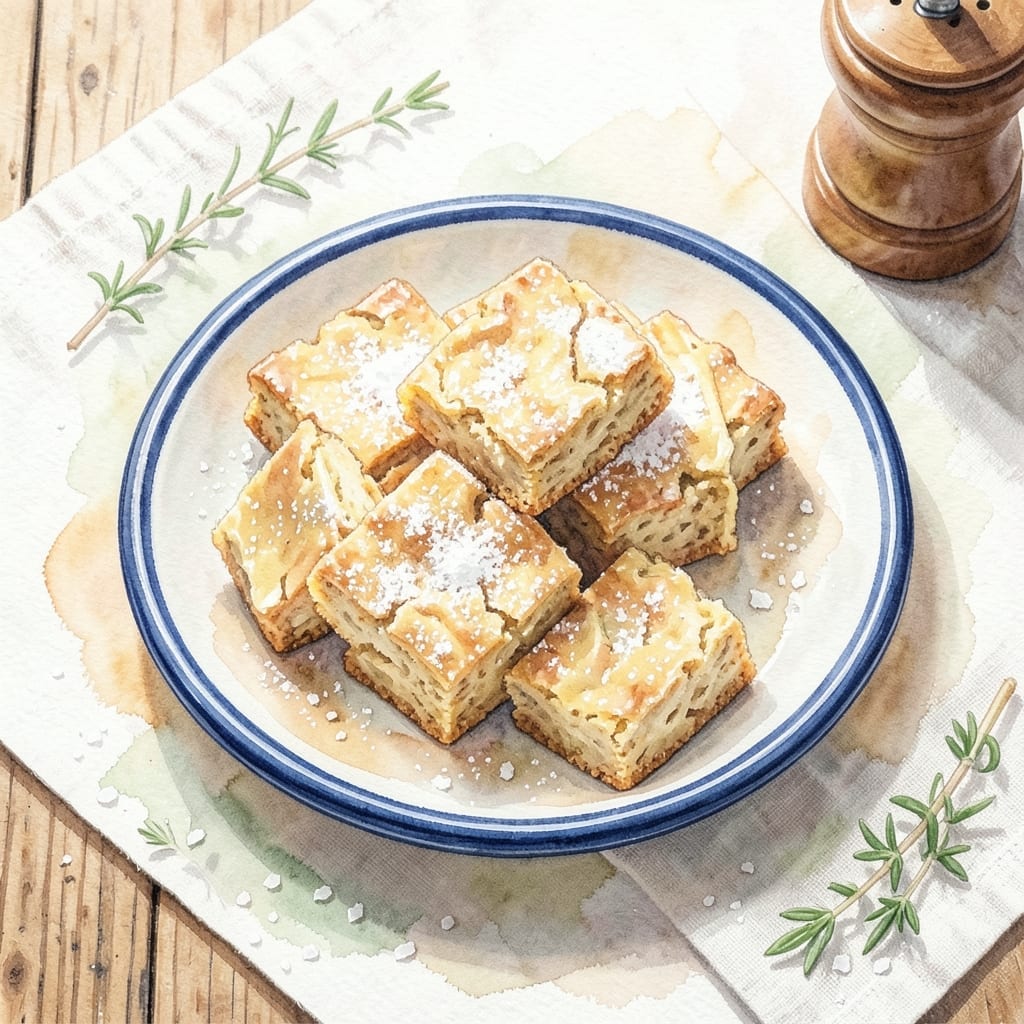
There’s a reason Mary Berry’s blondie recipe has become legendary among home bakers. This version delivers buttery edges and chewy centers with minimal effort and maximum flavor.
What sets this recipe apart is the balance of textures—crisp at the edges, soft in the middle, and loaded with rich vanilla and brown sugar notes. It’s a foolproof method that works every time.
You’ll achieve bakery-quality results with just one bowl and 30 minutes of baking. The secret lies in not overmixing the batter, ensuring those signature dense, moist squares.
Perfect for picnics, parties, or a simple afternoon treat. This is comfort baking at its finest.
Ingredients for Blondie Recipe Mary Berry
Rich, buttery, and perfectly chewy—these ingredients deliver Mary Berry’s signature blondie magic.
| Ingredient | Amount | Notes |
|---|---|---|
| Unsalted Butter 🧈 | 1 cup | Melted and cooled slightly |
| Light Brown Sugar 🍚 | 1 ½ cups | Packed firmly into measuring cup |
| Granulated Sugar 🍚 | ½ cup | For balanced sweetness |
| Large Eggs 🥚 | 2 whole | Room temperature preferred |
| Pure Vanilla Extract 🌿 | 2 tsp | High-quality for best flavor |
| All-Purpose Flour 🌾 | 2 cups | Spoon and level for accuracy |
| Baking Powder 🧂 | 1 tsp | Ensures proper rise |
| Salt 🧂 | ½ tsp | Fine sea salt preferred |
| White Chocolate Chips 🍫 | 1 cup | Or chopped white chocolate bar |
| Pecans 🌰 | ½ cup | Chopped, optional for crunch |
| Dark Brown Sugar 🍚 | ¼ cup | For deeper caramel notes |
The butter quality is non-negotiable here. European-style unsalted butter (like Plugrá or Kerrygold) has the fat content needed for that luxurious texture. Brown sugar is key—light for sweetness, dark for molasses depth. Most supermarkets carry both, but Whole Foods has excellent organic options. Avoid substituting granulated sugar entirely; the molasses in brown sugar creates the chew.
No white chocolate chips? Chopped white chocolate bars (like Lindt or Ghirardelli) work beautifully and melt more smoothly. Pecans can be swapped for walnuts or macadamias—toast them first for extra crunch. If you’re nut-free, omit entirely or add toffee bits. The vanilla should be pure extract, not imitation. For a deeper flavor, scrape in half a vanilla bean alongside the extract.
Store blondies in an airtight container at room temperature for up to 5 days. They freeze beautifully for 3 months—slice before freezing for easy portions. The butter can be melted and prepped a day ahead, but don’t combine wet and dry ingredients until ready to bake (the baking powder loses potency).
Why You’ll Love This Recipe
- I’ll be real: they taste even better the next day, and the leftovers keep perfectly in an airtight container.
- One Bowl Wonder: I love that I can mix everything in a single bowl—melted butter, brown sugar, and vanilla come together without fuss.
- Buttery Vanilla Bliss: The combo of unsalted butter and pure vanilla extract gives these blondies a rich, warm depth that’s irresistibly good.
- Crowd-Pleaser Ready: Honestly, these disappear at potlucks, picnics, or just a casual Tuesday dessert with zero complaint.
Step-by-Step Instructions for Buttery Blondies With Chewy Centers
Master this method for perfectly textured blondies with crisp edges and a tender crumb.
Step 1: Cream Butter and Sugars to Aerate
In a large bowl, whisk together the 1 cup Unsalted Butter (melted and cooled) with the 1.5 cups Light Brown Sugar, 0.5 cup Granulated Sugar, and 0.25 cup Dark Brown Sugar. The mixture should be smooth and slightly ribbony.
This creaming step incorporates air, which creates the signature chewy texture. The combination of light, dark, and granulated sugars provides balanced sweetness and depth of caramel flavor that defines a proper blondie.
Step 2: Incorporate Eggs and Vanilla
Add the 2 whole Large Eggs one at a time, whisking thoroughly after each addition until fully emulsified. Then stir in the 2 tsp Pure Vanilla Extract until the batter appears glossy and homogeneous.
Using room temperature eggs ensures they incorporate smoothly without causing the butter to seize. The vanilla should be high-quality—this is where its aromatic compounds truly shine in a simple recipe like this.
Step 3: Fold in Dry Ingredients
In a separate bowl, whisk together the 2 cups All-Purpose Flour, 1 tsp Baking Powder, and 0.5 tsp Salt. Gradually add this to the wet ingredients, folding gently with a spatula until just combined—you should still see a few streaks of flour.
Overmixing develops gluten, which would make the blondies tough rather than tender. The baking powder ensures a slight lift, creating those coveted buttery edges while maintaining a dense, fudgy center.
Step 4: Add Mix-Ins and Bake
Fold in the 1 cup White Chocolate Chips and 0.5 cup Pecans until evenly distributed. Transfer the batter to a parchment-lined 9×13-inch baking pan, spreading it into an even layer.
Bake at 350°F for 25-30 minutes until the edges are deep golden brown and the center is set but still slightly soft to the touch. A toothpick inserted should come out with a few moist crumbs—this indicates perfect doneness.
Step 5: Cool Completely Before Slicing
Allow the blondies to cool completely in the pan on a wire rack for at least 1 hour. This cooling period is crucial—it lets the structure set so you can achieve clean, neat squares rather than a crumbly mess.
Once cooled, lift the blondies out using the parchment overhang and cut into 16 equal squares. The texture will be buttery and crisp at the edges, with a rich, chewy interior studded with melted white chocolate and toasted pecans.
Pro Tips For Making Blondie Recipe Mary Berry
- Melt Butter Slowly: Use low heat and stir constantly to melt the butter without browning—burnt butter will darken your blondies and add a bitter note.
- Use Room-Temp Eggs: I learned this the hard way: cold eggs don’t emulsify as well with the sugars, leaving your blondies denser than Mary Berry’s version.
- Don’t Overbake: Pull them out when the edges are golden but the center still has a slight wobble; they’ll firm up as they cool, and overbaking makes them dry.
- Add Extra Vanilla: Sounds weird, but doubling the vanilla extract (to 2 teaspoons) actually changes the outcome—it deepens the flavor without overpowering the buttery richness.
Storing and Reheating This blondie recipe mary berry
Room Temperature Storage
Let these cool completely before storing in an airtight container at room temperature. They’ll stay fresh for up to 5 days, and I actually think they taste even better the next day as the flavors meld together. 💪
Freezer Storage
For longer storage, slice the blondies and wrap individual pieces in plastic wrap, then place in a freezer bag. They’ll keep beautifully for up to 3 months without losing texture or flavor.
Thawing Method
When ready to enjoy, thaw at room temperature for 1-2 hours or overnight in the refrigerator. For a quick refresh, warm in the microwave for 10-15 seconds to restore that just-baked softness.
Reheating for Warm Blondies
Preheat your oven to 300°F and warm slices on a baking sheet for 5-7 minutes. This method keeps them moister than the microwave and brings back that fresh-baked aroma.
Reviving Stale Blondies
If they’ve dried out slightly, wrap in damp paper towel and microwave for 10 seconds. The steam will rehydrate them. Alternatively, warm in a toaster oven at 325°F for 3-4 minutes.
Serving Temperature
I prefer them at room temperature, but there’s something special about a warm blondie with a scoop of vanilla ice cream. The contrast of temperatures makes the buttery edges even more irresistible. ❄️
Nutrition Facts
Frequently Asked Questions
Why use both light and dark brown sugar?
The light brown sugar adds sweetness while the dark brown sugar provides deeper molasses notes. Together they create the perfect balance of caramel flavor and chewy texture.
Can I make these without white chocolate?
Try chopped macadamia nuts or toffee bits instead. The recipe works beautifully with other mix-ins like dried cranberries or butterscotch chips.
How do I know when they’re done baking?
The edges should be deep golden brown and the center set but slightly soft. A toothpick should come out with a few moist crumbs, not wet batter.
Why must they cool completely before slicing?
Cooling allows the structure to set, preventing crumbly squares. If cut too soon, they’ll fall apart. Patience ensures clean, bakery-style pieces.

- BBQ Sausage Recipe Oven: Smoky Depth Without the Grill - September 28, 2026
- BBQ Chicken Bowl Recipe Rice: Smoky Sweetness Over Fluffy Grains - September 28, 2026
- Beef Cutlet Recipe Ideas: Crispy Breaded Patties With Bold Seasonings - September 28, 2026