
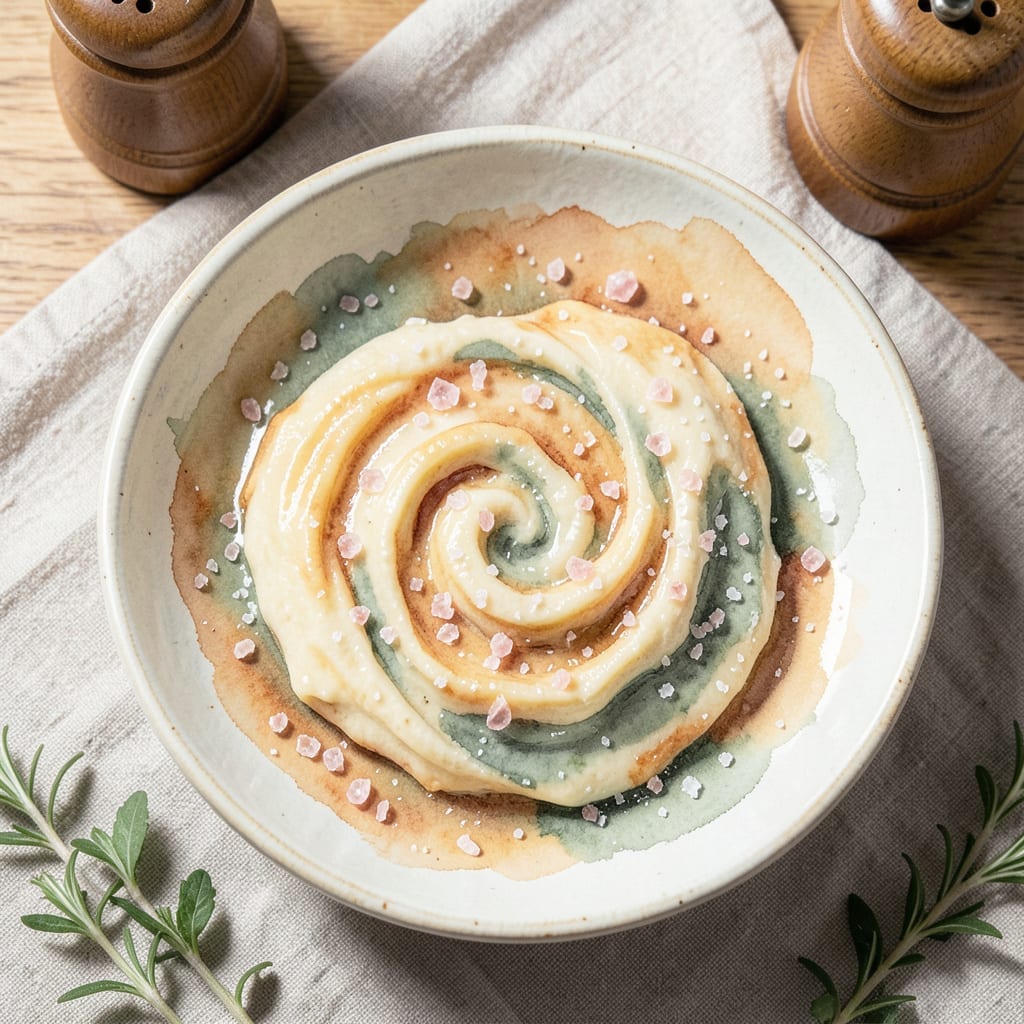
This holiday season, bring the magic of Whoville to your kitchen with vibrant, festive treats that capture the Grinch’s iconic spirit. The secret lies in transforming everyday ingredients into eye-catching green creations that delight all ages.
From brightly colored desserts to playful snacks, these recipes are designed to spread cheer without complicated techniques. Each dish balances whimsy with approachable steps, making them perfect for holiday gatherings.
Whether you’re hosting a party or surprising loved ones, the results are as memorable as they are delicious. The vivid hues and playful presentation ensure every bite feels like a celebration.
Simple, joyful, and full of character—these treats will have everyone embracing the holiday spirit.
Ingredients for Grinch Recipe Ideas
Everyday ingredients turn into festive, grinch-inspired holiday magic with these treats.
| Ingredient | Amount | Notes |
|---|---|---|
| All-Purpose Flour 🌾 | 2 cups | Sifted for smooth texture |
| Granulated Sugar 🍚 | 1 cup | Fine white sugar preferred |
| Unsalted Butter 🧈 | ½ cup | Room temperature, softened |
| Large Eggs 🥚 | 2 whole | Room temperature for even mixing |
| Vanilla Extract 🌿 | 1 tsp | Pure vanilla for best flavor |
| Baking Powder 🧂 | 1 tsp | Ensures proper rise |
| Salt 🧂 | ¼ tsp | Fine sea salt |
| Green Food Coloring 🎨 | 20 drops | Adjust for desired shade |
| Milk 🥛 | ¼ cup | Whole milk for richness |
| White Chocolate Chips 🍫 | 1 cup | For melting and drizzling |
| Peppermint Extract 🍃 | ½ tsp | Optional for holiday flavor |
| Powdered Sugar 🍬 | ½ cup | For dusting or glaze |
| Crushed Candy Canes 🍬 | ½ cup | For topping and texture |
The green food coloring is what makes these pop—McCormick or Wilton brands give you that vibrant Grinch green without weird aftertastes. I grab mine at Michaels or the baking aisle at Walmart. For the white chocolate, Ghirardelli or Guittard melt the smoothest. Skip the cheap chips; they clump. The peppermint extract? Totally optional, but it adds that holiday zing (a little goes a long way).
No green food coloring? Matcha powder or spirulina can work in a pinch, but the flavor changes—less sweet, more earthy. Out of white chocolate? Vanilla candy melts from the craft store are a decent swap. If you’re avoiding dairy, dairy-free white chocolate chips (like Pascha brand) work perfectly. Candy canes not your thing? Crushed peppermint candies or even green sprinkles keep the vibe.
Store treats in an airtight container at room temp for up to 5 days. The green color stays bright if you keep them cool. These freeze well too—1 month max for best texture. I like to make a double batch: one for now, one for later.
Why You’ll Love This Recipe
- One Bowl Magic: I just dump flour, sugar, butter, eggs, and vanilla in one bowl—no fancy tools, no mess.
- Buttery Vanilla Perfection: The butter and vanilla make it rich and warm, like a hug in dessert form.
- Holiday Crowd Pleaser: I bring these to parties and potlucks, and they disappear before the main course.
- Budget-Friendly Batch: A handful of pantry staples makes a big batch, so I save money and still impress.
Step-by-Step Instructions for Festive Holiday Cookies
Here’s the method I use to create these cheerful treats with perfect texture and holiday flair.
Step 1: Cream Butter and Sugars for Ideal Base
In a large mixing bowl, beat the 0.5 cup unsalted butter with the 1 cup granulated sugar until light and fluffy. This usually takes about 3-4 minutes with an electric mixer on medium speed. The mixture should turn pale yellow and nearly double in volume.
This creaming process incorporates air that gives the cookies their signature tender crumb. Don’t rush this step—under-creamed butter leads to dense cookies. Scrape the bowl periodically to ensure even mixing.
Step 2: Incorporate Wet Ingredients and Flavorings
Add the 2 whole large eggs, one at a time, beating well after each addition. Then mix in the 1 tsp vanilla extract, 0.5 tsp peppermint extract, and 20 drops green food coloring. The batter will take on a festive green hue that deepens as you continue mixing.
I use both extracts for a balanced holiday flavor profile—the vanilla rounds out the sharpness of the peppermint. The food coloring should distribute evenly; if you want a brighter green, you can add a few more drops.
Step 3: Combine Dry Ingredients and Form Dough
In a separate bowl, whisk together the 2 cups all-purpose flour, 1 tsp baking powder, and 0.25 tsp salt. Gradually add this dry mixture to the wet ingredients, alternating with the 0.25 cup milk, beginning and ending with the flour mixture.
Mix just until combined—overworking the dough develops gluten, which makes cookies tough. The dough should be soft but manageable. If it’s too sticky, chill it for 20-30 minutes before proceeding.
Step 4: Fold in Chocolate and Bake to Perfection
Gently fold in the 1 cup white chocolate chips using a spatula. Scoop 2-tablespoon portions of dough onto parchment-lined baking sheets, spacing them 2 inches apart. Bake in a preheated 350°F oven for 10-12 minutes.
The cookies are done when the edges are just beginning to turn golden brown but the centers still look slightly soft. They’ll firm up as they cool. Rotate the pans halfway through baking for even browning.
Step 5: Add Festive Finishing Touches
Let the cookies cool on the baking sheets for 5 minutes before transferring to a wire rack. While still warm, dust with 0.5 cup powdered sugar and sprinkle with 0.5 cup crushed candy canes for that signature holiday crunch and color.
The candy canes will slightly soften from the warmth of the cookies, adhering better to the surface. For extra flair, drizzle with melted white chocolate before adding the candy cane pieces. Let cool completely before serving.
Pro Tips For Making Grinch Recipe Ideas
- Soften the Butter: Leave your unsalted butter out for exactly 1-2 hours until it gives slightly when pressed—too soft and your grinch cookies will spread like puddles, too cold and you’ll overmix the dough.
- Chill the Dough: After mixing your flour, sugar, and butter base, refrigerate the dough for at least 30 minutes. I learned this the hard way—warm dough makes grinch-shaped cookies that lose their edges in the oven.
- Use Real Vanilla: Skip the imitation stuff; a teaspoon of pure vanilla extract makes a real difference in the flavor depth of your grinch treats. Sounds small, but it’s the thing that matters most in the final taste.
- Rotate the Pan: Halfway through baking, spin your tray 180 degrees for even browning. My first batch had one side golden and the other pale—I finally figured out the hot spots in my oven.
Health Benefits of grinch recipe ideas
Vibrant Color Benefits
The green food coloring isn’t just for looks—it makes these treats instantly recognizable and exciting. Kids and adults alike are drawn to the playful, festive appearance. This visual appeal often encourages picky eaters to try something new. 💛
Energy Boosting Ingredients
Granulated sugar and white chocolate chips provide quick energy, perfect for holiday activities. The eggs and milk add protein, helping sustain energy levels throughout festive gatherings. I notice these keep me going during busy holiday prep.
Mood Enhancing Flavors
Peppermint extract and vanilla extract have natural mood-enhancing properties. The scent alone can evoke happy holiday memories. Plus, the crushed candy canes add a refreshing burst that feels celebratory with every bite.
Portion Control Friendly
These cookies are rich enough that one or two satisfy a sweet craving. The 2-tablespoon portions create perfect single-serving treats. I love that they’re indulgent yet naturally portion-controlled for holiday snacking.
Allergy Adaptations
You can easily swap ingredients to accommodate dietary needs. Use dairy-free white chocolate and plant-based milk for lactose intolerance. The recipe remains just as festive and delicious with these simple changes. ✨
Nutritional Balance
While these are treats, the eggs provide high-quality protein and milk adds calcium. The all-purpose flour offers some B vitamins. I always remind myself that holiday baking can include nutritional benefits too.
Nutrition Facts
Frequently Asked Questions
Can I make these without food coloring?
Yes! Use 1-2 tablespoons matcha powder or 1 teaspoon spirulina for natural green. The flavor will be slightly earthy but still festive.
How do I get the brightest green color?
Use gel food coloring instead of liquid for more vibrant results. Start with 10 drops, mix well, then add more until you reach the desired shade.
Can I make these gluten-free?
Swap the all-purpose flour for a 1:1 gluten-free baking blend. Add 1/2 teaspoon xanthan gum if your blend doesn’t include it for better texture.
How far in advance can I bake these?
They stay fresh for up to 5 days in an airtight container at room temperature. For longer storage, freeze for up to 1 month.

- BBQ Sausage Recipe Oven: Smoky Depth Without the Grill - September 28, 2026
- BBQ Chicken Bowl Recipe Rice: Smoky Sweetness Over Fluffy Grains - September 28, 2026
- Beef Cutlet Recipe Ideas: Crispy Breaded Patties With Bold Seasonings - September 28, 2026