
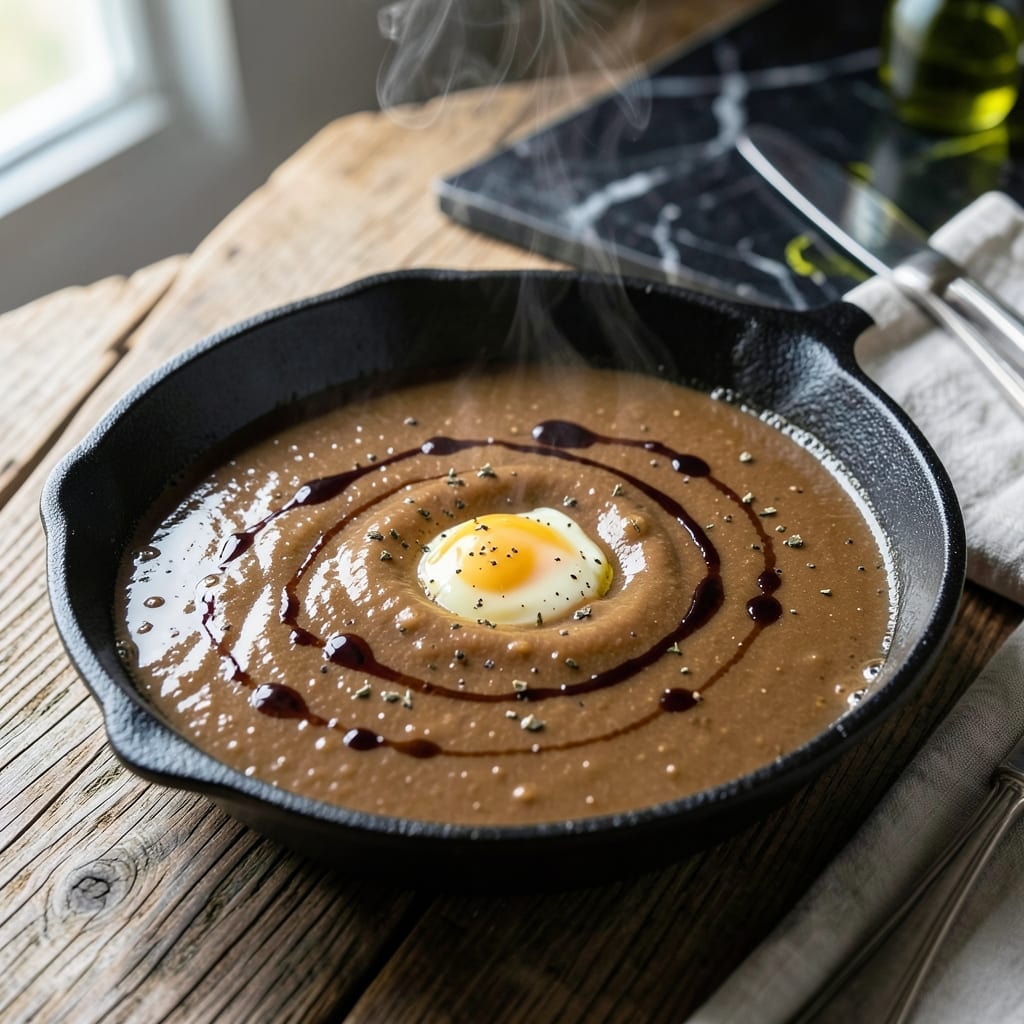
A rich, velvety brown gravy can transform simple mashed potatoes into a memorable meal. This recipe captures that perfect balance of savory depth and smooth consistency, using basic ingredients you likely already have on hand.
I’ve refined this method to ensure no lumps, no guesswork—just a foolproof sauce every time. Pan drippings, broth, and a simple thickener come together in minutes, creating a gravy that’s robust yet silky.
The result is a deeply flavorful sauce with a glossy finish, ideal for drizzling over potatoes, roasted meats, or biscuits. It’s the kind of finishing touch that elevates any dish from good to exceptional.
Store leftovers in the fridge for up to three days, or freeze for later. Here’s how to make it.
Ingredients for Brown Gravy
Transform pan drippings into velvety gravy with these pantry staples and simple thickeners.
| Ingredient | Amount | Notes |
|---|---|---|
| Pan Drippings 🍖 | ½ cup | From roasted meat or poultry |
| Beef Broth 🥩 | 2 cups | Low-sodium preferred for control |
| All-Purpose Flour 🌾 | ¼ cup | For thickening the gravy |
| Unsalted Butter 🧈 | 2 tbsp | Optional for extra richness |
| Worcestershire Sauce 💧 | 1 tsp | Adds umami depth to sauce |
| Soy Sauce 🥢 | 1 tsp | Enhances savory flavor profile |
| Garlic Powder 🧄 | ½ tsp | For aromatic base flavor |
| Onion Powder 🧅 | ½ tsp | Complements savory notes perfectly |
| Black Pepper 🌶️ | ½ tsp | Freshly ground for best results |
| Kosher Salt 🧂 | ½ tsp | Adjust to taste after thickening |
The pan drippings are non-negotiable for depth—use what remains after roasting beef, turkey, or chicken. Better Than Bouillon beef base mixed with water makes an excellent broth substitute if you’re starting from scratch. For the flour, all-purpose works perfectly, but Wondra flour dissolves instantly for lump-free results. Unsalted butter lets you control the sodium, and Plugrá is a professional favorite for its high butterfat content.
No pan drippings? Melted butter plus a dash of Kitchen Bouquet mimics the color and depth. For gluten-free, swap all-purpose flour for cornstarch at half the amount—mix with cold water first. The Worcestershire can be omitted, but it adds a complexity that’s hard to replicate. If avoiding soy, coconut aminos work as a substitute, though the flavor profile will shift slightly.
Gravy thickens as it cools, so it’ll seem thin at first. Store in an airtight container in the fridge for up to 3 days or freeze for 3 months. Reheat gently on the stove with a splash of broth to restore the silky texture.
Why You’ll Love This Recipe
- One Pot Wonder: I just use the pan drippings from roasting, whisk in flour and broth—no extra bowls or fancy steps.
- Rich and Deep: The Worcestershire sauce adds this savory depth that makes every bite taste like it simmered all day.
- Sunday or Tuesday: Honestly, I’ve poured this over mashed potatoes, biscuits, even leftover turkey—it never goes to waste.
- Pennies per Serving: A little flour, some broth, and butter stretch those pan drippings into a full gravy boat for under a dollar.
Step-by-Step Instructions for Brown Gravy
Master this classic technique for rich, velvety gravy that elevates any meal.
Step 1: Create a Roux with Pan Drippings and Flour
Place your skillet or saucepan containing the 0.5 cup Pan Drippings over medium heat. If you have less than this amount, supplement with unsalted butter to reach the full measure. The drippings should be warm and slightly bubbling.
Gradually whisk in the 0.25 cup All-Purpose Flour until completely smooth. This creates your roux—the foundation for thick, lump-free gravy. Cook for 1-2 minutes, stirring constantly, until the mixture turns a light golden color. This step removes the raw flour taste and builds flavor depth.
Watch for the roux to reach a paste-like consistency that coats the back of a spoon. If it appears too thick, reduce heat slightly. The color should deepen to a light caramel shade, not dark brown—this ensures a rich flavor without bitterness.
Step 2: Build Flavor with Broth and Seasonings
Slowly pour in the 2 cups Beef Broth while whisking vigorously to prevent lumps from forming. The mixture will thicken immediately as the liquid contacts the hot roux. Continue whisking until the gravy is completely smooth and begins to simmer.
Add the 1 tsp Worcestershire Sauce, 1 tsp Soy Sauce, 0.5 tsp Garlic Powder, 0.5 tsp Onion Powder, 0.5 tsp Black Pepper, and 0.5 tsp Kosher Salt. Each ingredient contributes to the complex, savory profile that defines exceptional gravy.
The Worcestershire and soy sauces provide umami depth, while the garlic and onion powders create a robust aromatic base. The gravy should now have a glossy appearance and coat the whisk evenly.
Step 3: Simmer and Thicken to Perfection
Reduce heat to medium-low and let the gravy simmer gently for 5-7 minutes. Stir occasionally to prevent sticking and ensure even thickening. The gravy should gradually transform from a thin liquid to a velvety consistency that ribbons off the whisk.
As it simmers, the flavors will meld together and the gravy will reach its ideal thickness. If it becomes too thick before the 7-minute mark, whisk in a splash of additional beef broth to achieve your desired consistency.
Taste and adjust seasoning if needed, though the measured ingredients should provide perfect balance. The gravy is ready when it smoothly coats the back of a spoon and leaves a clean path when you run your finger through it.
Step 4: Finish with Butter for Luxurious Texture
Remove the gravy from heat and stir in the 2 tbsp Unsalted Butter until completely melted and incorporated. This final step adds a silky richness that elevates the gravy from good to exceptional. The butter should create a subtle sheen on the surface.
Let the gravy rest for 2-3 minutes to allow the flavors to fully develop. This brief resting period also lets the gravy reach its final consistency as it cools slightly. The result should be a smooth, glossy sauce with a deep brown color and rich aroma.
Serve immediately while hot, as gravy thickens further as it cools. For the best presentation, pour over mashed potatoes or roasted meats just before serving.
Pro Tips For Making Brown Gravy
- Deglaze While Hot: Pour your beef broth into the pan while it’s still scorching hot—this lifts all those flavor-packed browned bits from the bottom that make gravy taste like it simmered for hours.
- Use Cold Butter: I learned this the hard way—whisk in cold, cubed butter at the end for a glossy, velvet-smooth finish instead of a greasy split mess.
- Skip the Lumps: Mix your flour with a little cold broth before adding it to the pan, or you’ll spend the next 10 minutes fishing out stubborn clumps from your gravy.
- Boost with Worcestershire: A splash of Worcestershire at the end adds depth you can’t get from salt alone—sounds simple, but it turns flat gravy into restaurant-quality every time.
Make-Ahead Tips for This brown gravy
Prep Ahead
Make the roux base up to 2 days ahead—cook your 0.25 cup All-Purpose Flour with 0.5 cup Pan Drippings as directed, then cool and refrigerate in a sealed container. This saves 10 minutes on cooking day.
Freeze Gravy Bases
Prepare complete gravy without the final butter, cool, and freeze in 1-cup portions for up to 3 months. I use silicone muffin molds for perfect single-serving portions. Thaw overnight in the fridge before reheating.
Reheating Secrets
Warm refrigerated gravy over low heat in a saucepan, whisking in 2-3 tbsp Beef Broth to restore silky texture. For frozen, thaw in the fridge first—microwaving directly can cause separation. 🔥
Day-Of Shortcuts
If short on time, make gravy 1 hour before serving and keep warm in a slow cooker on low. Stir in 1 tbsp butter every 30 minutes to maintain that glossy finish.
Flavor Boosters
Add a splash of Worcestershire Sauce or Soy Sauce when reheating to refresh the umami depth. A pinch of Garlic Powder or Onion Powder can revive flavors if needed.
Storage Containers
I swear by glass mason jars for storing gravy—they’re airtight and let you see the consistency. Leave ½ inch headspace for expansion if freezing. Label with the date to track freshness. 💡
Nutrition Facts
Frequently Asked Questions
What if I don’t have pan drippings?
Use 2 tbsp butter plus 1 tsp Kitchen Bouquet for color and depth. This mimics the richness of drippings perfectly.
How do I fix lumps in my gravy?
Whisk vigorously or strain through a fine-mesh sieve. For prevention, add flour gradually and keep heat at medium.
Can I make this gluten-free?
Swap all-purpose flour for cornstarch—use 2 tbsp mixed with cold water first. The texture will be just as smooth.
Why is my gravy too thin?
Simmer longer or mix 1 tsp cornstarch with cold water, then whisk in. Gravy thickens as it cools too.

- BBQ Sausage Recipe Oven: Smoky Depth Without the Grill - September 28, 2026
- BBQ Chicken Bowl Recipe Rice: Smoky Sweetness Over Fluffy Grains - September 28, 2026
- Beef Cutlet Recipe Ideas: Crispy Breaded Patties With Bold Seasonings - September 28, 2026