
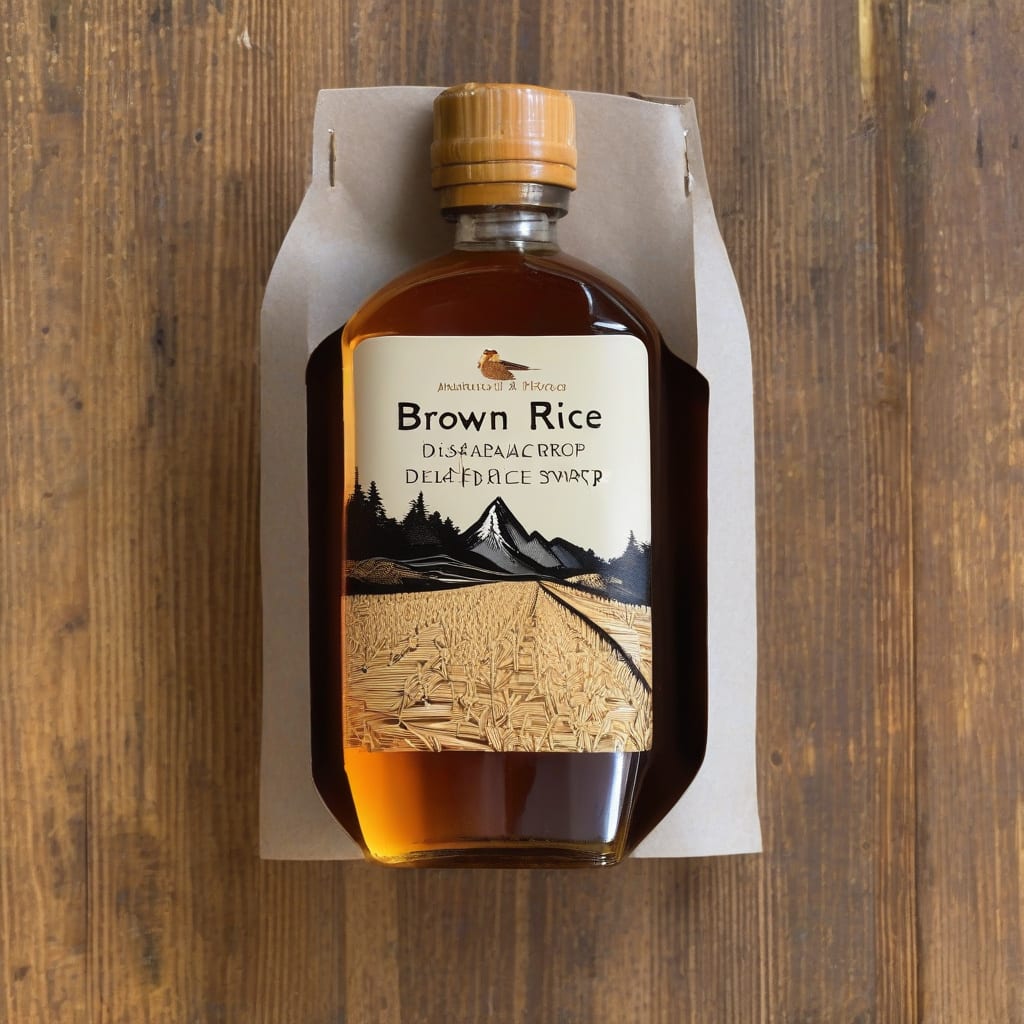
Making your own brown rice syrup at home is surprisingly simple and cost-effective. This homemade sweetener is perfect for various recipes, from baked goods to sauces.
With just a few ingredients and some patience, you’ll have a fresh batch ready in about an hour, and it stores well for future use.
Ingredients for Brown Rice Syrup
Simple ingredients make this homemade brown rice syrup a reality in about an hour.
| Ingredient | Amount | Notes |
|---|---|---|
| Brown Rice 🍚 | 2 cups | Short-grain preferred |
| Water 💧 | 4 cups | Filtered for best taste |
| Barley Malt Syrup 🍯 | ¼ cup | Or 1/4 cup active barley malt powder |
The quality of brown rice matters—short-grain works best because it’s stickier. Most grocery stores carry it, but if you’re having trouble finding it, Asian markets always have it. For the barley malt syrup, health food stores or online are your best bet. I like Bob’s Red Mill for consistency.
No barley malt syrup? You can use 1/4 cup active barley malt powder instead—it’s not identical, but it gets the job done. The water should be filtered if your tap water tastes funky. This recipe is pretty forgiving, but don’t skip the barley malt—it’s what makes the magic happen.
This syrup keeps for 6 months in the fridge. Store it in a glass jar and give it a good stir before using. If it thickens too much, a quick 10-second zap in the microwave loosens it right up. I portion it into smaller containers so I always have some on hand.
❤️
Why You’ll Love This Recipe
- Simple Syrup Success: I was surprised how straightforward it is to make brown rice syrup at home – just brown rice, water, and barley malt syrup, that’s it.
- Rich Caramel Flavor: The resulting syrup has this deep, rich flavor that’s ridiculously good in everything from baked goods to sauces.
- Versatile Sweetener: I use this syrup in everything from breakfast oatmeal to homemade granola, and it’s become my go-to sweetener for most recipes.
- Batch and Save: Making a big batch of this syrup saves me money in the long run and means I’ve always got some on hand when I need it – no last-minute store runs required.
Step-by-Step Instructions for Brown Rice Syrup
Here’s the method to make this versatile sweetener at home – straightforward and effective.
Step 1: Cook the Brown Rice
Start by rinsing the 2 cups of brown rice thoroughly until the water runs clear. I like to use a fine-mesh strainer for this – it catches all the tiny rice fragments. Once clean, combine the rice with 4 cups of water in a medium saucepan. Bring the mixture to a boil over high heat, then reduce the heat to low, cover, and simmer for about 45 minutes or until the rice is very tender and the water is mostly absorbed.
The rice should be quite soft and mushy at this point – if it’s still a bit crunchy, continue cooking for another 10-15 minutes. Be careful not to let it burn on the bottom. Once done, remove from heat and let it cool slightly.
Step 2: Enzymatically Break Down the Rice
Transfer the cooked rice to a blender or food processor. Add the 0.25 cup of barley malt syrup (or ¼ cup of active barley malt powder if using that instead) to the rice. The barley malt contains enzymes that will help break down the rice starches into fermentable sugars. Blend the mixture on high speed for about 2 minutes until it’s smooth and well combined.
You’ll notice the mixture starts to thin out as the enzymes work their magic. This step is crucial for achieving the right consistency in your final syrup. If you’re using a powder, make sure it’s fully incorporated to avoid any lumps.
Step 3: Strain and Simmer the Mixture
Pour the blended rice mixture into a fine-mesh strainer or cheesecloth lined with a colander over a large bowl. Press on the solids to extract as much liquid as possible – you want to get out every last drop of that sweet liquid. Discard the solids after straining.
Transfer the strained liquid to a medium saucepan and bring it to a simmer over medium heat. Reduce the heat to low and let it simmer gently for about 1-2 hours, stirring occasionally, until the liquid has thickened into a syrupy consistency. You’ll know it’s ready when it coats the back of a spoon.
Step 4: Store Your Homemade Syrup
Once the syrup has reached your desired consistency, remove it from the heat and let it cool slightly. Transfer it to a clean glass jar or bottle. I like to use a jar with a tight-fitting lid to keep it fresh. Store the syrup in the refrigerator – it should keep for several weeks.
The syrup will thicken further as it cools, which is normal. If it becomes too thick, you can gently warm it up to thin it out again. This homemade brown rice syrup is perfect for sweetening everything from breakfast cereals to baked goods.
👨🍳
Pro Tips For Making Brown Rice Syrup
- Rinse Thoroughly: Rinsing the brown rice until the water runs clear removes excess starch, which helps prevent the syrup from becoming too thick or cloudy during cooking. I learned this the hard way—skipping this step led to some frustrating batches.
- Monitor Temperature: Keeping the mixture at a gentle simmer is crucial; if it boils too vigorously, the rice can burn or the syrup can crystallize. After burning three batches, I finally figured out that maintaining a low heat makes all the difference.
- Use Quality Barley Malt: The quality of barley malt syrup directly affects the flavor of your brown rice syrup, so choose a high-quality, pure barley malt syrup for the best results. My grandmother swore by this, and she was right: it adds a rich, deep flavor that’s hard to replicate with cheaper alternatives.
- Strain Carefully: Straining the cooked rice mixture through a fine-mesh sieve or cheesecloth ensures you get a clear syrup; be patient and don’t rush this step. I was skeptical until I tried it, but it actually changes the outcome—you’ll end up with a smoother, more refined syrup.
Common Mistakes When Making This Recipe
Overcooking the Rice
One of the most common mistakes is overcooking the 2 cups of brown rice. You want it to be tender but not mushy. If it becomes too soft, it can make the syrup cloudy and affect its flavor. I check mine after 45 minutes and adjust as needed.
Incorrect Straining
Not straining the mixture properly can leave sediment in your syrup. Use a fine-mesh strainer or cheesecloth to get as much liquid as possible. Press on the solids to extract every last drop – it’s worth the extra effort. 🔥
Skipping the Barley Malt Syrup
The 0.25 cup of barley malt syrup is crucial for breaking down starches into fermentable sugars. Without it, your syrup won’t turn out right. If you don’t have it, consider using ¼ cup active barley malt powder as a substitute.
Not Monitoring the Simmer
Letting the mixture simmer too long or at too high heat can cause it to burn or become too thick too quickly. Keep it at low heat and stir occasionally. You’re aiming for a thick, syrupy consistency that coats the back of a spoon.
Improper Storage
Storing the syrup improperly can affect its shelf life. Keep it in a glass jar with a tight-fitting lid in the refrigerator. It should last for 6 months. If it thickens too much, a quick warm-up helps.
Not Adjusting for Thickness
If your syrup becomes too thick, don’t worry. Simply warm it gently to thin it out. This is normal as it cools and thickens further. A 10-second microwave zap usually does the trick.
Nutrition Facts
120kcal
Frequently Asked Questions
How long does homemade brown rice syrup last?
Homemade brown rice syrup typically lasts for 6 months when stored properly in the refrigerator. Keep it in a glass jar with a tight-fitting lid to maintain freshness. If it thickens too much, you can gently warm it up to thin it out again.
Can I use regular rice instead of short-grain brown rice?
While you can experiment with other types of rice, short-grain brown rice is recommended for this recipe. It’s stickier and contains more starch, which helps create a smoother syrup. Using regular rice may result in a less desirable texture.
What if I don’t have barley malt syrup or powder?
If you don’t have barley malt syrup or powder, you can try substituting with other natural sweeteners, but keep in mind that the flavor and consistency may vary. Barley malt is crucial for breaking down starches into fermentable sugars, so the syrup may not turn out as expected without it.
Can I adjust the consistency of the syrup?
Yes, you can adjust the consistency of the syrup by simmering it for a longer or shorter period. If you prefer a thinner syrup, simmer it for 1 hour. For a thicker syrup, continue simmering for up to 2 hours, stirring occasionally.

- BBQ Sausage Recipe Oven: Smoky Depth Without the Grill - September 28, 2026
- BBQ Chicken Bowl Recipe Rice: Smoky Sweetness Over Fluffy Grains - September 28, 2026
- Beef Cutlet Recipe Ideas: Crispy Breaded Patties With Bold Seasonings - September 28, 2026