
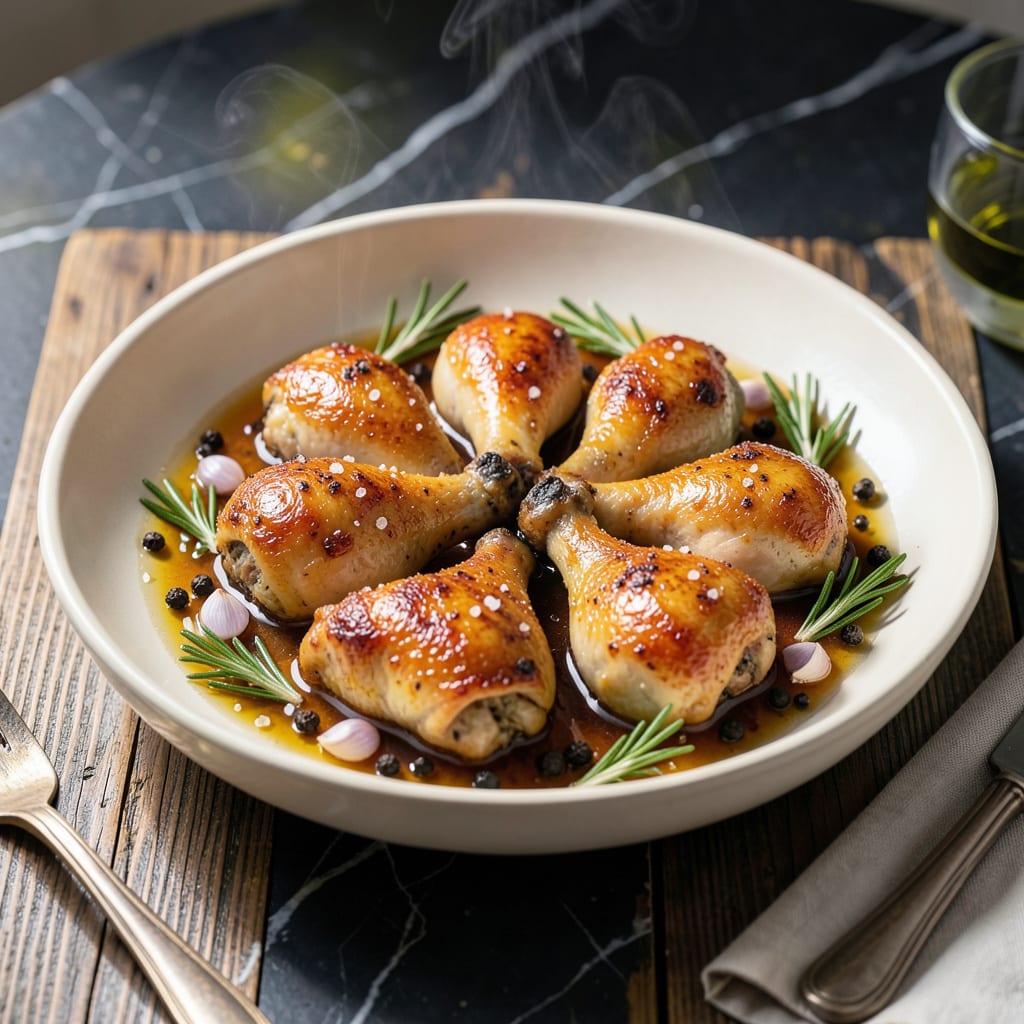
This simple brine is the secret to juicy, flavorful chicken every time. A precise mix of salt, water, and herbs infuses the meat with moisture and taste before cooking.
Soak your drumsticks for 4-12 hours for maximum impact. The result is meat that stays tender and delicious, whether grilled, baked, or fried.
Ingredients for Chicken Drumstick Brine
A handful of pantry staples transforms into the ultimate juice-boosting soak for your drumsticks.
| Ingredient | Amount | Notes |
|---|---|---|
| Water 💧 | 4 cups | Cold, for optimal absorption |
| Kosher Salt 🧂 | ½ cup | Diamond Crystal preferred |
| Granulated Sugar 🍚 | ¼ cup | Balances saltiness |
| Black Peppercorns 🌶️ | 1 tbsp | Lightly crushed |
| Garlic Cloves 🧄 | 6 cloves | Smashed, not minced |
| Fresh Rosemary Sprigs 🌿 | 4 sprigs | About 6 inches long |
| Fresh Thyme Sprigs 🍃 | 4 sprigs | Optional but recommended |
| Bay Leaves 🍁 | 2 whole | Dried, whole |
| Lemon Slices 🍋 | 2 slices | Thin, with rind |
The salt is doing the heavy lifting here—Diamond Crystal kosher salt is ideal because it dissolves cleanly and has the right texture (no iodized table salt, please). Cold water absorbs better than warm, so use it straight from the tap. For herbs, fresh rosemary and thyme add brightness, but dried in a pinch works if you cut the amount in half. Most supermarkets have these in the produce section year-round.
No kosher salt? Table salt at half the amount works, but it can taste harsher. Out of fresh herbs? Dried Italian seasoning (about 1 tsp) gets you close. The sugar isn’t just for sweetness—it helps the meat caramelize. Swap it for brown sugar or honey if that’s what you’ve got. The lemon adds acidity (brightens the flavor) but lime or orange slices work too.
This brine keeps in the fridge for 2 days max—herbs and citrus start to bitter out after that. I make it fresh each time, but you can prep the salt-sugar mix ahead. Discard the brine after use; never reuse it for food safety.
Why You’ll Love This Recipe
- 5-Minute Mix: So easy. I just stir water, salt, sugar, and crushed garlic with peppercorns—no fancy steps.
- Juicy Every Time: The salt and sugar work magic, locking in moisture so the drumsticks stay tender and flavorful.
- Meal Prep Hero: I brine a big batch on Sunday, then roast or grill all week for quick dinners.
Step-by-Step Instructions for Chicken Drumstick Brine
Here’s the method I use to create a brine that transforms ordinary drumsticks into flavor-packed perfection.
Step 1: Bloom the Aromatics in Simmering Water
In a medium saucepan, combine the 4 cups Water with the 0.5 cup Kosher Salt and 0.25 cup Granulated Sugar. Heat over medium-high heat and stir until both are completely dissolved—this creates the base for your brine.
Add the 1 tbsp Black Peppercorns, 6 cloves Garlic Cloves, 4 sprigs Fresh Rosemary Sprigs, 4 sprigs Fresh Thyme Sprigs, 2 whole Bay Leaves, and 2 slices Lemon Slices. Let the mixture simmer for 5 minutes to release the essential oils and flavors from the herbs and spices.
Step 2: Cool the Brine Completely
Remove the saucepan from heat and let the brine cool to room temperature. This step is crucial—adding hot brine to raw chicken would start cooking the meat, toughening the exterior and preventing proper flavor absorption.
For faster cooling, you can place the saucepan in an ice bath or transfer the brine to a large bowl and set it in the refrigerator. I like to stir it occasionally to help distribute the heat. The brine is ready when it feels cool to the touch, about 30-45 minutes.
Step 3: Submerge the Drumsticks Fully
Place your chicken drumsticks in a large, non-reactive container or resealable plastic bag. Pour the cooled brine over the drumsticks, ensuring they are completely submerged. If using a bag, squeeze out as much air as possible before sealing to maximize contact between the meat and brine.
If the brine doesn’t fully cover the drumsticks, you can add a bit more cold water to the container, but avoid diluting the brine too much. The drumsticks should be fully immersed for even flavor distribution.
Step 4: Brine for Maximum Flavor Infusion
Refrigerate the drumsticks in the brine for at least 4 hours, but for the best results, I recommend brining overnight, up to 12 hours. This extended time allows the salt and sugar to penetrate the meat deeply, ensuring every bite is juicy and flavorful.
Check occasionally to make sure the drumsticks remain submerged. If any pieces float to the top, weigh them down with a small plate or utensil. The longer they soak, the more tender and flavorful they’ll become.
Step 5: Rinse and Pat Dry Before Cooking
After brining, remove the drumsticks from the liquid and give them a quick rinse under cold water to remove excess salt from the surface. This prevents the exterior from becoming overly salty after cooking.
Pat the drumsticks thoroughly dry with paper towels. This step is essential for achieving crispy skin when cooking, as any lingering moisture will steam the meat instead of allowing it to brown. Now they’re ready for grilling, roasting, or frying.
Pro Tips For Making Chicken Drumstick Brine
- Brine Overnight: Give the drumsticks at least 12 hours in the brine—I learned this the hard way when my first batch was dry after just 2 hours.
- Crush the Peppercorns: Lightly crush the black peppercorns before adding them so their flavor actually infuses the brine instead of just floating there.
- Use Cold Water: Always start with cold water in your brine to keep the chicken safe while it soaks—warm water breeds bacteria faster than you’d think.
- Rinse After Brining: Rinse the drumsticks briefly after brining to remove excess salt, or your skin will end up too tough to chew.
Storing and Reheating Leftovers
Refrigerator Storage
Store unused brine in an airtight container in your fridge for up to 2 days. The herbs and citrus will start to lose their freshness and may impart a bitter flavor if kept longer. I always label mine with the date to keep track. ❄️
Freezing Brine
You can freeze brine in ice cube trays for up to 3 months. Once frozen, transfer the cubes to a freezer bag for easy portioning. Thaw in the fridge overnight before using—this is perfect for when I’m meal prepping for the week.
Reheating Brined Meat
After cooking your brined drumsticks, reheat leftovers in the oven at 325°F for 15-20 minutes to maintain moisture. Cover with foil to prevent drying out. This method keeps the meat tender and flavorful.
Stovetop Reheating
For a quick option, warm drumsticks in a skillet over medium-low heat with a splash of chicken broth or water. Cover and heat for 5-7 minutes, turning occasionally for even warming.
Discarding Used Brine
Always discard brine after use—never reuse it for food safety. Raw meat juices can contaminate the liquid, and the salt concentration weakens after each use. I make a fresh batch every time for the best results.
Prep Ahead Tips
You can prep the salt, sugar, and aromatics mix ahead of time and store it in a dry container. Just add water when ready to brine. This saves me 10 minutes on busy cooking days. 💡
Nutrition Facts
Frequently Asked Questions
Can I brine drumsticks for less than 4 hours?
Even 2 hours will add flavor, but for maximum juiciness and tenderness, stick to at least 4 hours. Overnight brining (12 hours) gives the best results.
Why use kosher salt instead of table salt?
Kosher salt dissolves evenly and has a cleaner taste. Table salt works in half the amount but can taste harsher. Diamond Crystal is ideal for brining.
Can I reuse the brine for another batch?
Never reuse brine—it’s contaminated with raw meat juices. Always discard after one use and make a fresh batch for food safety.
What if I don’t have fresh herbs?
Dried herbs work in a pinch. Use half the amount, so 1 tsp dried replaces 1 tbsp fresh. The flavor will still shine.

- BBQ Sausage Recipe Oven: Smoky Depth Without the Grill - September 28, 2026
- BBQ Chicken Bowl Recipe Rice: Smoky Sweetness Over Fluffy Grains - September 28, 2026
- Beef Cutlet Recipe Ideas: Crispy Breaded Patties With Bold Seasonings - September 28, 2026