
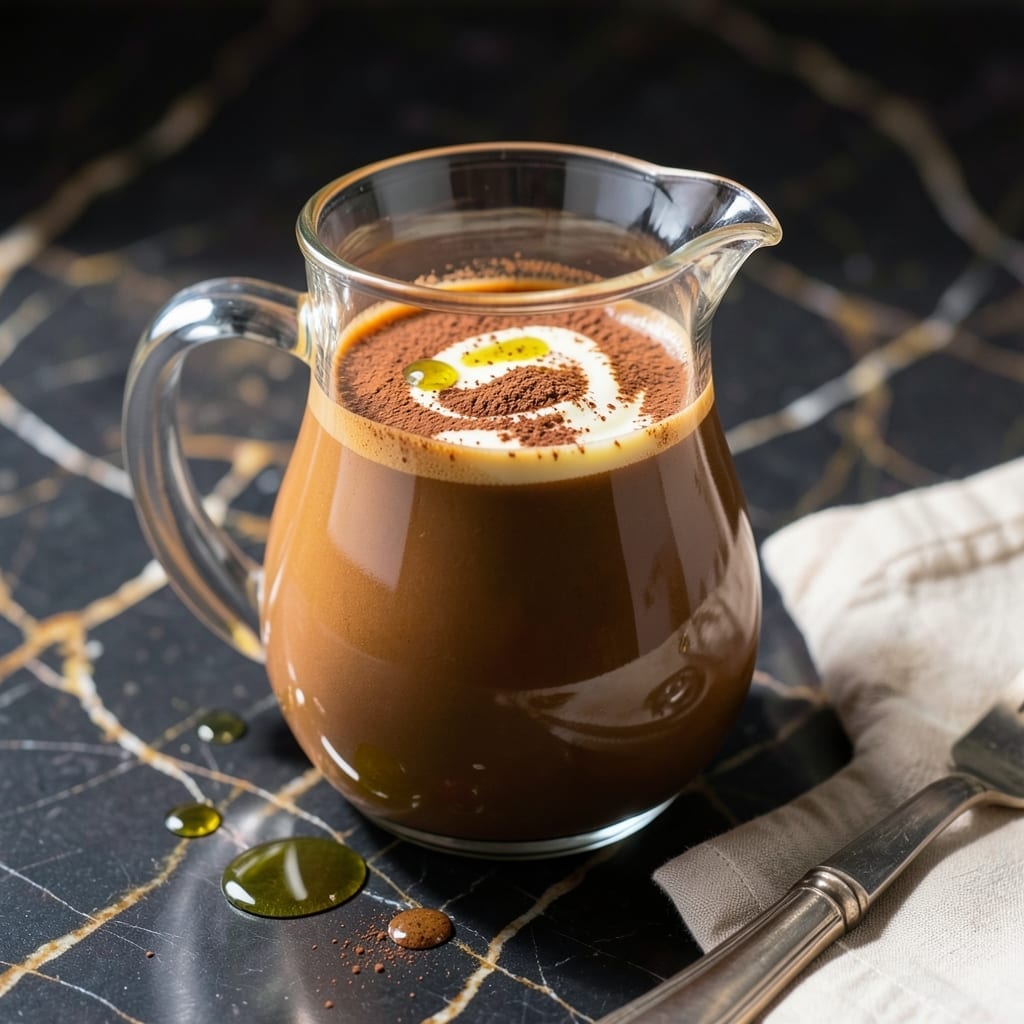
This homemade coffee creamer transforms your morning brew into something extraordinary. Using just sweetened condensed milk and evaporated milk, it creates a rich, velvety texture that store-bought versions can’t match.
I developed this recipe after growing tired of artificial additives in commercial creamers. The combination of these two ingredients delivers a smooth, creamy consistency that blends effortlessly into hot or iced coffee.
What makes this version special is its versatility. Customize it with vanilla, cinnamon, or cocoa powder to suit your taste. It keeps in the fridge for up to two weeks, ready to elevate every cup.
Perfect for those who want a homemade touch without the hassle. Here’s how to make it.
Ingredients for Coffee Creamer Recipe with Sweetened Condensed Milk and Evaporated Milk
Six ingredients, two cans, endless coffee possibilities for your morning cup.
| Ingredient | Amount | Notes |
|---|---|---|
| Sweetened Condensed Milk 🥛 | 1 can | 14 oz can, full-fat preferred |
| Evaporated Milk 🥛 | 1 can | 12 oz can, whole milk version |
| Pure Vanilla Extract 🌿 | 1 tsp | Real vanilla, not imitation |
| Ground Cinnamon 🌶️ | ¼ tsp | Optional for warming spice |
| Unsweetened Cocoa Powder 🍫 | 1 tbsp | Optional for chocolate flavor |
| Almond Extract 🌰 | ¼ tsp | Optional, use sparingly |
The base is all about those two cans—sweetened condensed milk and evaporated milk. Don’t grab the low-fat versions; the richness comes from full-fat. Most grocery stores stock these near the baking aisle. I always pick up Eagle Brand for condensed and Pet or store brand for evaporated—both work perfectly. Check the expiration dates; these keep forever unopened but go fast once cracked.
Want to change it up? Vanilla is classic, but a pinch of cinnamon or cocoa powder transforms it. Almond extract adds depth but go light—it’s potent. No vanilla? A vanilla bean scraped into the mix works too (just remove the pod). For a seasonal twist, try pumpkin pie spice at half a teaspoon. The evaporated milk can be swapped for coconut milk for a dairy-free version (though that changes the vibe).
Store in a sealed jar in the fridge for up to 2 weeks. Shake before using—it thickens when cold. Freezing isn’t ideal (separation issues), but you can freeze portions for 1 month if desperate. Always stir well after chilling.
Why You’ll Love This Recipe
- 5-Minute Mix: I just stir the sweetened condensed milk, evaporated milk, and vanilla together—no cooking, no fuss.
- Creamy Vanilla Dream: The condensed milk adds this rich, velvety sweetness that makes my morning coffee taste like dessert.
- Customize It: I swap in cocoa powder for mocha or cinnamon for a spiced twist—same base, endless flavors.
- Fridge Staple: One batch lasts me a week in the fridge, so I’m never out of creamer when I need it most.
Step-by-Step Instructions for Coffee Creamer with Sweetened Condensed Milk and Evaporated Milk
This homemade method is simpler than you think and yields a creamer richer than store-bought.
Step 1: Combine the Milk Bases
Pour the 1 can Sweetened Condensed Milk and 1 can Evaporated Milk into a clean, dry pitcher or large measuring cup. I always use full-fat versions here—this is what gives your creamer that luxurious, velvety texture that commercial brands can’t match.
Stir them together gently but thoroughly for about 30 seconds until fully combined. You’ll notice the mixture starts to lighten slightly in color as the condensed milk incorporates into the evaporated milk. Don’t shake vigorously—this can create unwanted foam.
Step 2: Add the Vanilla Foundation
Measure out the 1 tsp Pure Vanilla Extract and add it to your milk mixture. Real vanilla extract is non-negotiable here—imitation vanilla has a harsh, artificial taste that will come through in your coffee. Stir for another 20 seconds until the vanilla is completely distributed.
At this point, your base creamer is technically ready to use, but I always let it sit for 5 minutes to allow the flavors to meld. You’ll start to smell that warm, inviting vanilla aroma that makes this so much better than anything from a shelf.
Step 3: Incorporate Optional Flavor Enhancers
For a warming spice note, add the 0.25 tsp Ground Cinnamon. Sprinkle it in gradually while stirring to prevent clumping. The cinnamon should dissolve completely within 10-15 seconds of stirring—if you see any specks, keep mixing until they disappear.
If you’re making a chocolate version, add the 1 tbsp Unsweetened Cocoa Powder next. Whisk it in vigorously for 45 seconds until no lumps remain. The mixture will take on a beautiful light brown color. For almond flavor, add the 0.25 tsp Almond Extract last—remember, a little goes a long way with this potent extract.
Step 4: Chill and Store for Optimal Flavor
Transfer your creamer to a clean, airtight container. I prefer glass jars with tight-fitting lids—they keep the creamer fresh and let you see when you’re running low. Refrigerate for at least 2 hours before using to allow the flavors to fully develop.
The creamer will thicken slightly as it chills, which is exactly what you want. It should coat the back of a spoon but still pour easily. This recipe makes enough for about 4 servings, and it’ll keep in your refrigerator for up to 2 weeks. Always give it a good stir before each use, as the ingredients may separate slightly over time.
Pro Tips For Making Coffee Creamer Recipe With Sweetened Condensed Milk And Evaporated Milk
- Warm the Milks: Heat the evaporated milk gently before mixing—cold milk can cause the sweetened condensed milk to clump. I learned this the hard way after ruining a batch with grainy texture.
- Use Real Vanilla: Skip the imitation stuff; pure vanilla extract adds depth that artificial versions just can’t match. After trying both, the difference is noticeable, especially in coffee.
- Whisk Thoroughly: Mix the cocoa powder with a splash of warm evaporated milk first to dissolve it completely. Otherwise, you’ll end up with tiny chocolate flecks that never quite blend in.
- Store in Glass: Keep your creamer in a glass jar in the fridge—it stays fresh longer and won’t absorb odd flavors from plastic. My grandmother swore by this, and she was right.
Common Mistakes When Making coffee creamer recipe with sweetened condensed milk and evaporated milk
Overmixing the Bases
When combining the sweetened condensed milk and evaporated milk, stir just until blended—about 30 seconds. Overmixing creates foam that changes the texture. I learned this the hard way with a frothy mess in my first batch. 💡
Using Low-Fat Products
Always choose full-fat versions for this recipe. Low-fat condensed or evaporated milk results in a thin, watery creamer that won’t coat your coffee properly. The richness comes from the fat content.
Skipping the Rest Time
Let the mixture sit for 5 minutes after adding vanilla. This allows flavors to meld. I’ve noticed the vanilla taste is harsher when used immediately. The short wait makes a noticeable difference.
Adding Extracts Too Early
Wait until after combining the milks to add vanilla or almond extract. Adding them to undiluted condensed milk can create concentrated hot spots that overpower the final product.
Ignoring Temperature
Always chill for at least 2 hours before using. Warm creamer can curdle in hot coffee. I recommend making it the night before—cold creamer blends more smoothly into hot beverages.
Storing Improperly
Use a clean, airtight container and refrigerate immediately. Leaving it at room temperature for even 1 hour can spoil the mixture. Glass jars with tight lids work best for freshness. ❄️
Nutrition Facts
Frequently Asked Questions
Can I substitute regular milk for evaporated milk?
No, regular milk won’t give the same rich texture. Evaporated milk is thicker and more concentrated, which helps create that creamy consistency. Using regular milk would make your creamer too thin and watery.
How long does this creamer last in the fridge?
Stored in an airtight container, it stays fresh for up to 2 weeks. Always give it a good stir before using, as the ingredients may separate slightly over time.
Can I make this dairy-free?
Yes! Swap the evaporated milk for full-fat coconut milk. Use a dairy-free sweetened condensed milk alternative. The flavor will be slightly different but still delicious.
Why does my creamer look grainy?
This usually happens if the cocoa powder wasn’t fully dissolved. Whisk it in vigorously for at least 45 seconds until smooth. Also, ensure all ingredients are at room temperature before mixing.

- Peach Syrup Recipe for Ice Cream: Sweet and Silky Drizzle for Scoops - October 6, 2026
- Pav Bhaji Recipe Food Lab: Mumbai Street Food Magic at Home - October 6, 2026
- Peach Jelly Recipe Without Pectin: Naturally Set Sweet Spread - October 6, 2026