
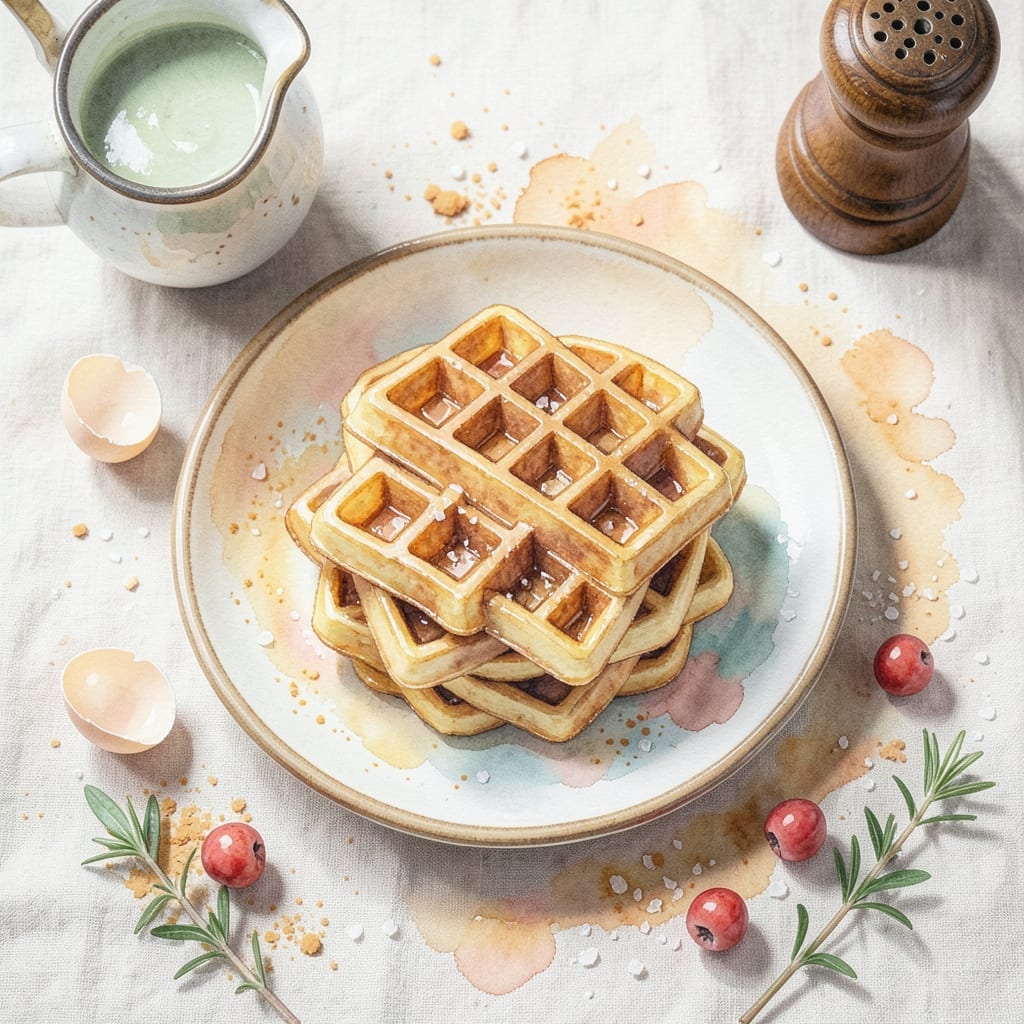
My Dash Mini changed how I approach breakfast—no more waiting for a full-sized waffle iron to heat up. These bite-sized creations cook in 4 minutes, delivering crispy edges and fluffy centers every time.
From classic buttermilk to creative savory options, the possibilities are endless. The compact size means perfect portions with zero waste, and cleanup takes seconds. I’ve tested dozens of variations to find the most reliable methods.
Each recipe uses simple ingredients you likely already have, with techniques that guarantee consistent results. The key is in the batter consistency and precise cooking time—no guesswork involved.
Whether you crave sweet or savory, these recipes reinvent breakfast with minimal effort and maximum flavor. The results are always worth the 4-minute wait.
Ingredients for Dash Mini Waffle Maker Recipe Ideas
Pantry staples and a few fresh additions. Everything you need for perfect mini waffles.
| Ingredient | Amount | Notes |
|---|---|---|
| All-Purpose Flour 🌾 | 2 cups | Sifted for fluffier texture |
| Baking Powder 🧂 | 2 tsp | Ensures proper rise |
| Granulated Sugar 🍚 | 2 tbsp | Adjust to taste preference |
| Salt 🧂 | ½ tsp | Enhances all flavors |
| Large Eggs 🥚 | 2 whole | Room temperature preferred |
| Whole Milk 🥛 | 1 ½ cups | Full-fat for richness |
| Unsalted Butter 🧈 | ¼ cup | Melted and cooled slightly |
| Vanilla Extract 💧 | 1 tsp | Pure for best flavor |
| Cinnamon 🌿 | 1 tsp | Ground for even distribution |
| Vegetable Oil 🫒 | 1 tbsp | For greasing the iron |
| Fresh Blueberries 🫐 | 1 cup | Optional mix-in for fruit waffles |
| Maple Syrup 🍁 | ½ cup | For serving suggestion |
The flour is the foundation here. King Arthur all-purpose is my go-to for consistent results, but any brand works if it’s fresh. Baking powder loses potency over time—check the expiration date (yes, it matters). I always keep a Costco sized bag of sugar on hand since it lasts forever. The eggs should be room temp for maximum fluffiness—just set them in warm water for 5 minutes if you forget.
No buttermilk? Milk plus 1 tbsp vinegar sits for 5 minutes and does the trick. Want to go dairy-free? Oat milk or almond milk works great—just add an extra tablespoon of oil. Fresh out of blueberries? Chopped strawberries or chocolate chips make excellent swaps. The vanilla extract can be skipped in a pinch, but it adds that extra depth of flavor.
Batter keeps in the fridge for 24 hours if you want to prep ahead. Mini waffles reheat in the toaster or 30 seconds in the microwave. Freeze extras in a single layer, then bag—good for 2 months.
Why You’ll Love This Recipe
- One-Bowl Wonder: I just dump the flour, baking powder, sugar, salt, and eggs in one bowl and mix—no extra dishes, no fuss.
- Crispy Golden Bites: That perfect crunch outside with a soft, fluffy center? The mini waffle maker nails it every time.
- Breakfast or Snack: Honestly, I make these for lazy Sunday brunches or a quick afternoon pick-me-up—equally delicious both ways.
- Budget-Friendly Staples: Pantry basics come together for pennies per waffle, and leftovers reheat like a dream.
Step-by-Step Instructions for Bite-Sized Waffle Creations
Here’s how to transform your breakfast with minimal effort and maximum flavor.
Step 1: Combine Dry Ingredients for Perfect Structure
In a large mixing bowl, whisk together the 2 cups All-Purpose Flour, 2 tsp Baking Powder, 2 tbsp Granulated Sugar, and 0.5 tsp Sea Salt until fully combined. I always sift my flour first for a lighter texture in the finished waffles.
This dry mix creates the foundation for fluffy, well-structured waffles. The baking powder ensures they rise properly in the mini maker, while the sugar and salt balance the flavor perfectly. Take your time here—the better you incorporate these, the more consistent your batter will be.
Step 2: Create the Wet Mixture with Rich Flavor
In a separate bowl, beat the 2 whole Large Eggs lightly, then add the 1.5 cups Whole Milk, 0.25 cup Unsalted Butter (melted and cooled), 1 tsp Vanilla Extract, and 0.5 tsp Cinnamon. Whisk until the mixture is smooth and fully emulsified.
The cinnamon adds a subtle warmth that pairs beautifully with the maple syrup you’ll use later. Make sure your butter isn’t too hot when you add it to the eggs—this prevents scrambling. I find room temperature ingredients blend together more smoothly.
Step 3: Marry Wet and Dry for the Ideal Batter
Pour the wet mixture into the dry ingredients and gently fold them together using a spatula. Stir just until the flour is moistened—you’ll want to see some small lumps remaining. Overmixing develops gluten, which makes waffles tough instead of tender.
The batter should be thick but pourable. If it seems too stiff, add a splash more milk, but remember: the waffle maker’s small wells mean thicker batter actually works better here than for standard waffles.
Step 4: Cook in the Mini Waffle Maker
Preheat your Dash mini waffle maker and lightly coat both plates with the Non-Stick Cooking Spray. Pour about 2 tbsp of batter into each well—this amount fills the mini grids perfectly without overflowing.
Close the lid and cook for 3-4 minutes until the waffles are golden brown and crisp at the edges. The maker’s indicator light will tell you when it’s ready, but I always peek at the 3-minute mark to check for that perfect color. Remove carefully with a small spatula or fork.
Step 5: Serve with Fresh Toppings
Arrange your mini waffles on a serving plate and top with the 1 cup Fresh Berries while they’re still warm. The contrast of the crisp waffles with the juicy berries is irresistible.
Warm the 0.5 cup Maple Syrup slightly before drizzling—about 20 seconds in the microwave does the trick. This makes it pour more smoothly and enhances its natural sweetness. Serve immediately for the best texture.
Pro Tips For Making Dash Mini Waffle Maker Recipe Ideas
- Preheat the Maker: I learned this the hard way—always give your Dash mini waffle maker a full 5 minutes to heat up before adding batter, or you’ll end up with pale, gummy waffles.
- Whisk Eggs First: Beat the large eggs until they’re frothy before mixing into the dry ingredients—it adds air and makes the waffles lighter.
- Skip Overmixing: Stir the batter just until the flour disappears; a few lumps are fine. Overmixing makes tough waffles.
- Use Nonstick Spray: Even with a nonstick surface, a quick spray between batches keeps the waffles from sticking and makes cleanup easier.
Pro Cooking Tips for Great dash mini waffle maker recipe ideas
Batter Consistency Matters
For the Dash Mini, your batter should be thicker than traditional waffle batter. I use a 2:1 ratio of flour to liquid for the perfect texture. If it’s too runny, it’ll spill over the sides and create a mess. 💡
Preheating is Key
Always preheat your mini waffle maker for at least 3 minutes before adding batter. This ensures even cooking and that signature crispy exterior. I check by sprinkling a few drops of water—if they sizzle, it’s ready.
Perfect Portioning
Use exactly 2 tbsp of batter per waffle well. Any more and it overflows; any less and you’ll get thin, dry results. A small cookie scoop makes portioning fast and consistent.
Timing Precision
Cook for 4 minutes exactly—this is the sweet spot for golden, crispy waffles. The indicator light is reliable, but I always set a timer as backup. Overcooking by even 30 seconds can dry them out. 🔥
Easy Release Trick
Let waffles rest in the maker for 30 seconds after cooking before removing. This helps them firm up for clean release. Use a silicone spatula to avoid scratching the non-stick surface.
Keep Warm Hack
Place cooked waffles on a wire rack in a 200°F oven while finishing the batch. This prevents steam from making them soggy. They’ll stay crisp for up to 20 minutes this way.
Nutrition Facts
Frequently Asked Questions
What’s the ideal batter consistency?
Use a 2:1 flour-to-liquid ratio for thicker batter. It should pour slowly but not be runny to prevent spills.
How do I prevent sticking?
Preheat for 3 minutes, lightly grease plates, and let waffles rest 30 seconds after cooking. A silicone spatula helps with release.
Can I make savory versions?
Replace sugar with 1 tsp salt and add cheese, herbs, or cooked bacon. Cook time remains 4 minutes.
How long do leftovers last?
Store in an airtight container for 2 days in fridge or freeze for 2 months. Reheat in toaster for crispiness.

- BBQ Sausage Recipe Oven: Smoky Depth Without the Grill - September 28, 2026
- BBQ Chicken Bowl Recipe Rice: Smoky Sweetness Over Fluffy Grains - September 28, 2026
- Beef Cutlet Recipe Ideas: Crispy Breaded Patties With Bold Seasonings - September 28, 2026