
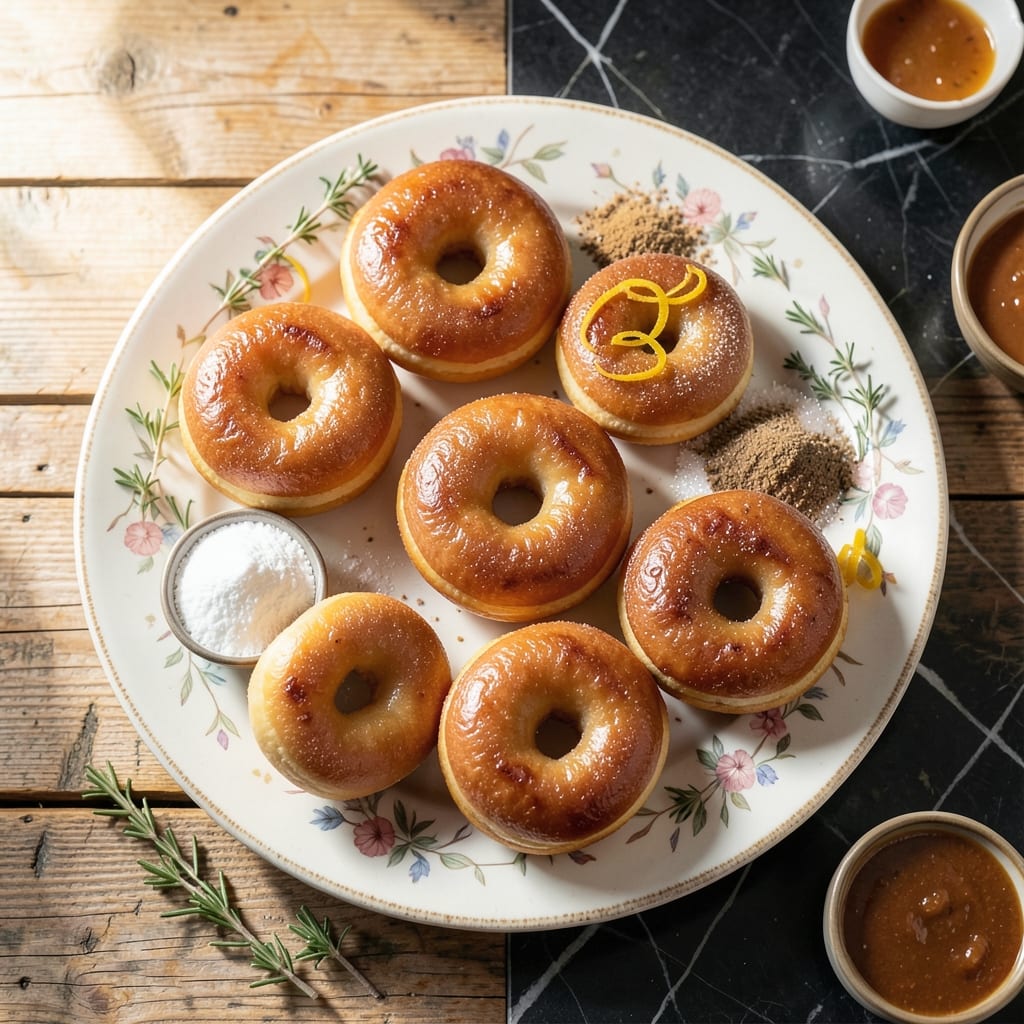
There’s nothing quite like the aroma of fresh, homemade donuts filling your kitchen. This donut maker recipe transforms simple batter into golden treats with minimal effort and maximum reward.
The beauty of using a donut maker lies in its precision—perfectly shaped donuts with a consistent golden-brown finish every time. You’ll appreciate how this method eliminates the guesswork of frying while still delivering that classic donut texture.
With just a few basic ingredients and about 15 minutes of active time, you can create warm, fluffy donuts that rival any bakery. The machine handles the cooking while you focus on the fun part—decorating and enjoying.
Whether you prefer them glazed, dusted with cinnamon sugar, or simply plain, these donuts offer endless possibilities for customization. The process is straightforward, and the results are always impressive.
Ingredients for Donut Recipe for Donut Maker
Basic pantry staples create warm, golden donuts with that classic bakery flavor at home.
| Ingredient | Amount | Notes |
|---|---|---|
| All-Purpose Flour 🌾 | 2 cups | Sifted for lighter texture |
| Granulated Sugar 🍚 | ½ cup | Fine white granulated |
| Baking Powder 🧂 | 2 tsp | Ensures proper rise |
| Salt 🧂 | ½ tsp | Balances sweetness |
| Ground Nutmeg 🌰 | ¼ tsp | Freshly ground preferred |
| Large Egg 🥚 | 1 whole | Room temperature |
| Whole Milk 🥛 | ½ cup | Full-fat for richness |
| Unsalted Butter 🧈 | 2 tbsp | Melted and cooled |
| Vanilla Extract 🌿 | 1 tsp | Pure vanilla, not imitation |
| Vegetable Oil 🫒 | 1 tbsp | For greasing donut maker |
| Powdered Sugar 🍬 | 1 cup | For optional dusting |
| Ground Cinnamon 🌿 | 1 tsp | For cinnamon sugar option |
The flour is the foundation here. King Arthur or Gold Medal all-purpose give consistent results. Don’t skip sifting—the air incorporated makes for lighter donuts. For the milk, whole milk adds richness, but 2% works in a pinch (avoid skim). The butter should be unsalted so you control the salt content. I grab mine from Whole Foods or any standard supermarket.
Out of nutmeg? Allspice or cinnamon at half the amount can substitute in a pinch. No whole milk? Oat milk or buttermilk work well—just add a teaspoon of lemon juice to regular milk if you’re making your own. The vanilla extract is worth splurging on—Nielsen-Massey or Rodelle give that deep, complex flavor. For a richer donut, swap the milk for evaporated milk.
Store dry ingredients in airtight containers—they’ll last 6-12 months. Fresh donuts are best eaten the same day, but they’ll keep for 2 days in an airtight container. Reheat briefly in the microwave or donut maker to restore freshness (worth the extra minute).
Why You’ll Love This Recipe
- One-Bowl Wonder: I just dump everything in, mix, and pour—no fancy steps, no mess.
- Warm Spice Magic: That hint of nutmeg in the batter makes them taste like a cozy bakery fresh out of the machine.
- Breakfast or Dessert: Honestly, I’ve served these for Sunday brunch and midnight snacks—both got rave reviews.
- Pocket-Friendly Treat: A bag of flour and a few pantry staples beat a $12 bakery dozen any day.
Step-by-Step Instructions for Donut Maker Donuts
Here’s the method I use to make perfect donuts with my donut maker—quick and foolproof.
Step 1: Prepare the Donut Batter
In a large mixing bowl, whisk together the 2 cups All-Purpose Flour, 0.5 cup Granulated Sugar, 2 tsp Baking Powder, 0.5 tsp Salt, and 0.25 tsp Ground Nutmeg until fully combined. Sifting the flour first ensures a lighter texture, which is key for tender donuts.
Create a well in the center and add the 1 whole Large Egg, 0.5 cup Whole Milk, 2 tbsp Unsalted Butter (melted and cooled), and 1 tsp Vanilla Extract. Mix just until the dry ingredients are incorporated—overmixing will make the donuts dense. The batter should be thick but pourable.
Step 2: Preheat and Grease the Donut Maker
Plug in your donut maker and let it preheat for 5 minutes. Most models have an indicator light that turns off when it’s ready. While it heats, lightly brush the donut wells with the 1 tbsp Vegetable Oil to prevent sticking. Even nonstick surfaces benefit from a thin layer of oil.
I like to use a pastry brush for even coverage. If you don’t have one, a paper towel dipped in oil works just as well. Be sure to grease the top plate too—this ensures the donuts release cleanly once cooked.
Step 3: Fill and Cook the Donuts
Transfer the batter to a piping bag or a resealable plastic bag with a corner snipped off. Pipe the batter into each well, filling them about ¾ full. This leaves room for the donuts to rise and expand without overflowing.
Close the donut maker and cook for 3-4 minutes, or until a toothpick inserted into a donut comes out clean. The donuts are done when they’re golden brown and spring back lightly when touched. Avoid opening the lid too early—this can cause the donuts to deflate.
Step 4: Finish with Toppings
Once cooked, carefully remove the donuts and let them cool on a wire rack for 2-3 minutes. While they’re still warm, you can dust them with 1 cup Powdered Sugar for a simple finish. For a cinnamon sugar coating, mix the 1 cup Powdered Sugar with 1 tsp Ground Cinnamon and roll the donuts in the mixture.
Real talk: these donuts are best enjoyed fresh and warm. If you’re not serving them immediately, store them in an airtight container at room temperature for up to 2 days. Reheat briefly in the microwave to restore that just-made texture.
Pro Tips For Making Donut Recipe For Donut Maker
- Preheat the Maker: I learned this the hard way—always let your donut maker heat up for 5 full minutes before pouring batter. Otherwise, the first batch comes out pale and gummy.
- Don’t Overmix: Stir the batter just until the flour disappears; a few lumps are fine. Overworking it makes tough, dense donuts instead of light, fluffy ones.
- Use Fresh Baking Powder: After a failed batch, I realized old baking powder loses its punch. Check the expiration date—it’s the thing that matters most for rise.
- Lightly Grease Wells: Sounds weird, but a quick spray of oil in each well prevents sticking and gives a cleaner release, even with nonstick makers.
Health Benefits of This donut recipe for donut maker
Energy Boost
These treats provide a quick carbohydrate boost that fuels your morning or afternoon. The 2 cups All-Purpose Flour delivers sustained energy, while the 0.5 cup Granulated Sugar offers an immediate pick-me-up. Perfect for active mornings or pre-workout snacks. 💪
Nutrient Enrichment
The 1 Large Egg adds high-quality protein and essential B vitamins like B12 for energy metabolism. The 0.5 cup Whole Milk contributes calcium and vitamin D for bone health. Together, they turn a sweet treat into a more balanced indulgence.
Portion Control
Making donuts at home lets you control portions and ingredients. Each donut from this recipe is about 2-3 inches wide, making it easier to enjoy a reasonable serving. This helps manage calorie intake while still satisfying cravings.
Dietary Flexibility
You can easily adapt this recipe to suit dietary needs. Swap the All-Purpose Flour for gluten-free blends, or use plant-based milk and egg substitutes. This versatility makes it accessible to more people without sacrificing flavor.
Mood Enhancement
The aroma and taste of fresh donuts can boost your mood. The 1 tsp Vanilla Extract and 0.25 tsp Ground Nutmeg add comforting flavors that trigger positive memories. Sometimes, a small indulgence is just what you need. ✨
Quick Satisfaction
With only 15 minutes of active time, these donuts provide instant gratification. The 2 tbsp Unsalted Butter adds richness that satisfies cravings without the wait of traditional frying methods. Ideal for busy lifestyles.
Nutrition Facts
Frequently Asked Questions
Can I use a different type of flour?
Yes! Whole wheat or gluten-free blends work, but add 1-2 tbsp extra liquid as they absorb more moisture. The texture will be slightly denser but still delicious.
How do I know when the donuts are done?
They’re ready when golden brown and a toothpick comes out clean. Most donut makers need 3-4 minutes per batch. Avoid opening the lid too soon!
Can I make the batter ahead of time?
Mix dry ingredients the night before, but add wet ingredients just before cooking. The leavening agents work best when used immediately.
What’s the best way to grease the wells?
A pastry brush with oil works perfectly. For convenience, use nonstick spray between batches. Even nonstick surfaces benefit from a light coating.

- BBQ Sausage Recipe Oven: Smoky Depth Without the Grill - September 28, 2026
- BBQ Chicken Bowl Recipe Rice: Smoky Sweetness Over Fluffy Grains - September 28, 2026
- Beef Cutlet Recipe Ideas: Crispy Breaded Patties With Bold Seasonings - September 28, 2026