
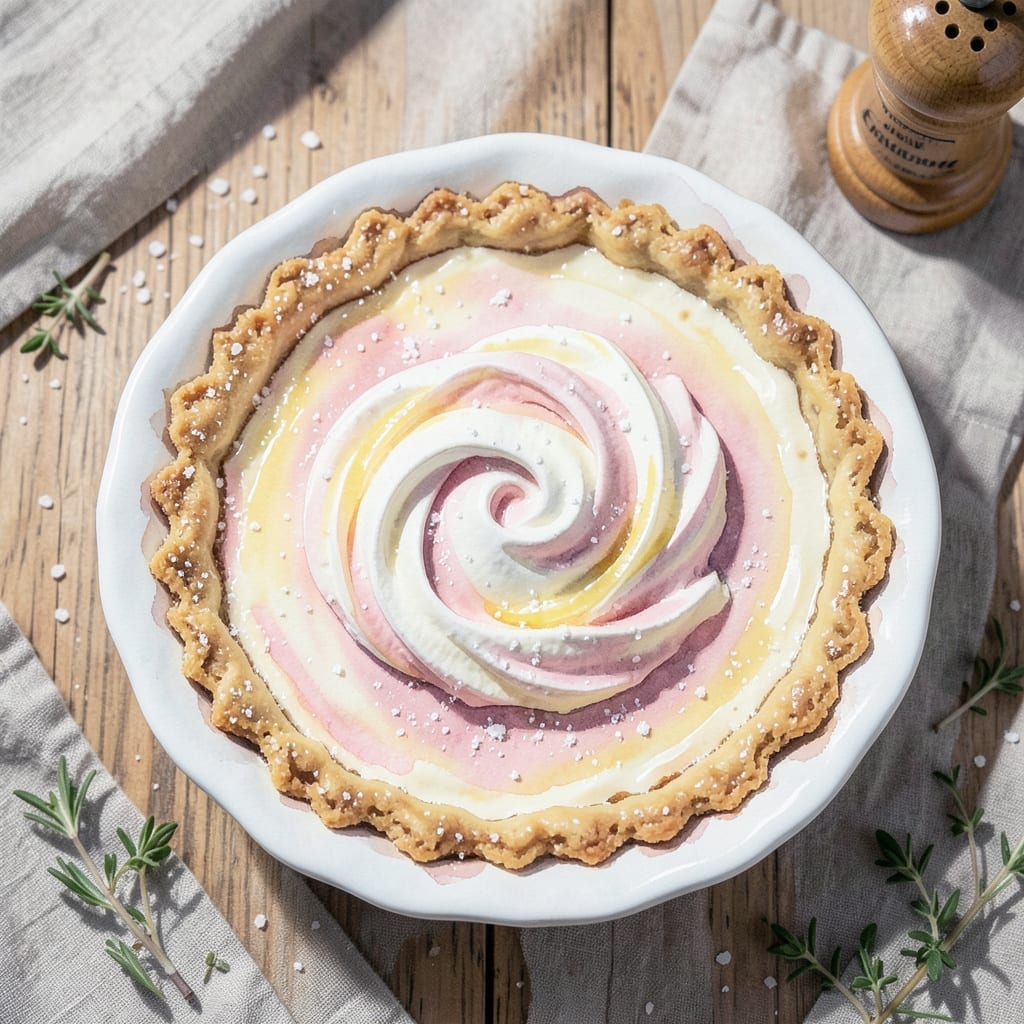
This no-bake pie comes together in minutes with just a few simple ingredients. The layers of creamy filling and light, airy topping create a dessert that’s as easy to make as it is delicious.
Cool Whip serves as the secret to its creamy texture, blending effortlessly with other ingredients for a smooth, dreamy consistency. No oven required—just mix, layer, and chill.
What you get is a cool, refreshing treat perfect for warm days or quick desserts. The contrast between the rich filling and fluffy topping makes every bite irresistible.
Ideal for gatherings or a simple family dessert. This pie delivers on taste without the fuss.
Ingredients for Dream Pie Recipe Cool Whip
A handful of pantry staples and Cool Whip create this dreamy dessert in minutes.
| Ingredient | Amount | Notes |
|---|---|---|
| Graham Cracker Crust 🍪 | 1 whole | 9-inch pre-made or homemade |
| Cool Whip 🥣 | 8 oz | Thawed, full-fat for best texture |
| Cream Cheese 🧀 | 8 oz | Softened to room temperature |
| Powdered Sugar 🍚 | 1 cup | Sifted for smoothness |
| Vanilla Extract 🌿 | 1 tsp | Pure vanilla for best flavor |
| Instant Vanilla Pudding Mix 🥄 | 1 package | 3.4 oz size recommended |
| Cold Milk 🥛 | 1 ½ cups | Whole milk for creaminess |
| Chopped Nuts 🌰 | ½ cup | Pecans or walnuts, optional |
| Fresh Berries 🍓 | 1 cup | For topping, strawberries or raspberries |
| Lemon Juice 🍋 | 1 tbsp | Freshly squeezed for brightness |
| Butter 🧈 | 2 tbsp | Melted, for crust if homemade |
| Granulated Sugar 🧂 | 2 tbsp | For crust if homemade |
The Cool Whip is non-negotiable for that signature fluffy texture—full-fat version works best. I grab mine from Walmart or any major grocery store. For the cream cheese, Philadelphia brand is my go-to, but any full-fat block will do. The pudding mix should be instant (not cook-and-serve) to set properly without baking. Check the expiration date—old mixes won’t thicken right.
No Cool Whip? Whipped Dream is the closest substitute. Want it richer? Use heavy cream whipped to stiff peaks (but that requires chilling time). The crust can be graham, vanilla wafer, or even chocolate cookie—Oreo for a chocolate twist. Fresh fruit topping? Any berry works, or skip it entirely for a simpler version.
This keeps beautifully in the fridge for 3-4 days—cover tightly with plastic wrap. The crust softens over time, so serve within 24 hours for best texture. Freezing isn’t recommended (the Cool Whip separates). Perfect make-ahead for potlucks or summer BBQs.
Why You’ll Love This Recipe
- No-Bake Magic: I just mix the cream cheese, powdered sugar, and vanilla, fold in Cool Whip, and it’s done—no oven required.
- Creamy Dream: That fluffy Cool Whip with the tang of cream cheese on a buttery graham crust? Ridiculously good.
- Crowd Pleaser: I’ve served this at potlucks, summer BBQs, even a Tuesday night with friends—always disappears fast.
Step-by-Step Instructions for No-Bake Creamy Dream Pie
This method ensures smooth layers and perfect texture without turning on your oven.
Step 1: Prepare the Cream Cheese Layer
In a large mixing bowl, beat the 8 oz Cream Cheese with the 1 cup Powdered Sugar on medium speed until completely smooth and creamy. This usually takes about 2-3 minutes—you want no visible lumps.
Add the 1 tsp Vanilla Extract and mix for another 30 seconds until fully incorporated. The mixture should be fluffy and light. Scrape down the sides of the bowl as needed to ensure even mixing.
Step 2: Fold in the Cool Whip
Using a silicone spatula, gently fold the 8 oz Cool Whip into the cream cheese mixture. Fold from the bottom up to maintain as much air as possible—this keeps the layer light and airy.
The final mixture should be smooth and spreadable with no streaks of Cool Whip visible. Be careful not to overmix, or the Cool Whip will deflate. Once combined, set this layer aside while you prepare the next one.
Step 3: Make the Vanilla Pudding Layer
In a separate bowl, whisk together the 1 package Instant Vanilla Pudding Mix and the 1.5 cups Cold Milk for 2 minutes until it begins to thicken. You’ll notice it transform from a thin liquid to a soft, pudding-like consistency.
Let the pudding sit undisturbed for 5 minutes to set fully. This waiting period is crucial—it ensures the pudding reaches the right thickness to hold its shape when layered. Once set, give it one final stir to smooth out any surface bumps.
Step 4: Assemble the Layers in the Crust
Spread the cream cheese mixture evenly over the bottom of the 1 whole Graham Cracker Crust. Use the back of a spoon or an offset spatula to create a smooth, even layer. This forms the first creamy base of your pie.
Next, carefully spoon the vanilla pudding over the cream cheese layer, spreading it gently to avoid mixing the two. The pudding should form a second distinct layer. If you’re using the 0.5 cup Chopped Nuts, sprinkle them evenly over the top now.
Step 5: Chill and Top with Berries
Refrigerate the pie uncovered for at least 4 hours, or until fully set. This chilling time allows the layers to firm up and meld together. For best results, I recommend chilling overnight.
Just before serving, toss the 1 cup Fresh Berries with the 1 tbsp Lemon Juice to brighten their flavor. Arrange them attractively over the top of the pie. Slice and serve chilled—the contrast of the creamy layers with the fresh berries is the perfect finish.
Pro Tips For Making Dream Pie Recipe Cool Whip
- Soften the Cream Cheese: Pull your cream cheese out of the fridge at least an hour before mixing—I learned this the hard way after ending up with lumps in my filling.
- Chill the Crust First: Bake your graham cracker crust and let it cool completely in the fridge for 30 minutes, or it’ll turn soggy under the filling.
- Fold Gently: When mixing the Cool Whip into the cream cheese mixture, use a spatula and fold just until combined—overmixing deflates the fluff.
- Sweeten to Taste: Start with 1 cup of powdered sugar, then add more in small increments; some brands of Cool Whip are sweeter than others.
Pro Cooking Tips for This Dish
Room Temperature Matters
The 8 oz Cream Cheese must be fully softened to room temperature before mixing. Cold cream cheese creates lumps that won’t blend smoothly with the powdered sugar. I leave mine out for 1-2 hours before starting. 💡
Cool Whip Technique
Always fold the 8 oz Cool Whip gently with a spatula—never use an electric mixer. Folding preserves the air bubbles that give the pie its light texture. Thaw it completely in the fridge for 4 hours or at room temp for 30 minutes.
Pudding Setting Time
Don’t rush the 5-minute rest for the pudding layer. If it’s too thin when layered, it will seep into the cream cheese. I set a timer to ensure it reaches the perfect spreadable consistency before assembling.
Layering Order
Spread the cream cheese mixture first, then the pudding. If you reverse the order, the pudding may sink through the lighter cream cheese layer. Use an offset spatula for clean, even layers every time.
Chilling for Success
Refrigerate uncovered for the first 1-2 hours to allow excess moisture to evaporate. Then cover tightly with plastic wrap for the remaining 2-3 hours. This prevents a soggy crust.
Slicing Tip
Use a hot knife for clean slices—dip it in hot water and wipe dry between cuts. This keeps the layers intact and prevents dragging the filling. Serve immediately after slicing for best presentation. 🍰
Nutrition Facts
Frequently Asked Questions
Can I make this pie ahead of time?
Yes! Assemble it up to 1 day ahead and refrigerate. The flavors meld beautifully overnight, but add fresh berries just before serving to keep them vibrant.
What can I use instead of a graham crust?
Try vanilla wafer, shortbread, or even chocolate cookie crusts. For a nutty twist, press 1.5 cups crushed pecans mixed with 2 tbsp melted butter into the pan.
Why did my pudding layer turn out runny?
It likely didn’t set long enough. Let the pudding rest for the full 5 minutes before layering, and ensure your milk is ice-cold. Chilling the pie for 4+ hours helps too.
Can I use low-fat Cool Whip?
Full-fat works best for stability and creaminess, but low-fat can work in a pinch. The texture may be slightly less firm, so chill the pie for the full 4 hours.

- BBQ Sausage Recipe Oven: Smoky Depth Without the Grill - September 28, 2026
- BBQ Chicken Bowl Recipe Rice: Smoky Sweetness Over Fluffy Grains - September 28, 2026
- Beef Cutlet Recipe Ideas: Crispy Breaded Patties With Bold Seasonings - September 28, 2026