
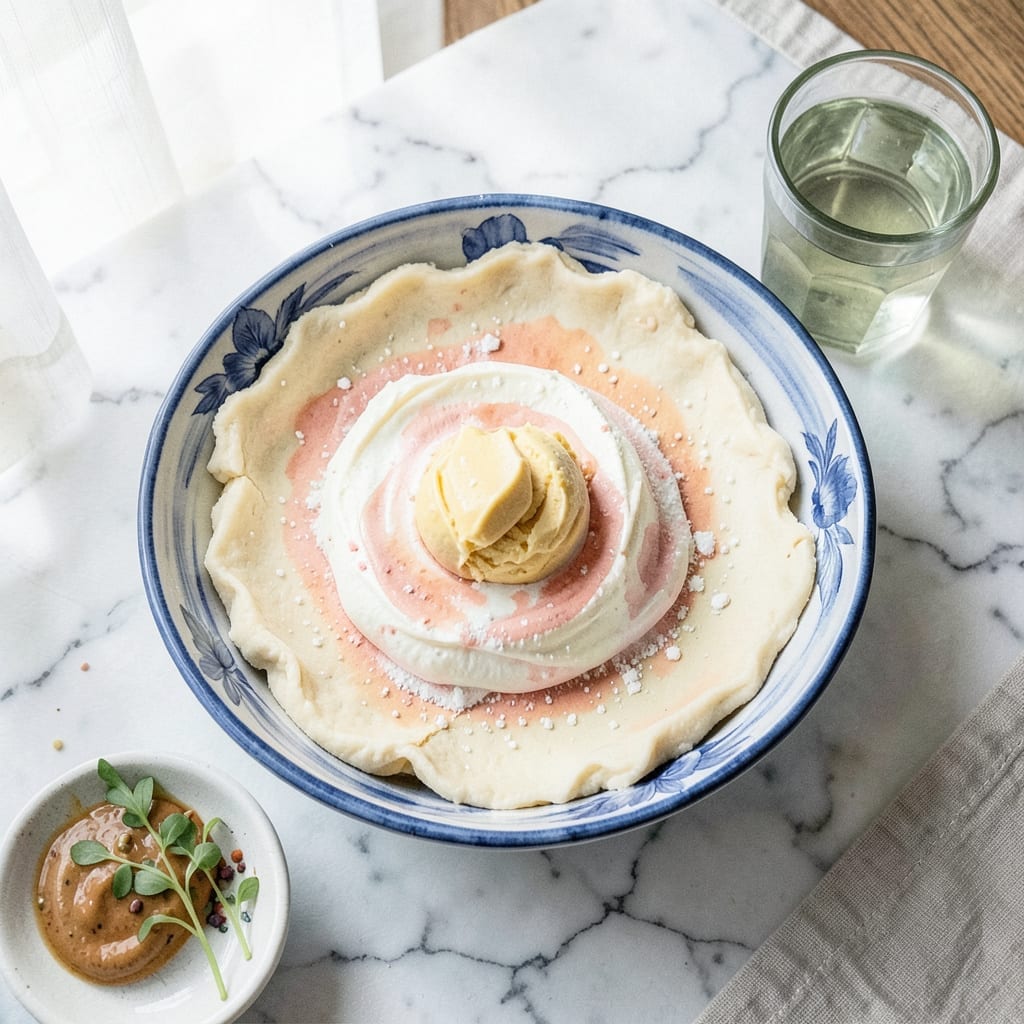
There’s a science to achieving flaky pie crust, and the KitchenAid mixer makes it effortless. This proven technique delivers consistent results every time, whether you’re baking sweet fruit pies or savory quiches.
The key is keeping ingredients cold and working the dough just enough to create distinct layers. With precise measurements and the mixer’s power, you’ll avoid overworking while ensuring a tender, crisp finish.
This versatile crust serves as the perfect foundation for any filling. Its sturdy yet delicate structure holds up to juicy fruits or rich custards without turning soggy.
Master this method, and you’ll have a reliable base for all your pie-making needs. The process is streamlined, but the outcome is anything but ordinary.
Ingredients for Kitchenaid Pie Crust Recipe Video
Cold butter, minimal handling, and precise measurements create that signature flaky texture effortlessly.
| Ingredient | Amount | Notes |
|---|---|---|
| All-Purpose Flour 🌾 | 2 ½ cups | Spoon and level, don't scoop |
| Unsalted Butter 🧈 | 1 cup | Cold, cut into 1/2-inch cubes |
| Ice Water 💧 | ½ cup | Plus 1 tbsp as needed |
| Granulated Sugar 🍚 | 1 tbsp | Optional, for sweet crusts |
| Salt 🧂 | 1 tsp | Fine sea salt preferred |
| Vinegar 🍋 | 1 tbsp | White or apple cider |
| Vodka 🍸 | 2 tbsp | Optional, for extra flakiness |
The butter is non-negotiable here. European-style butter (like Plugrá or Kerrygold) has less water, which means flakier layers. Cut it into cubes and chill those too—cold is key. For flour, King Arthur or Gold Medal give consistent results. Skip the self-rising stuff. The vinegar tenderizes the gluten (don’t worry, you won’t taste it), and vodka helps create steam for those perfect layers without toughening the dough.
No vodka? Skip it entirely—the crust will still be great. For a sweeter crust, bump the sugar to 2 tbsp. Out of all-purpose? Pastry flour at a 1:1 ratio works, but avoid bread flour (too much gluten). The ice water can be eyeballed, but don’t use warm water—it’ll melt the butter. If your kitchen is warm, chill the mixing bowl and paddle attachment for 10 minutes first.
Dough keeps in the fridge for 2-3 days or freezes beautifully for 3 months (slice into discs first). Let cold dough sit 10-15 minutes before rolling—makes it more pliable. Baked crusts stay crisp for 1 day at room temp, but are best used fresh.
Why You’ll Love This Recipe
- I’ll be real: I always make a double batch and stash one for next time.
- Hands-Off Mixing: The stand mixer does all the work—cold butter and flour turn into perfect dough in minutes.
- Buttery Layers: That flaky, golden crust comes from the unsalted butter and just a touch of sugar.
- Holiday Ready: Between us, this crust steals the show at Thanksgiving and summer picnics alike.
Step-by-Step Instructions for Kitchenaid Pie Crust
Here’s the method that guarantees those flaky layers you’re after.
Step 1: Pulse Flour, Salt, and Sugar in the Mixer
Fit your stand mixer with the paddle attachment. Add the 2.5 cups All-Purpose Flour, 1 tsp Salt, and 1 tbsp Granulated Sugar to the bowl. Pulse on low for 10-15 seconds until combined—just enough to aerate the flour without developing gluten.
Watch the mixture carefully; you want it to look like coarse sand with no visible lumps. The sugar is optional, but I always include it for sweet crusts—it adds subtle caramel notes. Don’t overmix at this stage; we’re just prepping the dry base.
Step 2: Cut in the Cold Butter
Add the 1 cup Unsalted Butter (cut into ½-inch cubes and kept ice-cold) to the flour mixture. Mix on low speed until the butter is broken down into pea-sized pieces, about 30-45 seconds. The texture should be uneven, with visible butter flakes throughout.
Here’s the thing—cold butter is non-negotiable for flakiness. If it starts to soften or smear, pause and chill the bowl for 10 minutes before continuing. The butter should stay in distinct pieces; this creates the steam that makes those prized layers.
Step 3: Add Liquids Gradually
In a small bowl, combine the 0.5 cup Ice Water, 1 tbsp Vinegar, and 2 tbsp Vodka. With the mixer running on low, pour the liquid mixture in a slow, steady stream. Stop as soon as the dough just begins to come together—this usually takes 20-30 seconds.
The vinegar tenderizes the gluten, while the vodka (which evaporates faster than water) creates extra flakiness. The dough will look shaggy and slightly dry—that’s perfect. If it’s too crumbly, add additional ice water 1 tbsp at a time until it holds when pressed.
Step 4: Chill and Shape the Dough
Turn the dough out onto a lightly floured surface and gently press it into a cohesive ball. Divide it in half, flatten each portion into a 1-inch thick disc, wrap in plastic, and refrigerate for at least 1 hour (or up to 2 days).
Real talk: this resting period is crucial. It relaxes the gluten and re-chills the butter, preventing shrinkage during baking. When ready to use, roll out each disc on a floured surface to ⅛-inch thickness for a standard crust. You’ll see those beautiful butter flakes—don’t press them in; they’re your flaky layers.
Pro Tips For Making Kitchenaid Pie Crust Recipe Video
- Chill the Butter: Cut your unsalted butter into 1-inch cubes and refrigerate for 20 minutes before using—this keeps it cold enough to create flaky layers in your crust.
- Use Ice Water: Fill a glass with water and ice cubes, then measure from that for your ice water. The colder the water, the less it will soften the butter in the dough.
- Don’t Overmix: Stop the mixer as soon as the dough starts to come together. Overworking the gluten will make your crust tough instead of tender.
- Rest the Dough: After shaping, let the dough rest in the fridge for at least 30 minutes. This relaxes the gluten and makes rolling out much easier.
Pro Cooking Tips for Perfect Results
Butter Temperature Control
Keep your butter ice-cold throughout—cut into ½-inch cubes and chill even those. If your kitchen is warm, freeze the cubes for 10 minutes before starting. I learned the hard way that soft butter creates a dense crust, not flaky layers. 🔥
Paddle Attachment Precision
Use the paddle attachment on your KitchenAid, not the dough hook. The flat beater cuts butter into flour perfectly without overworking. Run on low speed—higher speeds develop gluten, which makes tough crust. Stop when butter is pea-sized.
Liquid Addition Technique
Combine your ice water, vinegar, and vodka first. Pour slowly with mixer running on low. The moment the dough clumps, stop—overmixing develops gluten. The dough should look shaggy, not smooth. This took me 3 tries to master.
Resting is Non-Negotiable
After shaping, refrigerate dough for at least 1 hour. This relaxes gluten and rechills butter. I wrap discs in plastic and chill overnight for even better results. Resting prevents shrinkage when baking.
Rolling Without Overworking
Roll dough on floured surface to ⅛-inch thickness. If it cracks, patch with extra dough—don’t reroll. Turn the dough 90 degrees between rolls for even thickness. Use light pressure; heavy hands flatten those precious butter layers. 💪
Chilled Equipment Trick
For hot kitchens, chill your mixing bowl and paddle attachment for 10 minutes first. This keeps butter cold longer. I use this trick year-round in my Texas kitchen—game-changer for consistent flakiness.
Nutrition Facts
Frequently Asked Questions
What attachment should I use for pie crust in my mixer?
Always use the paddle attachment for pie crust. It cuts cold butter into flour perfectly without overworking the dough. The dough hook can develop too much gluten, making your crust tough instead of flaky.
Why does the recipe call for vinegar and vodka?
Vinegar tenderizes the gluten, while vodka creates extra steam for flakier layers. The alcohol evaporates during baking, so you won’t taste it—just get better texture. Both are optional but highly recommended.
How thin should I roll the dough?
Roll it to about ⅛-inch thickness for a standard crust. Use light pressure and turn the dough 90 degrees between rolls for even thickness. Pressing too hard can flatten the butter layers you worked so hard to create.

- BBQ Sausage Recipe Oven: Smoky Depth Without the Grill - September 28, 2026
- BBQ Chicken Bowl Recipe Rice: Smoky Sweetness Over Fluffy Grains - September 28, 2026
- Beef Cutlet Recipe Ideas: Crispy Breaded Patties With Bold Seasonings - September 28, 2026