
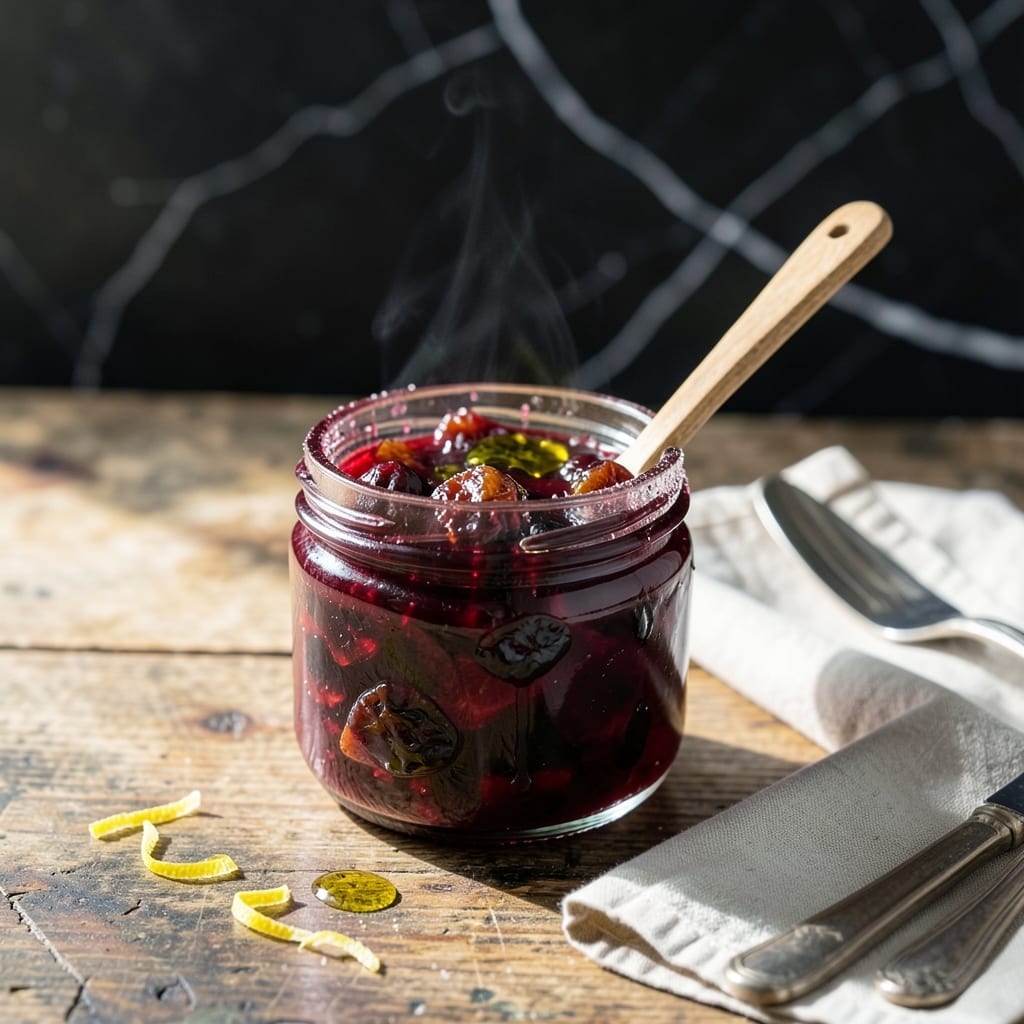
This small-batch dried cherry jam delivers a sweet-tart flavor that brightens any dish. The process is simple yet precise, transforming dried cherries into a glossy, spreadable preserve with minimal effort.
Unlike fresh fruit versions, this recipe requires no pectin and uses just three ingredients. The cherries rehydrate in sugar and lemon juice, creating a naturally thick consistency without artificial additives.
Once jarred, this jam keeps for months at room temperature, making it perfect for gifting or daily use. Its concentrated flavor works beautifully on toast, with cheese boards, or as a glaze for meats.
Prepare it in under an hour with common kitchen tools. The result is a versatile preserve that captures the essence of cherries in every spoonful.
Ingredients for Dried Cherry Jam
Six ingredients transform dried cherries into a glossy, sweet-tart preserve with minimal effort.
| Ingredient | Amount | Notes |
|---|---|---|
| Dried Cherries 🍒 | 2 cups | Unsweetened, pitted preferred |
| Granulated Sugar 🍚 | 1 ½ cups | Fine grain for even dissolution |
| Fresh Lemon Juice 🍋 | ½ cup | Newly squeezed for brightness |
| Water 💧 | 1 ½ cups | For rehydrating cherries |
| Lemon Zest 🍋 | 1 tbsp | Finely grated for aroma |
| Vanilla Extract 🌿 | 1 tsp | Pure extract for depth |
For optimal results, sourced dried cherries should be unsweetened and free of sulfur dioxide, which can affect color and flavor. Trader Joe’s and Whole Foods carry high-quality options. The sugar should be fine granulated—organic cane sugar provides a cleaner taste. Lemon juice must be freshly squeezed; bottled lacks the necessary acidity for preservation.
No pectin is required, but if the jam seems too thin after cooking, add 1 tsp powdered pectin at the end. Maple syrup or agave can replace up to half the sugar for a different sweetness profile. Dried cranberries or blueberries may be substituted at a 1:1 ratio for variation, though flavor will differ.
Once jarred in sterilized containers, this keeps at room temperature for up to 12 months. Store in a cool, dark place. For gifting, use 8-ounce jars and include a label with the date. The flavor deepens over time, making it ideal for long-term storage.
Why You’ll Love This Recipe
- One Pot Wonder: I just dump everything in a single saucepan—dried cherries, sugar, lemon juice, and zest—then let it bubble away.
- Sweet-Tart Magic: The lemon zest cuts through the sweetness in a way that makes this jam dangerously addictive.
- Gift Jar Ready: I double the batch and pour it into cute jars for hostess gifts that look (and taste) way fancier than the effort.
- Pantry Hero: Dried cherries are shelf-stable, so I can make this anytime without hunting for fresh fruit.
Step-by-Step Instructions for Dried Cherry Jam
Master this technique for a perfectly balanced sweet-tart spread with ideal consistency.
Step 1: Rehydrate the Dried Cherries
Combine the 2 cups Dried Cherries with the 1.5 cups Water in a medium saucepan. Bring to a gentle boil over medium-high heat, then reduce to medium-low and simmer for 10-12 minutes until the cherries have absorbed most of the liquid and softened significantly.
You’ll notice the cherries plump up considerably as they rehydrate. Stir occasionally to prevent sticking, and ensure the water doesn’t completely evaporate before the cherries are tender. This step is crucial for achieving the proper texture in your finished jam.
Step 2: Incorporate Sugar and Citrus Elements
Add the 1.5 cups Granulated Sugar, 0.5 cup Fresh Lemon Juice, and 1 tbsp Lemon Zest to the saucepan. Stir well to combine, then increase the heat to medium-high and bring the mixture to a full rolling boil.
The sugar will dissolve as the mixture heats. The lemon juice and zest provide essential acidity that balances the sweetness and helps the jam set properly. Continue stirring frequently to prevent the sugar from crystallizing on the sides of the pan.
Step 3: Achieve Proper Gel Consistency
Once boiling, reduce heat to medium and let the mixture simmer vigorously for 20-25 minutes. Stir occasionally, especially toward the end of cooking, as the mixture thickens and becomes more prone to sticking.
Test for doneness by placing a small spoonful on a chilled plate. When the jam wrinkles when pushed with a finger and maintains a slight sheen, it has reached the proper consistency. This visual and tactile test is more reliable than time alone.
Step 4: Finish with Vanilla and Final Adjustments
Remove the saucepan from heat and stir in the 1 tsp Vanilla Extract. The vanilla adds depth and complexity to the flavor profile, rounding out the tartness of the cherries and bright citrus notes.
Let the jam cool for 5 minutes in the pan, then transfer to clean, sterilized jars. The jam will thicken slightly more as it cools to room temperature. This brief resting period allows the flavors to meld completely.
Seal the jars and process according to standard canning procedures if long-term storage is desired, or refrigerate for immediate use. The jam should have a glossy appearance and hold its shape when spooned.
Pro Tips For Making Dried Cherry Jam
- Soak the Cherries: Cover dried cherries with warm water and let them sit for 30 minutes before cooking—I learned this the hard way after ending up with tough, chewy bits in my first few batches.
- Watch the Sugar Ratio: Use 3/4 to 1 cup sugar per cup of rehydrated cherries, but taste as you go; dried cherries vary in sweetness, and over-sweetening ruins the tart balance.
- Simmer Low and Slow: Keep the heat at a gentle simmer, not a rolling boil, or the jam will scorch before it thickens—after burning two pots, I finally got the hang of patience.
- Add Zest Early: Toss the lemon zest in with the cherries at the start so the oils infuse fully; adding it late leaves the jam tasting flat, no matter how much juice you squeeze in.
Common Mistakes When Making This Dish
Over-Soaking Cherries
Don’t let cherries soak in water for more than 10-12 minutes during rehydration. Over-soaking dilutes their natural sugars and flavors, leading to a watery jam. I learned this the hard way with my first batch. 🔥
Skipping the Sugar Dissolve
Always ensure the 1.5 cups Granulated Sugar is fully dissolved before boiling. Undissolved sugar can crystallize on the pan sides, creating a grainy texture. Stir constantly until the mixture is clear.
Boiling Too Vigorously
Keep the simmer at a medium heat during the 20-25 minute cook time. A rolling boil can cause the jam to burn or stick, ruining the batch. Adjust heat as needed to maintain steady bubbles.
Underestimating Acid
The 0.5 cup Fresh Lemon Juice isn’t just for flavor—it’s critical for proper setting. Reducing it risks a runny jam. Use freshly squeezed for the right acidity balance.
Ignoring the Wrinkle Test
Always test doneness by placing a spoonful on a chilled plate. If it doesn’t wrinkle when pushed, cook for 2-3 more minutes. This simple test prevents undercooked batches.
Skipping the Rest
Let the jam rest for 5 minutes after adding the 1 tsp Vanilla Extract. This allows flavors to meld and the consistency to thicken slightly before jarred. 💡
Nutrition Facts
Frequently Asked Questions
Can I use frozen cherries instead of dried?
No, frozen cherries release too much liquid during cooking. Dried cherries rehydrate perfectly with the 1.5 cups Water in the recipe, creating the ideal thick consistency. Frozen would require adjusting all liquid ratios.
How long does this preserve last unopened?
Properly canned and stored in a cool, dark place, it keeps for up to 12 months. Once opened, refrigerate and use within 3 weeks for best quality and flavor.
Why did my jam turn out runny?
This usually happens if the mixture didn’t boil long enough or the 0.5 cup Fresh Lemon Juice was reduced. Always use the wrinkle test on a chilled plate to confirm doneness.
Can I reduce the sugar amount?
You can replace up to half with alternatives like maple syrup, but reducing below 1 cup risks poor texture and shorter shelf life. Sugar is critical for preservation and setting.

- BBQ Sausage Recipe Oven: Smoky Depth Without the Grill - September 28, 2026
- BBQ Chicken Bowl Recipe Rice: Smoky Sweetness Over Fluffy Grains - September 28, 2026
- Beef Cutlet Recipe Ideas: Crispy Breaded Patties With Bold Seasonings - September 28, 2026