
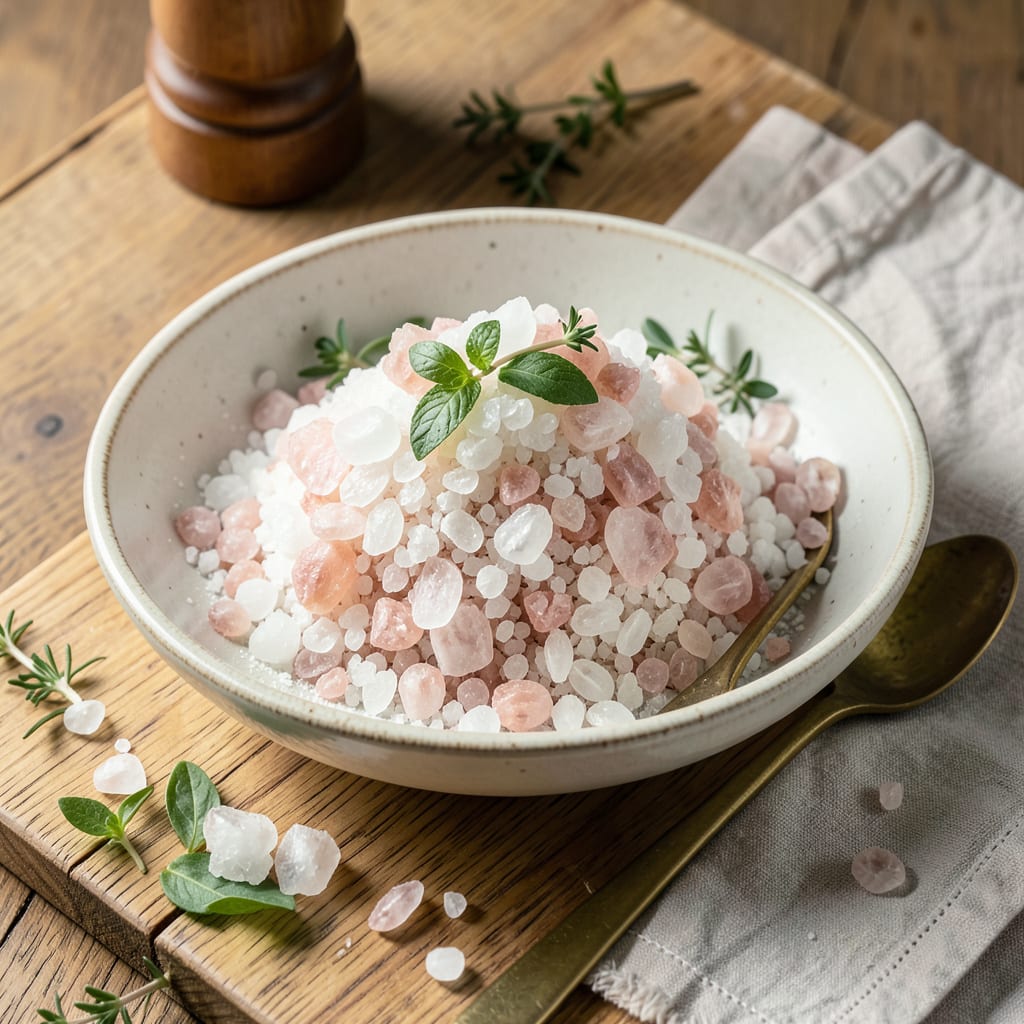
Combine 1 cup water with ¼ cup non-iodized salt in a shallow pan, simmer until dissolved, then bake at 200°F (93°C) for 2-3 hours. Gently scrape off delicate flakes once cooled.
This method transforms ordinary table salt into gourmet-quality flakes through controlled evaporation. The low, steady heat allows water to dissipate slowly, forming delicate pyramid-shaped crystals that dissolve instantly on your tongue. 🔥 I’ve found that using a glass baking dish gives the most consistent results, as it distributes heat evenly and makes scraping easier. The key is patience—rushing the process with higher temperatures creates dense, clumpy salt instead of those prized paper-thin flakes.
💡 In This Article
- Science Behind Homemade Flaky Salt Texture
- Creative Uses for DIY Flaky Salt in Cooking
Science Behind Homemade Flaky Salt Texture
The magic happens through controlled crystallization. When you dissolve salt in water and evaporate it slowly at 200°F (93°C), the sodium and chloride ions realign into pyramid-shaped structures. This happens because the low temperature gives molecules time to form orderly lattices rather than chaotic clumps.
Commercial flaky salts like Maldon use similar evaporation techniques, but with seawater and specialized pans.
Your water-to-salt ratio directly impacts flake size. The 1 cup water to ¼ cup salt proportion creates medium-sized flakes (about 3-5mm). Increase salt to ⅓ cup for thicker flakes, or reduce to 3 tablespoons for delicate, paper-thin crystals. The shallow pan depth matters too – aim for ¼-inch liquid depth to allow even evaporation.
Too deep and you’ll get uneven crystal formation.
Temperature control prevents the dreaded clumping effect. Above 225°F (107°C), water evaporates too quickly, causing salt molecules to bond randomly. Below 175°F (79°C), the process takes excessively long (4+ hours) and may not complete. The sweet spot at 200°F (93°C) gives you complete evaporation in 2-3 hours while maintaining crystal integrity. ✨
Here’s what’s actually happening at the molecular level: As water evaporates, salt concentration increases at the liquid’s surface. The ions begin forming nuclei that grow into crystals. The slow evaporation rate allows these crystals to develop their characteristic hollow pyramid shape, which is what gives flaky salt its signature crunch and quick dissolution on food.
The baking surface affects texture too. Glass pans create smoother flakes, while stainless steel produces slightly coarser crystals. I’ve found that lightly oiling the pan (with neutral oil) makes scraping easier without affecting flavor. The oil prevents salt from bonding too tightly to the surface while allowing proper crystal formation.
Humidity plays a surprising role in your final product. In dry climates (30% humidity), you may need to reduce baking time by 30 minutes to prevent over-drying. High humidity areas (>60%) might require an extra 30-60 minutes or even a brief 250°F (121°C) finish to drive off residual moisture. 💫
Pro tip: The scraping technique matters. Use a metal bench scraper at a 15-20 degree angle for the largest intact flakes. Press too hard and you’ll crush them; too light and you’ll leave salt behind. The flakes should release cleanly with a satisfying “snap” when properly formed.

- BBQ Sausage Recipe Oven: Smoky Depth Without the Grill - September 28, 2026
- BBQ Chicken Bowl Recipe Rice: Smoky Sweetness Over Fluffy Grains - September 28, 2026
- Beef Cutlet Recipe Ideas: Crispy Breaded Patties With Bold Seasonings - September 28, 2026