
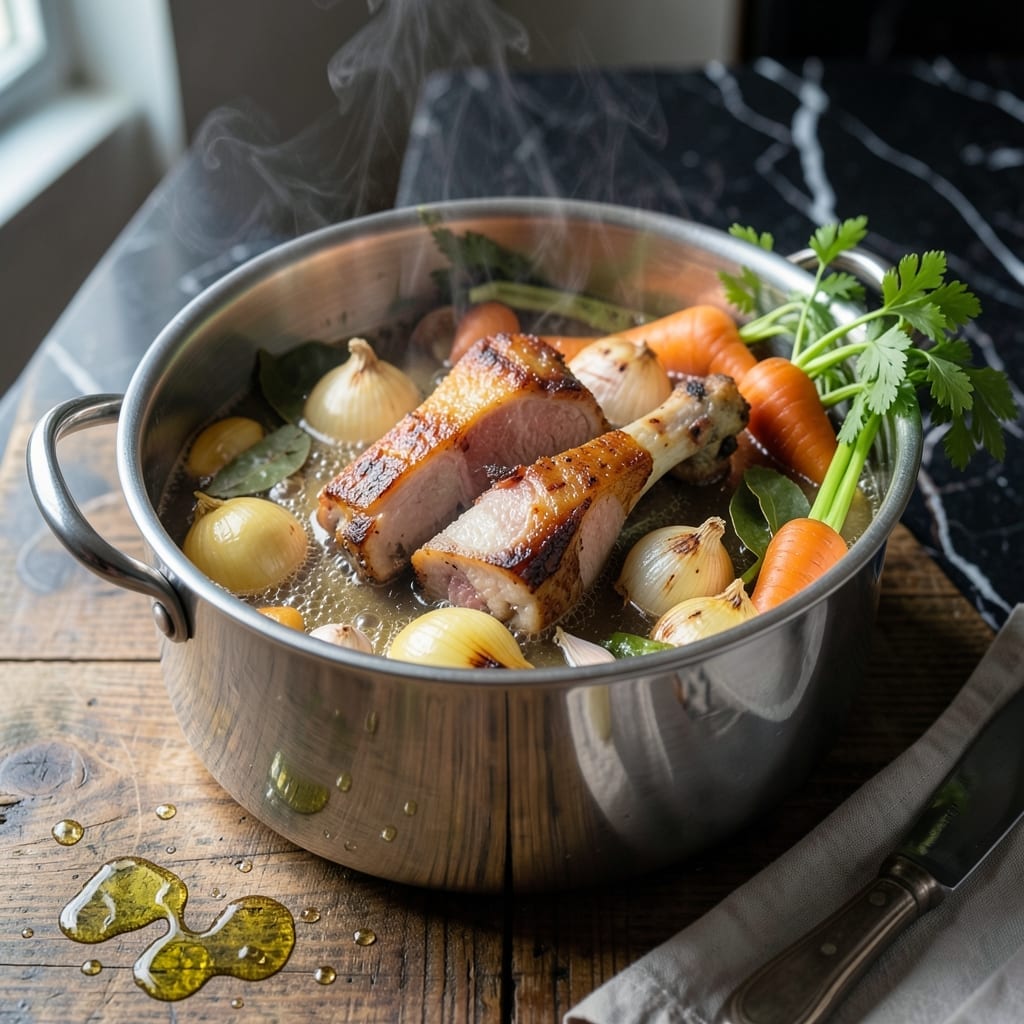
There’s a simple way to transform leftover ham bones into liquid gold for your kitchen. This stock builds rich savory depth that elevates soups, stews, and sauces without hours of complicated work.
The process is straightforward: simmer ham bones with aromatic vegetables and herbs to extract maximum flavor. No special equipment required—just a stockpot, water, and patience. The result is a versatile base that beats any store-bought version.
What emerges after a few hours is a clear, golden broth with concentrated ham essence. It freezes beautifully, so you can always have this flavor booster on hand when cooking hearty meals.
Use it as the foundation for split pea soup, beans, or anywhere you want that unmistakable ham richness.
Ingredients for Ham Stock
Transform those leftover ham bones into a flavorful stock with pantry staples.
| Ingredient | Amount | Notes |
|---|---|---|
| Ham Bones 🍖 | 2 lb | Meaty, from baked ham |
| Yellow Onions 🧅 | 2 whole | Quartered, skin on |
| Carrots 🥕 | 3 whole | Chopped into chunks |
| Celery Stalks 🥬 | 3 whole | Including leafy tops |
| Garlic Cloves 🧄 | 6 cloves | Smashed, skin on |
| Bay Leaves 🍃 | 2 whole | Dried, for depth |
| Fresh Parsley 🌿 | ½ cup | Stems included, chopped |
| Black Peppercorns 🌶️ | 1 tbsp | Whole, for clarity |
| Water 💧 | 12 cups | Cold, to cover bones |
The ham bones are everything here. Save them from a spiral-cut ham—they’ve got the most meat and gelatin. Any grocery store ham works, but bone-in hams from a local butcher give the richest stock. Don’t use country ham though; it’s too salty. The onions and carrots add sweetness, so grab whatever’s in your crisper (a little wilt is fine).
No ham bones? Smoked turkey necks or wings work in a pinch. Fresh parsley stems are perfect here—save the leaves for garnishes. If you’ve only got dried bay leaves, use half as much. The celery leafy tops add extra flavor, so don’t toss them. Short on time? A pressure cooker cuts hours down to minutes.
Stock keeps 5 days in the fridge but freezes like a dream. Portion into 1-cup containers for easy use later. No need to skim fat if you’ll use it soon—it adds richness. For the clearest broth, strain through cheesecloth (worth the extra minute).
Why You’ll Love This Recipe
- Set It and Forget: I toss the ham bone, onions, carrots, celery, and garlic in the pot, then let the slow cooker do the work for hours.
- Rich in Every Sip: The ham bone infuses the stock with a deep, smoky flavor that beats any store-bought broth.
- Soup’s Best Friend: This stock is my base for soups, risottos, and even cooking beans—versatile doesn’t cover it.
- Pennywise Perfection: Honestly, using leftover ham bones means I’m turning trash into liquid gold for pennies.
Step-by-Step Instructions for Ham Stock
This method extracts maximum flavor from your bones for a rich, aromatic foundation.
Step 1: Roast the Ham Bones and Aromatics
Preheat your oven to 400°F. Arrange the 2 lb Ham Bones on a baking sheet along with the 2 whole Yellow Onions, 3 whole Carrots, and 3 whole Celery Stalks. Roast for 30-40 minutes until the vegetables develop deep caramelized edges and the bones take on a golden-brown hue.
This roasting step intensifies the natural sweetness of the vegetables and develops complex, meaty flavors in the bones. Don’t skip it—raw bones and vegetables will produce a flat, lackluster stock. The skin on the onions adds a beautiful depth of color and subtle bitterness that balances the richness.
Step 2: Combine and Simmer the Stock
Transfer the roasted bones and vegetables to a large stockpot. Add the 6 cloves Garlic Cloves, 2 whole Bay Leaves, 1 tbsp Black Peppercorns, and 0.5 cup Fresh Parsley. Pour in the 12 cups Water, ensuring the bones are fully submerged. Bring to a boil over high heat.
Once boiling, reduce the heat to low to maintain a gentle simmer. Skim off any foam or impurities that rise to the surface during the first 15-20 minutes. This keeps your stock clear and clean-tasting. Partially cover the pot and let it simmer for 3-4 hours—low and slow is the key to extracting every bit of flavor and gelatin from the bones.
Step 3: Strain and Finish the Stock
After simmering, remove the pot from the heat and let it cool slightly. Place a fine-mesh strainer over a large bowl or another pot and carefully ladle the stock through it, discarding all the solids. For an ultra-clear stock, line the strainer with cheesecloth.
Let the strained stock cool to room temperature, then transfer it to airtight containers. I like to portion it into 1-cup or 2-cup containers for easy use in recipes. Once completely cool, refrigerate for up to 5 days or freeze for up to 3 months. The stock will gel slightly when chilled—this is a sign of rich, collagen-packed liquid gold.
Pro Tips For Making Ham Stock
- Simmer Low and Slow: Keep the stock at a gentle simmer, not a rolling boil—around 180-200°F. I learned this the hard way after cloudy, bitter stock ruined my first few batches.
- Roast the Bones: Toss the ham bones in a 400°F oven for 20-30 minutes first. Sounds weird, but it deepens the flavor like nothing else.
- Skip the Salt: Ham bones are already salty, so resist the urge to season early. Taste and adjust at the end if needed—I’ve over-salted this more times than I’d like to admit.
- Strain Twice: After the first strain, line a colander with cheesecloth or a coffee filter for the clearest stock. My grandmother swore by this, and she was right.
Essential Equipment for Perfect Results
Stockpot Selection
I always reach for my 8-quart stainless steel stockpot—it’s the perfect size for 2 lb Ham Bones and veggies with room for 12 cups Water. A heavy-bottomed pot prevents scorching during long simmers. Look for one with a tight-fitting lid to maintain steady heat. 🔥
Fine-Mesh Strainer
A fine-mesh strainer is essential for catching all the small bits of vegetables and herbs. I use a 5-quart capacity strainer that fits over my largest bowl. For crystal-clear stock, line it with cheesecloth—it’s a small step that makes a big difference.
Roasting Pan
For the roasting step, a half-sheet pan (18×13 inches) gives enough space to spread out bones and vegetables in a single layer. This ensures even browning at 400°F. Avoid non-stick pans—high heat can damage the coating over time.
Storage Containers
I portion my stock into 1-cup and 2-cup glass containers with airtight lids. Mason jars work well, but leave 1-inch headspace for expansion when freezing. Silicone muffin molds are great for small batches—pop out frozen cubes as needed.
Optional Tools
A fat separator helps remove excess fat after cooling, though I often skip this since ham stock is naturally leaner than beef. A ladle makes transferring hot liquid safer than pouring. And don’t forget oven mitts—roasting pans get extremely hot!
Tongs are handy for rearranging bones during roasting to ensure even browning. 💡
Nutrition Facts
Frequently Asked Questions
Should I use smoked or fresh ham bones?
Smoked ham bones work best for rich, deep flavor. Fresh bones produce a milder stock. Save them from holiday hams—they’re perfect for this purpose.
How long can I store homemade stock?
It keeps in the fridge for 5 days or frozen for 3 months. For longer storage, portion into 1-cup containers before freezing.
Can I use a slow cooker instead of a stockpot?
Yes! Set to low for 6-8 hours. Skip the roasting step—just add all ingredients directly. The results will be slightly less intense but still delicious.
Why did my stock turn out cloudy?
This usually happens from boiling too hard or not skimming foam. Next time, maintain a gentle simmer and skim the first 15-20 minutes.

- BBQ Sausage Recipe Oven: Smoky Depth Without the Grill - September 28, 2026
- BBQ Chicken Bowl Recipe Rice: Smoky Sweetness Over Fluffy Grains - September 28, 2026
- Beef Cutlet Recipe Ideas: Crispy Breaded Patties With Bold Seasonings - September 28, 2026