
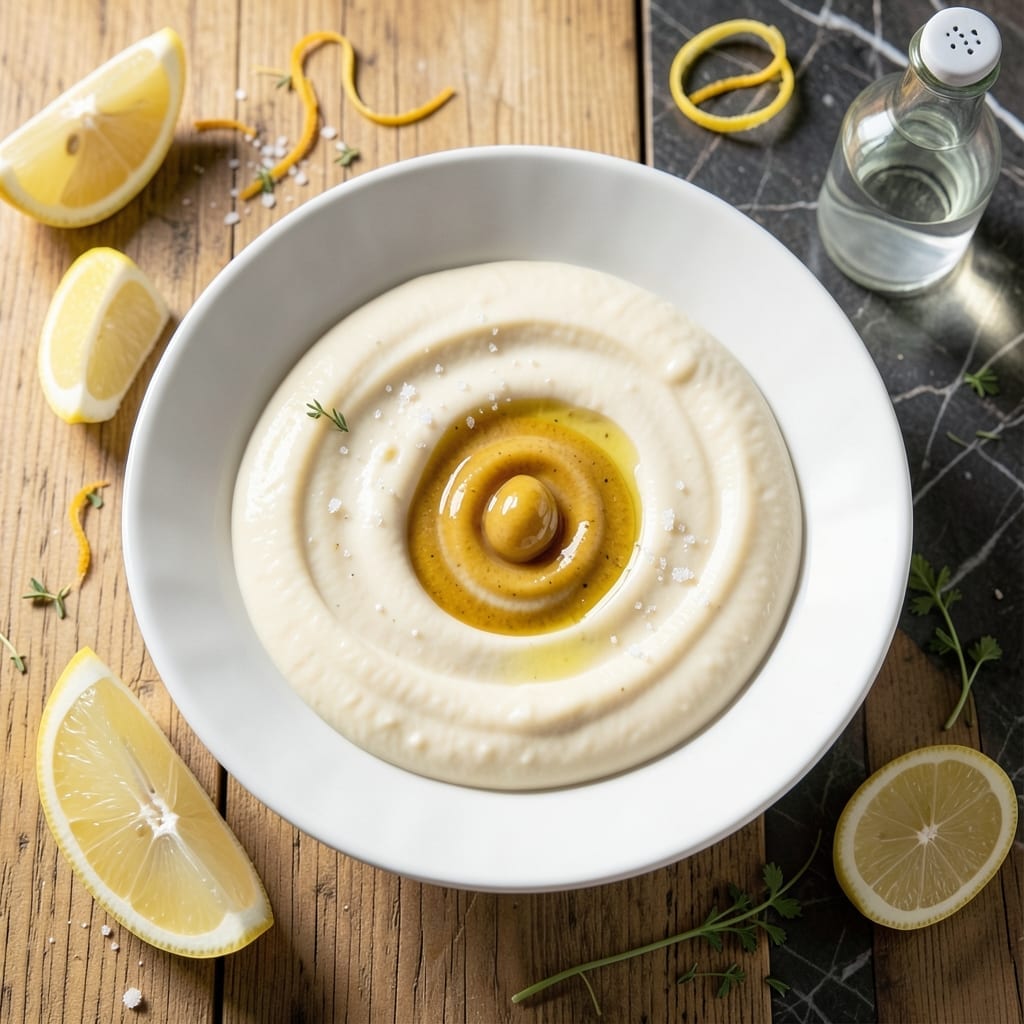
This low-fat mayonnaise delivers the same creamy richness as traditional versions without the guilt. I’ve perfected a method that maintains that signature silky smooth texture while cutting calories in half.
The secret lies in using Greek yogurt as a base, which provides natural creaminess and tang. A touch of Dijon mustard adds depth, while a slow drizzle of oil creates the perfect emulsion for that classic mayonnaise consistency.
What you get is a spreadable, velvety condiment that works beautifully on sandwiches, as a dip, or in salad dressings. It keeps in the fridge for up to a week, staying fresh and perfectly thick.
No special equipment needed—just a whisk and a bowl. This version proves you don’t have to sacrifice flavor or texture to enjoy a lighter alternative.
Ingredients for Low Fat Mayonnaise
Eight ingredients create this creamy, velvety condiment with half the guilt of classic versions.
| Ingredient | Amount | Notes |
|---|---|---|
| Non-Fat Greek Yogurt 🥛 | 1 cup | Plain, unsweetened, full tang |
| Dijon Mustard 🟡 | 1 tbsp | Smooth, not whole grain |
| Neutral-Flavored Oil 🫒 | ½ cup | Avocado or light olive oil |
| Lemon Juice 🍋 | 1 tbsp | Freshly squeezed preferred |
| White Vinegar 💧 | 1 tsp | Or apple cider vinegar |
| Granulated Sugar 🍚 | ½ tsp | Balances acidity (optional) |
| Garlic Powder 🧄 | ¼ tsp | For subtle depth |
| Salt 🧂 | ¼ tsp | Fine sea salt preferred |
The Greek yogurt is non-negotiable here—Fage Total 0% or Chobani Non-Fat give the best texture without watering things down. Look for the thickest, creamiest option in the dairy aisle (the kind that could stand a spoon upright). For the oil, avocado oil is my top pick—mild flavor and high smoke point. Whole Foods 365 or Costco’s Kirkland brands are solid, affordable choices.
No Greek yogurt? Regular plain yogurt at full-fat works but you’ll need to strain it overnight to get the thickness right. Swap Dijon for yellow mustard at double the amount if that’s what’s in the fridge. The sugar can be skipped, but it rounds out the tang—honey or maple syrup at half the amount if you prefer natural sweeteners. For a garlic kick, fresh minced works at one-third the amount of powder.
This stays fresh for about 1 week in the fridge. Give it a stir before using—it’ll thicken slightly as it chills. Freezing isn’t recommended as it can separate. Portion into small jars for grab-and-go sandwich spreading (or just keep the whole batch to yourself).
Why You’ll Love This Recipe
- Five-Minute Mix: I just throw everything in a bowl and whisk—no cooking, no fuss, done before the kettle boils.
- Tangy Kick: The lemon juice and Dijon give it that sharp, bright zing I crave in every sandwich.
- Meal Prep Hero: I make a big batch Sunday and it keeps all week for wraps, dips, even salad dressing.
- Pantry Friendly: Honestly, I always have these ingredients on hand, so I never run out of mayo when I need it.
Step-by-Step Instructions for Low Fat Mayonnaise
Here’s the method. Straightforward, tested, works every time.
Step 1: Whisk the Wet Base Together
In a medium bowl, combine the 1 cup Non-Fat Greek Yogurt and 1 tbsp Dijon Mustard. I always use a whisk for this step—it breaks up any lumps in the yogurt and ensures the mustard distributes evenly. The mixture should be smooth and slightly thick.
This base provides the creamy texture without the fat of traditional mayonnaise. The mustard adds tang and acts as an emulsifier, which helps bind the oil later. Make sure your yogurt is plain and unsweetened—any added sugar or flavors will throw off the balance of the final product.
Step 2: Incorporate the Acidic Components
Add the 1 tbsp Lemon Juice, 1 tsp White Vinegar, 0.5 tsp Granulated Sugar, 0.25 tsp Garlic Powder, and 0.25 tsp Salt to the yogurt mixture. Whisk again until everything is fully combined and the sugar has dissolved.
The acidity from the lemon juice and vinegar brightens the flavor, while the sugar balances it out. The garlic powder adds subtle depth without overpowering. Taste at this point—if it needs more tang, you can add a little more lemon juice, but remember the flavor will mellow slightly once the oil is added.
Step 3: Emulsify the Oil Slowly
Here’s the thing—this step requires patience. With the whisk in one hand and the 0.5 cup Neutral-Flavored Oil in the other, begin adding the oil in a very thin, steady stream while whisking constantly. Start with just a few drops at a time, then gradually increase to a thin stream as the mixture begins to thicken.
This slow addition is crucial for creating a stable emulsion. If you pour the oil too quickly, the mixture will separate and you’ll end up with a greasy, thin sauce instead of a creamy mayonnaise. It should take about 2-3 minutes to fully incorporate all the oil. The finished product will be thick, glossy, and pale.
Step 4: Adjust Consistency and Rest
Once all the oil is incorporated, give the mayonnaise a final whisk to ensure everything is smooth and well combined. If it’s too thick for your preference, you can thin it slightly with a teaspoon of water or additional lemon juice. If it’s too thin, whisk in a bit more oil, a teaspoon at a time.
Transfer the mayonnaise to a jar or airtight container and let it rest in the refrigerator for at least 30 minutes before using. This resting time allows the flavors to meld together and the texture to set fully. It will keep in the fridge for up to 1 week.
Pro Tips For Making Low Fat Mayonnaise
- Whisk Slowly: Add the oil drop by drop at first—about 1 teaspoon every 10 seconds—to let the yogurt emulsify properly. I learned this the hard way after my first three batches separated into a sad, oily mess.
- Drain the Yogurt: Strain the Greek yogurt in a fine-mesh sieve for 10 minutes to remove excess liquid. Sounds tedious, but it prevents a watery mayo that slides right off your sandwich.
- Skip Cold Ingredients: Pull your yogurt and oil to room temperature first. Cold ingredients resist emulsifying, and you’ll end up with a broken, greasy texture no matter how hard you whisk.
- Balance the Acid: Use 1 tablespoon lemon juice and 1 teaspoon white vinegar—this combo brightens the flavor without overpowering the yogurt. My grandmother swore by this ratio, and she was right.
Storing and Reheating This Dish
Fridge Storage
Transfer your mayonnaise to a clean glass jar or airtight container with a tight-fitting lid. I prefer 8-ounce mason jars—they’re perfect for this recipe size. Store it in the coldest part of your fridge, usually the back of the shelf, not the door.
Shelf Life
This creation stays fresh for up to 1 week in the refrigerator. The Greek yogurt base helps preserve it longer than traditional mayo. Always use a clean, dry spoon to prevent contamination and extend its life. 💡
Freezing Not Recommended
Freezing can cause the emulsion to separate and the texture to become watery or grainy. If you must freeze, portion into ice cube trays for small amounts, but expect some separation upon thawing.
Reviving Separated Mayo
If separation occurs, don’t panic. Simply whisk in 1 tsp cold water or lemon juice to bring it back together. The emulsion is forgiving and usually restores with a little effort.
Room Temperature Use
Let it sit at room temperature for 10-15 minutes before using if it’s too thick straight from the fridge. This makes it easier to spread. Always return it to the fridge promptly after use. ❄️
Portioning Tips
For convenience, divide into small jars or squeeze bottles. This makes it easy to grab and use without opening the main container repeatedly, which helps maintain freshness.
Nutrition Facts
Frequently Asked Questions
Can I use regular yogurt instead of Greek?
Yes, but strain it overnight in a cheesecloth to achieve the same thickness. Regular yogurt contains more water, which can make your mayo thin. Greek yogurt’s density is key for that perfect creamy texture.
Why does my mayo look thin or separated?
This usually happens if the oil was added too quickly. Start with just a few drops while whisking constantly. If it separates, whisk in 1 tsp cold water or lemon juice to restore the emulsion.
How can I adjust the flavor?
Add more lemon juice for tang or a pinch of extra sugar to balance acidity. For a garlicky kick, use fresh minced garlic instead of powder at 1/3 the amount.
Can I make this in a blender?
A blender works even better for emulsifying. Add all ingredients except oil, blend until smooth, then slowly drizzle in the oil while blending. Takes 1-2 minutes total.

- BBQ Sausage Recipe Oven: Smoky Depth Without the Grill - September 28, 2026
- BBQ Chicken Bowl Recipe Rice: Smoky Sweetness Over Fluffy Grains - September 28, 2026
- Beef Cutlet Recipe Ideas: Crispy Breaded Patties With Bold Seasonings - September 28, 2026