
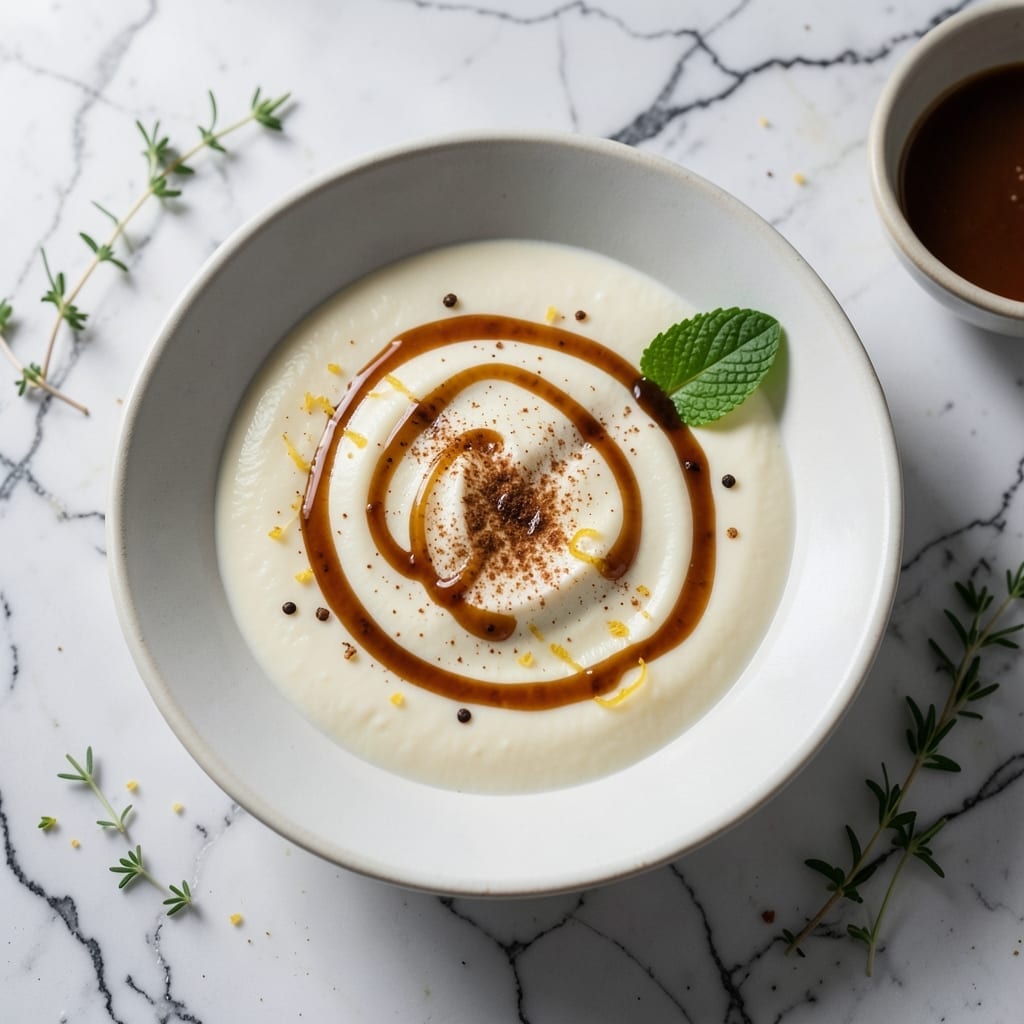
This Dutch-style sauce transforms ordinary desserts into something extraordinary with its velvety texture and rich flavor. I developed this recipe after trying countless versions that either separated or lacked depth.
The secret lies in slow cooking and careful temperature control, which creates a smooth, custard-like consistency that clings perfectly to pastries or fruits. It takes 20 minutes of patient stirring to achieve the right thickness.
What you get is a luxurious sauce that elevates simple cakes, fresh berries, or warm apple pie to restaurant-quality status. The balance between sweetness and vanilla notes makes it universally appealing.
Serve warm or chilled, depending on your preference. This sauce keeps well for days, making it perfect for meal prep.
Ingredients for Holland Cream
Whole milk and butter create the base for this silky, rich Dutch sauce.
| Ingredient | Amount | Notes |
|---|---|---|
| Whole Milk 🥛 | 2 cups | Full-fat for creaminess |
| Granulated Sugar 🍚 | ½ cup | Fine white sugar preferred |
| All-Purpose Flour 🌾 | 2 tbsp | For thickening the sauce |
| Unsalted Butter 🧈 | 4 tbsp | Cut into small cubes |
| Large Egg Yolks 🥚 | 4 whole | Room temperature preferred |
| Pure Vanilla Extract 🌿 | 2 tsp | High-quality for best flavor |
| Vanilla Bean 🌿 | 1 whole | Split and scraped |
| Salt 🧂 | ¼ tsp | Fine sea salt preferred |
| Heavy Cream 🥛 | ½ cup | Cold, for richness |
| Cornstarch 🌾 | 1 tsp | Optional, for extra thickness |
The milk is the foundation here. Whole milk is non-negotiable—lower fat versions won’t give you that luxurious texture. For the butter, Plugrá or Kerrygold are my go-tos, but any good-quality unsalted butter works. The vanilla bean is worth the splurge (split it lengthwise and scrape out those tiny seeds), but pure vanilla extract in a pinch still delivers great flavor. Find these at any well-stocked grocery store.
No vanilla bean? Double the extract and you’re golden. Out of whole milk? Half-and-half works but reduces richness slightly. Egg yolks are key—no substitutes here. If you’re worried about lumps, whisk the flour into cold milk first before heating. The cornstarch is optional but helpful if your sauce isn’t thickening as expected.
This sauce keeps beautifully in the fridge for 4-5 days in an airtight container. Reheat gently over low heat, stirring constantly to prevent separation. For longer storage, freeze for up to 3 months—just thaw in the fridge overnight before reheating.
Why You’ll Love This Recipe
- One-Bowl Wonder: I just mix the milk, sugar, and flour right in the saucepan—no extra bowls, no fuss.
- Rich, Velvety Taste: The egg yolks and butter make it so creamy, I’ll be real: I’ve caught myself licking the spoon.
- Dessert or Filling: Honestly, it works as a pudding, cake layer, or even a fruit dip.
- Stretches Far: Between us, this batch fills a pie and leaves leftovers for midnight snacks.
Step-by-Step Instructions for Dutch-Style Velvety Sauce
This method delivers that signature rich, smooth texture with perfect balance every time.
Step 1: Infuse the Milk with Vanilla
In a medium saucepan, combine the 2 cups Whole Milk with the seeds scraped from the 1 whole Vanilla Bean (plus the pod for extra flavor). Heat over medium heat until small bubbles form at the edges—this should take about 4-5 minutes.
You want the milk to reach just below a simmer, or about 180°F. Watch for tiny steam wisps and the first hint of movement at the surface. Remove from heat, cover, and let the vanilla infuse for 10 minutes while you prepare the remaining ingredients.
Step 2: Create the Thickening Base
In a separate bowl, whisk together the 0.5 cup Granulated Sugar, 2 tbsp All-Purpose Flour, 1 tsp Cornstarch, and 0.25 tsp Salt until no lumps remain. This dry mixture ensures your sauce thickens evenly without clumping.
Add the 4 whole Large Egg Yolks and whisk vigorously for 1-2 minutes until the mixture turns pale yellow and slightly ribbony. The texture should coat the back of a spoon. This step builds the custard foundation that gives the sauce its luxurious body.
Step 3: Temper and Cook the Custard
Slowly pour about ½ cup of the warm vanilla-infused milk into the egg mixture while whisking constantly. This tempering step prevents the eggs from scrambling when they meet the hot liquid. Pour the tempered mixture back into the saucepan with the remaining milk.
Return the saucepan to medium-low heat and cook, stirring constantly with a wooden spoon, for 8-10 minutes. The sauce is ready when it thickens enough to coat the spoon and leaves a clear path when you run your finger through it on the spoon’s surface.
Step 4: Enrich and Finish
Remove the saucepan from heat and discard the vanilla bean pod. Stir in the 4 tbsp Unsalted Butter, one cube at a time, until fully melted and incorporated. The butter adds richness and a velvety sheen to the sauce.
Next, stir in the 0.5 cup Heavy Cream and 2 tsp Pure Vanilla Extract. The cream enhances the luxurious texture, while the vanilla extract deepens the flavor. Taste and adjust for sweetness if needed, though the sugar should provide perfect balance.
Let the sauce cool slightly—it will thicken further as it cools. Serve warm over desserts or pastries for the ultimate Dutch-style experience.
Pro Tips For Making Holland Cream
- Temper the Yolks: Slowly whisk a bit of the hot milk mixture into the egg yolks before combining—this prevents scrambled eggs and keeps your cream smooth.
- Use Room-Temp Ingredients: Pull the milk, yolks, and butter out 30 minutes early; cold ingredients make lumpy custard, and nobody wants that.
- Stir Constantly: Keep the mixture moving over medium-low heat until it thickens, or you’ll end up with burnt bits at the bottom of the pan.
- Strain the Mixture: After cooking, run it through a fine-mesh sieve to catch any stray bits of flour or cooked egg for a silky finish.
Storing and Reheating This Dish
Refrigerator Storage
Let your sauce cool completely at room temperature for no more than 2 hours. Then transfer to an airtight container—I use glass jars with screw-top lids. Store in the fridge at 40°F or below for up to 5 days. The flavors deepen beautifully overnight. ❄️
Freezer Storage
For longer storage, freeze in quart-sized freezer bags laid flat to save space. Leave 1 inch of headspace for expansion and squeeze out excess air. This sauce freezes well for up to 3 months without texture degradation.
Stovetop Reheating
Gently reheat over low heat in a heavy-bottomed saucepan, stirring constantly with a wooden spoon. Add 1-2 tbsp milk or cream if it looks too thick. This method restores the original creamy texture perfectly.
Microwave Reheating
For quick portions, microwave in 30-second intervals at 50% power, stirring between each interval. Cover with a damp paper towel to prevent a skin from forming. Expect it to take 1-2 minutes total for a single serving. 🔥
Thickness Adjustment
If your sauce separates slightly during storage, don’t worry. Just whisk in 1 tsp cornstarch mixed with 1 tbsp cold water while reheating. This brings it back to the ideal velvety consistency every time.
Nutrition Facts
Frequently Asked Questions
Can I use a vanilla pod substitute?
Yes! If you lack a vanilla bean, use 1 tbsp pure vanilla extract instead. It delivers similar flavor depth, though the visual specks of seeds will be missing.
Why does my sauce turn lumpy?
Lumps often form from uneven mixing. Always whisk the egg yolks and dry ingredients thoroughly before combining with hot milk. If lumps appear, strain through a fine-mesh sieve.
How can I make this dairy-free?
Swap whole milk for coconut milk and butter for coconut oil. Use a dairy-free cream alternative. The texture remains rich, though the flavor will have a subtle coconut note.
What’s the best way to serve it warm?
Pour over warm apple pie, fresh berries, or pound cake. For an extra touch, drizzle with caramel or sprinkle with crushed nuts. The warmth enhances its velvety texture.

- BBQ Chicken Bowl Recipe Rice: Smoky Sweetness Over Fluffy Grains - September 28, 2026
- Beef Cutlet Recipe Ideas: Crispy Breaded Patties With Bold Seasonings - September 28, 2026
- Bluefin Tuna Recipe Ideas: Sushi-Grade Seared and Sesame-Crusted - September 28, 2026