
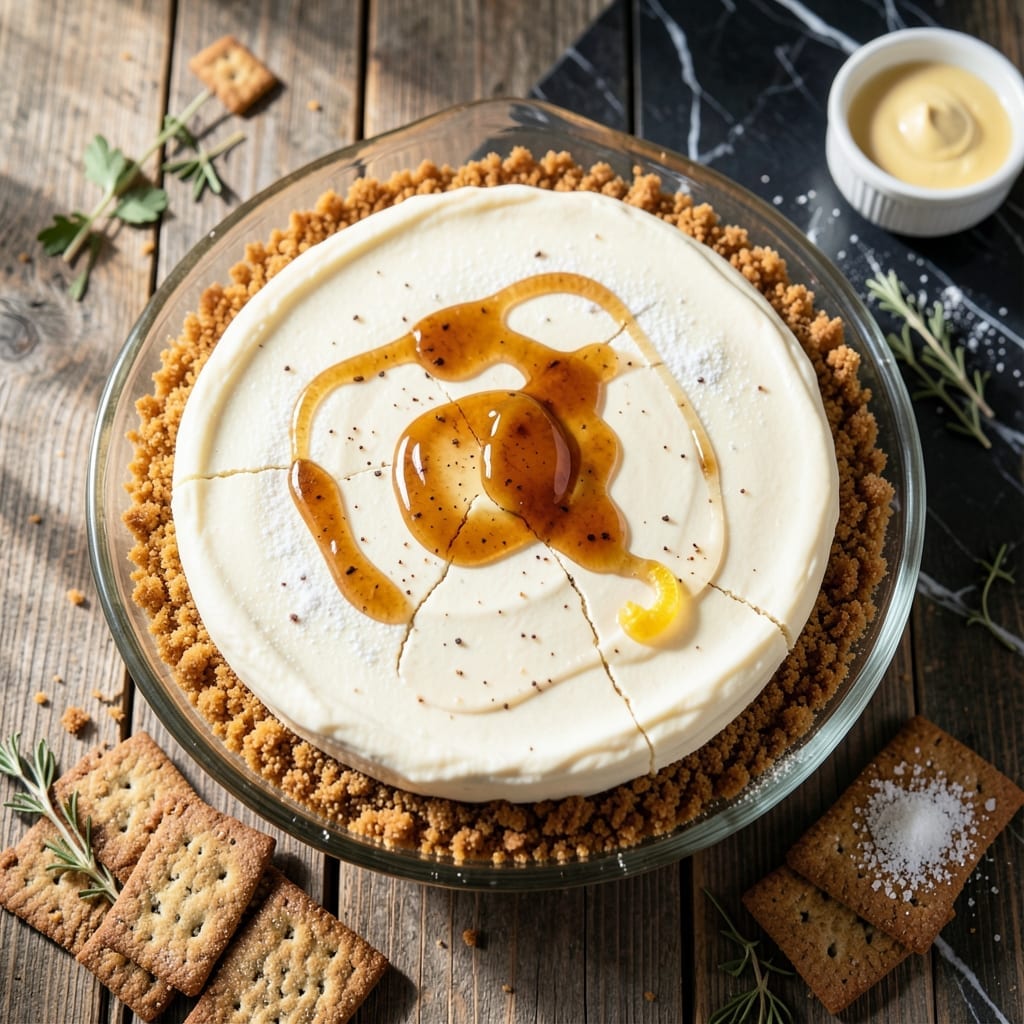
There’s a reason this classic no-bake cheesecake has remained a favorite for generations. The simple combination of Honey Maid graham crackers and cream cheese creates a dessert that’s as easy as it is delicious.
With no oven required, this recipe comes together in 20 minutes of active prep. The graham cracker crust provides the perfect buttery, crumbly base for the smooth, creamy filling that sets beautifully in the refrigerator.
What you get is a foolproof dessert with that signature cheesecake texture—firm enough to slice but still velvety on the tongue. It’s the kind of recipe that delivers consistent results every time.
Perfect for warm weather or when you need a quick, impressive dessert. This is simplicity at its finest.
Ingredients for Honey Maid Cheesecake Recipe on Box
No oven, no stress. Just graham crackers, cream cheese, and a little patience.
| Ingredient | Amount | Notes |
|---|---|---|
| Honey Maid Graham Crackers 🍪 | 2 cups | Crushed into fine crumbs |
| Unsalted Butter 🧈 | ½ cup | Melted for crust binding |
| Granulated Sugar 🍚 | ¼ cup | Divided for crust and filling |
| Cream Cheese 🧀 | 16 oz | Full-fat, softened to room temperature |
| Powdered Sugar 🍚 | ¾ cup | Sifted for smooth texture |
| Vanilla Extract 🌿 | 1 tsp | Pure vanilla for best flavor |
| Heavy Whipping Cream 🥛 | 1 cup | Cold for best whipping results |
| Fresh Lemon Juice 🍋 | 1 tbsp | For brightness in filling |
| Salt 🧂 | ¼ tsp | Fine sea salt preferred |
| Sour Cream 🥛 | ½ cup | Full-fat for creaminess |
The graham crackers are non-negotiable here. Honey Maid has that perfect sweetness and buttery crunch that defines this crust. Any store brand works in a pinch, but you’ll taste the difference. I always grab an extra box for snacking—they disappear fast. The butter should be unsalted so you control the salt level (and it’s what the box recipe calls for).
No sour cream? Full-fat Greek yogurt works at a 1:1 ratio. Out of heavy cream? Whipped topping (like Cool Whip) can substitute, though the texture won’t be quite as rich. The cream cheese must be full-fat—low-fat versions won’t set properly. For a citrus twist, swap the lemon juice for lime (or add a teaspoon of zest for extra pop).
This keeps beautifully in the fridge for 4-5 days—if it lasts that long. Cover tightly with plastic wrap pressed directly onto the surface to prevent a skin from forming. Freezes well too, up to 2 months (thaw overnight in the fridge).
Why You’ll Love This Recipe
- No-Bake Simplicity: I just crush the Honey Maid grahams, mix with melted butter, and press—no oven required.
- Rich & Creamy: The cream cheese and powdered sugar blend into this velvety filling that’s honestly hard to resist.
- Potluck Ready: Between us, this is my go-to for gatherings—everyone always asks for the recipe.
- Budget Friendly: A box of Honey Maids and basic pantry staples make a dessert that feels fancy without the cost.
Step-by-Step Instructions for Honey Maid Graham Cracker Cheesecake
This no-bake method delivers creamy perfection with zero oven time required.
Step 1: Prepare the Graham Cracker Crust
Crush the 2 cups Honey Maid Graham Crackers into fine crumbs using a food processor or rolling pin. I like to pulse until they resemble coarse sand—this ensures a compact, professional-looking base.
Combine the crumbs with the 0.5 cup Unsalted Butter (melted) and 0.25 cup Granulated Sugar in a bowl. Mix until the texture resembles wet sand and holds together when pressed. Press firmly into the bottom of a 9-inch springform pan using the back of a measuring cup for an even layer. Chill for 15 minutes to set.
Step 2: Whip the Cream Cheese Filling Base
In a large bowl, beat the 16 oz Cream Cheese (softened) with an electric mixer until completely smooth. Here’s the thing—room temperature cream cheese is non-negotiable. Cold blocks will leave lumps that ruin the silky texture.
Gradually add the 0.75 cup Powdered Sugar, 1 tsp Vanilla Extract, and 0.25 tsp Salt, mixing until fully incorporated. Scrape the bowl sides frequently to prevent streaks. The mixture should be velvety with no visible sugar grains—this creates that signature cheesecake richness.
Step 3: Fold in the Creamy Elements
In a separate chilled bowl, whip the 1 cup Heavy Whipping Cream to stiff peaks. I always use a metal bowl for this—it conducts cold better, helping the cream whip faster. Fold this gently into the cream cheese mixture using a spatula to maintain air.
Now add the 0.5 cup Sour Cream and 1 tbsp Fresh Lemon Juice. Fold just until combined—overmixing will deflate the filling. The lemon juice adds a subtle brightness that balances the sweetness, while the sour cream delivers that tangy depth classic to no-bake cheesecakes.
Step 4: Assemble and Chill to Perfection
Pour the filling over the chilled crust and smooth the top with an offset spatula. Tap the pan gently on the counter 2-3 times to remove air bubbles for a flawless finish.
Refrigerate uncovered for at least 6 hours (overnight is ideal). This extended chill time allows the filling to set completely and the flavors to meld. The texture should be firm enough to slice cleanly but still creamy and luscious. Serve chilled with your favorite toppings.
Pro Tips For Making Honey Maid Cheesecake Recipe On Box
- Room Temp Cream Cheese: Let your cream cheese sit out for at least 2 hours before mixing—I learned this the hard way after ending up with lumpy filling that just wouldn’t smooth out.
- Crush Fine, Press Hard: Pulse those Honey Maid grahams into fine crumbs, then pack them firmly into the pan with a glass; a loose crust makes for a soggy bottom.
- Skip the Overmixing: Once your cream cheese and sugar are just combined, stop mixing—overworking it incorporates too much air and can cause cracks.
- Chill Overnight: After baking, let it cool completely, then refrigerate for a full 8 hours; I was skeptical until I tried it, but the texture is worth the wait.
Pro Cooking Tips for This Recipe
Perfect Crust Texture
For that signature crumbly-but-cohesive crust, pulse your 2 cups Honey Maid Graham Crackers until they’re the texture of fine breadcrumbs. Press them firmly into the pan using the bottom of a measuring cup—I find a 1-cup measure works perfectly. 💡
Room Temperature Matters
Always use room temperature cream cheese to avoid lumps. I take mine out of the fridge 2 hours before starting. If you’re in a hurry, cut it into cubes and microwave at 10-second intervals on 50% power.
Whipping Cream Tips
Chill your mixing bowl and beaters for 15 minutes before whipping the 1 cup Heavy Whipping Cream. This helps achieve stiff peaks faster. Stop when the cream holds its shape but isn’t grainy—overwhipping turns it to butter.
Folding Technique
When combining the whipped cream with the cream cheese mixture, use a spatula and fold gently from the bottom up. This maintains the air you’ve whipped in. I rotate the bowl as I fold to ensure even incorporation without deflating the mixture.
Chilling for Success
The 6-hour chill time is non-negotiable. I often make this in the morning so it’s ready for dinner. For best results, don’t cover it while chilling—this prevents condensation from dripping onto the surface.
Clean Slices Every Time
Before serving, run your knife under hot water and wipe it clean between each slice. This gives you those beautiful, clean cuts that make your cheesecake look as good as it tastes. 💛
Nutrition Facts
Frequently Asked Questions
Can I use a different brand of graham crackers?
Technically yes, but Honey Maid has the perfect sweetness and texture. Other brands may alter the flavor or crust consistency. For best results, stick with the original.
How long does this cheesecake keep in the fridge?
It stays fresh for 4-5 days when properly covered. Press plastic wrap directly onto the surface to prevent a skin from forming.
Can I make this ahead of time?
It actually tastes better after 24 hours as the flavors meld. Just keep it refrigerated until serving.
What if my cheesecake doesn’t set?
This usually means it needed more chilling time. Return it to the fridge for at least 2 more hours. If still soft, your cream cheese may not have been full-fat.

- BBQ Sausage Recipe Oven: Smoky Depth Without the Grill - September 28, 2026
- BBQ Chicken Bowl Recipe Rice: Smoky Sweetness Over Fluffy Grains - September 28, 2026
- Beef Cutlet Recipe Ideas: Crispy Breaded Patties With Bold Seasonings - September 28, 2026