
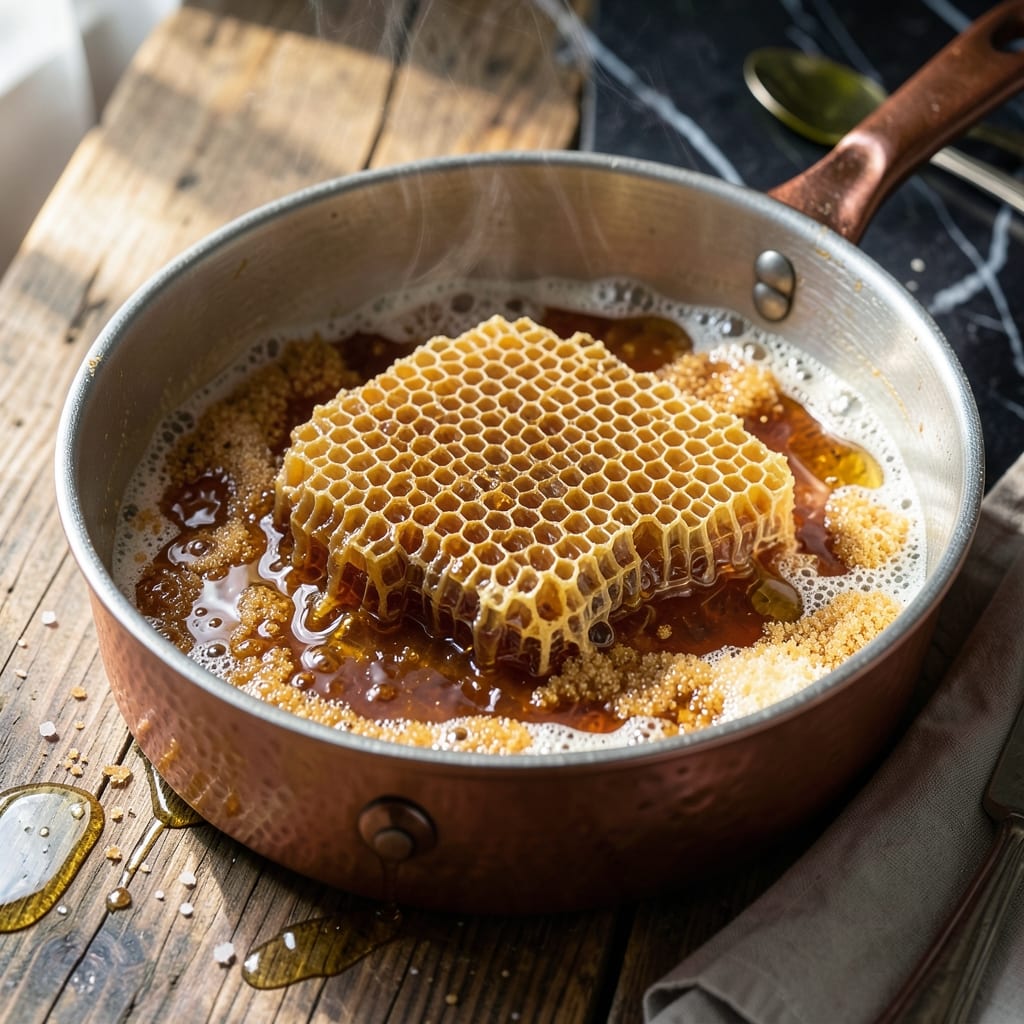
Creating honeycomb candy at home delivers that nostalgic crunch with minimal effort. This recipe transforms simple ingredients into a golden, hexagonal treat that captures the essence of the hive.
The process requires precise temperature control to achieve the signature airy texture. A candy thermometer ensures the mixture reaches the perfect 300°F for that distinctive snap.
What emerges is a delicate, honey-flavored confection with a light, crisp structure. The combination of sugar and honey creates a complexity that store-bought versions can’t match.
This creation makes an impressive gift or a special treat for any occasion. The honey’s natural sweetness shines through in every bite.
Ingredients for Honeycomb Recipe with Honey
These few ingredients create that nostalgic crunch with golden hexagonal texture at home.
| Ingredient | Amount | Notes |
|---|---|---|
| Granulated Sugar 🧈 | 2 cups | Fine white sugar for best results |
| Honey 🍯 | ¾ cup | Raw and unfiltered preferred |
| Baking Soda 🧂 | 1 ½ tsp | Fresh for maximum rise |
| Light Corn Syrup 💧 | ½ cup | Prevents crystallization |
| White Vinegar 🍶 | 1 tsp | Helps activate baking soda |
| Salt 🧂 | ¼ tsp | Fine sea salt for balance |
| Vanilla Extract 🌿 | 1 tsp | Pure extract for depth |
| Unsalted Butter 🧈 | 2 tbsp | For greasing molds optional |
| Water 💧 | 2 tbsp | For thinning if needed |
The honey quality is paramount. Local raw honey from a farmers market (or Whole Foods if you’re in a pinch) provides the most authentic flavor and natural sweetness. The sugar should be fine granulated—avoid coarse or raw sugars, as they can disrupt the candy’s delicate structure. Baking soda must be fresh; test it by mixing a teaspoon with vinegar to ensure vigorous bubbling.
No corn syrup? Agave nectar or glucose syrup can substitute at a 1:1 ratio. For a slightly different flavor profile, maple syrup works but may darken the candy. If you’re avoiding refined sugar, coconut sugar can replace half the granulated sugar, though it may yield a slightly denser texture. The vinegar can be swapped for lemon juice if that’s what you have on hand.
Store the finished honeycomb in an airtight container at room temperature for up to 2 weeks. It’s sensitive to humidity, so avoid storing near the stove or sink. For gifting, wrap pieces in parchment paper and keep in a cool, dry place. This candy doesn’t freeze well—it tends to weep and lose its crispness.
Why You’ll Love This Recipe
- One Bowl Magic: I just dump everything in one pot—sugar, honey, corn syrup—then stir and watch the baking soda work its fizzy magic.
- Sweet & Complex: That deep honey flavor with a hint of tang from the vinegar makes every bite feel like a gourmet treat.
- Gift-Worthy Treat: I wrap chunks in parchment for hostess gifts, and people always ask for the recipe.
- Pantry Staples Only: Between us, I already had all these ingredients, so it cost me nothing but 20 minutes.
Step-by-Step Instructions for Honeycomb With Honey
Master this technique for a light, crispy treat with authentic honey flavor and perfect hexagonal structure.
Step 1: Combine Sugar, Syrup and Honey
In a large, heavy-bottomed saucepan, combine the 2 cups Granulated Sugar, 0.75 cup Honey, and 0.5 cup Light Corn Syrup. The corn syrup prevents crystallization, ensuring a smooth, glossy texture in your final product.
Use a wooden spoon to stir the mixture thoroughly until no dry sugar remains visible. The honey’s natural moisture will help dissolve the sugar as it heats, creating a uniform syrup that caramelizes evenly.
Place the saucepan over medium heat and bring to a gentle simmer. Avoid stirring once the mixture starts to bubble—this can cause sugar crystals to form on the sides of the pan.
Step 2: Cook to the Hard Crack Stage
Insert a candy thermometer into the mixture and cook until it reaches 300°F. At this temperature, the syrup will form hard, brittle threads when dropped into cold water—the hallmark of the hard crack stage.
As the mixture approaches temperature, it will turn a deep amber color and develop a rich caramel aroma. Watch closely during the final 5-10 minutes—the temperature rises quickly and can easily overshoot if left unattended.
If sugar crystals form on the sides of the pan, carefully brush them down with a pastry brush dipped in water to prevent seizing. Do not stir the mixture itself, as this can trigger crystallization.
Step 3: Add Leavening Agents
Once the syrup reaches 300°F, immediately remove the saucepan from heat. Quickly stir in the 1.5 tsp Baking Soda, 1 tsp White Vinegar, 0.25 tsp Salt, and 1 tsp Vanilla Extract in rapid succession. The baking soda and vinegar will react, creating bubbles that give the honeycomb its signature airy texture.
The mixture will foam vigorously—this is normal and desired. Stir just until the baking soda is fully incorporated, about 15-20 seconds, then stop mixing to avoid collapsing the bubbles.
Step 4: Pour and Set the Mixture
If using molds, lightly grease them with 2 tbsp Unsalted Butter to prevent sticking. Pour the hot, foamy mixture into the prepared molds or onto a parchment-lined baking sheet in an even layer about ½ inch thick.
Work quickly, as the mixture will begin to set within 2-3 minutes. If the mixture thickens too much to pour, gently reheat it over low heat for 10-15 seconds while stirring constantly with a silicone spatula. Avoid adding 2 tbsp Water unless absolutely necessary, as this may affect the final texture.
Step 5: Cool and Break into Pieces
Allow the honeycomb to cool completely at room temperature for 20-25 minutes. You’ll notice the surface turn matte and harden as it sets. Resist the urge to touch it prematurely—it must fully harden to achieve the proper snap.
Once fully set, break the honeycomb into pieces by hand or with a serrated knife. The texture should be light and crisp with a delicate, airy interior. Store in an airtight container at room temperature for up to 1 week.
Pro Tips For Making Honeycomb Recipe With Honey
- Watch the Temperature: Keep your candy thermometer handy—this mixture needs to reach exactly 300°F (hard crack stage) before adding baking soda. I learned this the hard way after pulling it off the heat too early and ending up with a sad, gooey mess.
- Use Fresh Baking Soda: Skip the old box at the back of your pantry; fresh baking soda makes a real difference in getting that light, airy texture. After one flat batch, I started checking the expiration date every time.
- Stir Gently at First: Mix the sugar, honey, and corn syrup just enough to combine at the start—over-stirring early on can cause crystallization. Sounds weird, but it works.
- Add Vinegar Last: Pour in the white vinegar right before removing from heat to balance sweetness and cut through the richness. My grandmother swore by this, and she was right.
Essential Equipment for This Dish
Precision Thermometer
A candy thermometer is non-negotiable for this recipe. I recommend the Habor 022 digital model with 0.1°F accuracy—it clips securely to your pot and gives consistent readings. The 300°F target must be precise for perfect texture. 🌡️
Heavy Saucepan
Use a 3-quart heavy-bottomed saucepan to prevent hot spots. My go-to is All-Clad Stainless Steel—its even heat distribution prevents sugar from burning before the mixture reaches temperature. The weight also prevents tipping when the mixture foams.
Silicone Tools
A heat-resistant silicone spatula is essential for stirring the initial mixture without scratching your pan. I keep a OXO Good Grips spatula dedicated to candy-making. For brushing pan sides, a pastry brush with natural bristles works best with hot syrup.
Cooling Setup
Prepare a parchment-lined baking sheet or greased molds before starting. The mixture sets in 2-3 minutes, so having everything ready prevents frantic scrambling. I use Nordic Ware molds for uniform pieces. 💫
Safety Gear
Hot sugar syrup causes severe burns. Wear heat-resistant gloves and long sleeves. I keep a bowl of ice water nearby for accidental splashes. Never touch the mixture until fully cooled—20-25 minutes at room temperature.
Storage Containers
Use airtight glass containers to protect from humidity. I repurpose Mason jars with tight-sealing lids. Store at room temperature for up to 1 week—this treat doesn’t last long in my house anyway.
Nutrition Facts
Frequently Asked Questions
Why does the mixture foam when adding baking soda?
The baking soda reacts with vinegar, creating carbon dioxide bubbles. This gives the candy its signature airy texture.
Can I use a different sweetener instead of corn syrup?
Agave nectar or glucose syrup work as 1:1 substitutes. Maple syrup can be used but may darken the final product.
How do I know when it’s reached the right temperature?
Use a candy thermometer to hit exactly 300°F. The syrup will form hard, brittle threads in cold water at this stage.
What’s the best way to store finished honeycomb?
Keep in an airtight container at room temperature. It stays crisp for up to 1 week if protected from humidity.

- Peach Syrup Recipe for Ice Cream: Sweet and Silky Drizzle for Scoops - October 6, 2026
- Pav Bhaji Recipe Food Lab: Mumbai Street Food Magic at Home - October 6, 2026
- Peach Jelly Recipe Without Pectin: Naturally Set Sweet Spread - October 6, 2026