
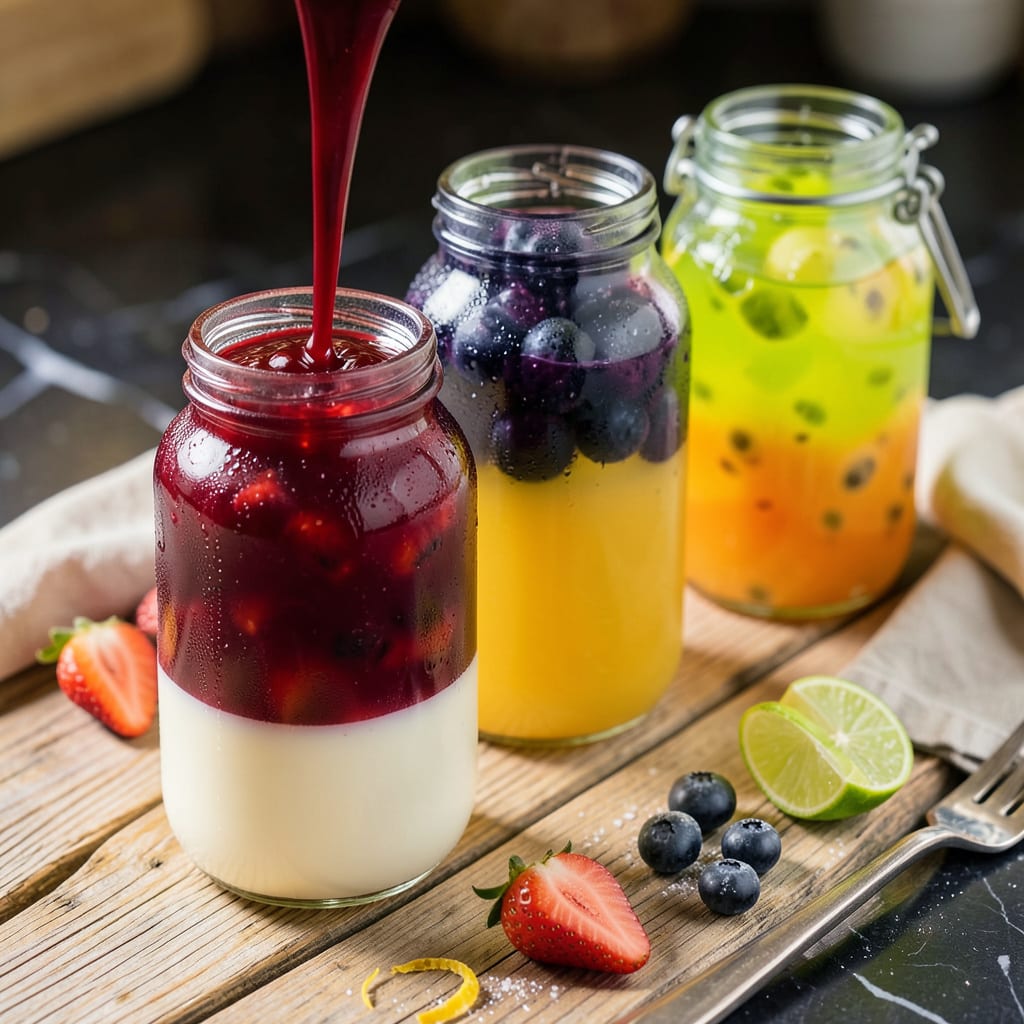
To make jelly bottle desserts, combine gelatin with fruit juice or flavored liquid, pour into small bottles, and chill until set. Layer different colors or flavors for a creative presentation, then serve chilled with whipped cream or fresh fruit.
The magic happens in the gelatin-to-liquid ratio—too little and your jelly won’t hold its shape, too much and it becomes rubbery. 🔥 I’ve found that using 1 packet (2 1/2 tsp) of unflavored gelatin per 2 cups of liquid creates that perfect wobble every time. Temperature control is equally crucial: boiling liquid deactivates gelatin, while cold liquid prevents proper dissolution. For fruit-based versions, straining the juice removes pulp that can disrupt the smooth texture, and adding a touch of lemon juice enhances both flavor and setting power.
What transforms this from simple dessert to showstopper is the presentation layering. 💫 Start with the lightest color at the bottom and work upward, allowing each layer to partially set before adding the next. Pro tip: use a squeeze bottle for precision pouring, and tilt bottles slightly to create diagonal effects. The bottles themselves become part of the experience—miniature glass ones add elegance, while plastic options make them perfect for picnics or kids’ parties.
💡 In This Article
- Science Behind Perfect Jelly Bottle Texture and Setting
- Creative Jelly Bottle Variations and Presentation Tips
Science Behind Perfect Jelly Bottle Texture and Setting
Gelatin’s magic lies in its bloom strength—a measurement of its gelling power. Standard grocery store gelatin has a bloom strength of about 225, meaning 1 packet (2 1/2 tsp) can set 2 cups of liquid perfectly. The science happens when gelatin hydrates in cold liquid, then melts at 95°F before re-solidifying as it cools.
This thermal dance creates that signature wobble we love. 🔥 Too hot (>140°F) and you’ll break the protein bonds; too cold and you’ll get lumpy, uneven texture.
Sugar plays a sneaky role in texture—it competes with gelatin for water molecules. For every 1/4 cup of sugar added to your 2-cup liquid base, you’ll need an extra 1/2 tsp of gelatin to compensate. Fruit acids (like citrus) also interfere with setting by breaking gelatin bonds.
That’s why pineapple and kiwi need to be cooked first—their enzymes (bromelain and actinidin) would otherwise turn your jelly to soup. ✨ Pro move: Add a pinch of cream of tartar to stabilize fruit-based recipes.
The setting environment matters just as much as the recipe. A fridge at 35-40°F is ideal—too warm and your jelly won’t firm up; too cold and it may weep (release liquid). Humidity is the silent saboteur: high moisture in the air can make jelly surfaces sticky.
For crystal-clear results, use a fine-mesh strainer to remove any particles that could create cloudiness. 💫 The golden rule? Never disturb setting jelly—vibrations can prevent proper bond formation.
Common texture problems have scientific fixes. Rubbery jelly means too much gelatin—reduce by 1/2 tsp per 2 cups next time. Weeping occurs when the gel contracts during cooling; adding 1 tsp of corn syrup helps retain moisture.
For layered bottles, chill each layer for just 20-30 minutes before adding the next—this prevents color bleeding while allowing proper adhesion between layers. The perfect jelly should hold its shape when inverted but still quiver enticingly when touched.
Here’s what most recipes don’t tell you: alcohol changes everything. For boozy versions, remember that every 1 tbsp of 40% ABV liquor requires an extra 1/4 tsp gelatin because alcohol inhibits gelling. The same goes for dairy—milk proteins interfere with gelatin bonds, so cream-based jellies need 25% more gelatin than fruit versions.
🌟 These adjustments make the difference between a disappointing puddle and a stunning, sliceable dessert.

- BBQ Sausage Recipe Oven: Smoky Depth Without the Grill - September 28, 2026
- BBQ Chicken Bowl Recipe Rice: Smoky Sweetness Over Fluffy Grains - September 28, 2026
- Beef Cutlet Recipe Ideas: Crispy Breaded Patties With Bold Seasonings - September 28, 2026