
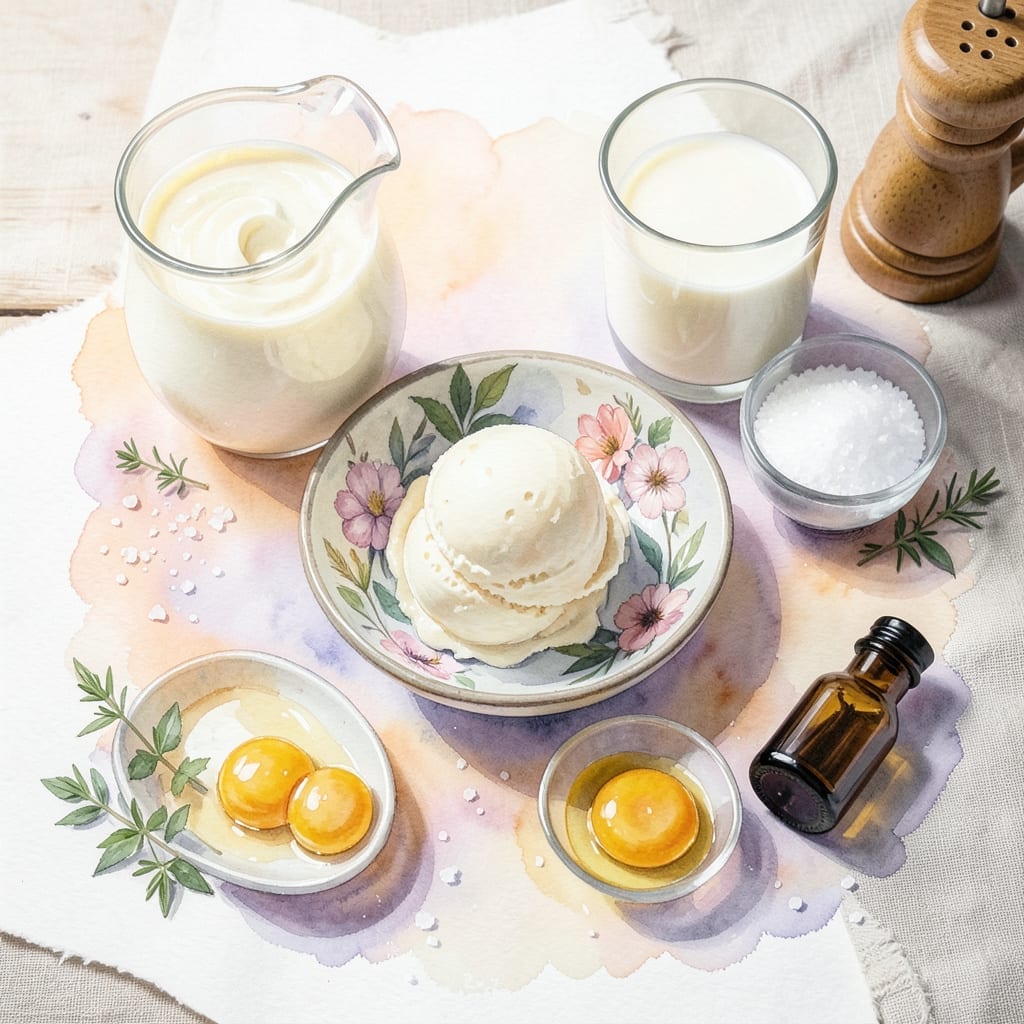
Achieving silky smooth homemade ice cream is easier than you think with the right technique. This method delivers professional quality results using your Cuisinart ice cream maker.
The key is proper base preparation and precise churning time. You’ll get creamy, rich ice cream with the perfect texture every time.
Ingredients for Ice Cream Recipe for Cuisinart Ice Cream Maker
Rich cream, sweet sugar, and vanilla create the perfect base for silky smooth results.
| Ingredient | Amount | Notes |
|---|---|---|
| Heavy Whipping Cream 🥛 | 2 cups | Full-fat for rich texture |
| Whole Milk 🥛 | 1 cup | Cold, for balancing cream |
| Granulated Sugar 🍚 | ¾ cup | Fine grain for smooth dissolution |
| Large Egg Yolks 🥚 | 6 whole | Room temperature for emulsification |
| Vanilla Extract 🌿 | 2 tsp | Pure, not imitation |
| Pinch of Salt 🧂 | 1 pinch | Kosher or sea salt |
| Vanilla Bean 🌿 | 1 whole | Split and scraped, optional |
| Light Corn Syrup 🧈 | 2 tbsp | Prevents ice crystals |
| Heavy Pinch of Cream of Tartar 🧂 | ¼ tsp | Stabilizes egg mixture |
| Pure Almond Extract 🌰 | ¼ tsp | Optional, for depth |
| Fresh Lemon Juice 🍋 | 1 tsp | Brightens flavor profile |
The dairy base is critical here. Heavy cream with at least 36% fat delivers that luxurious mouthfeel, while whole milk (not skim or 2%) balances richness without thinning the mixture. For the best results, use organic or grass-fed dairy from brands like Organic Valley or Straus Family Creamery. The egg yolks should be fresh—pale, weak yolks won’t emulsify as well.
No vanilla bean? Double the extract (use pure Madagascar bourbon vanilla like Nielsen-Massey). Out of corn syrup? Honey or agave works in a pinch, though texture may vary slightly. For a lighter version, substitute half-and-half for the cream, but expect less decadence. The salt might seem trivial, but Diamond Crystal kosher salt dissolves cleanly without graininess.
The custodial base keeps in the fridge for 24 hours before churning—ideal for prepping ahead. Once churned, ice cream holds in the freezer for 1 week (best texture), though it’s honestly at its peak fresh out of the machine. Always pre-chill your Cuisinart bowl for 15+ hours (don’t skip this).
Why You’ll Love This Recipe
- One Bowl Wonder: I just whisk the yolks, sugar, and dairy in one bowl—no fancy prep, and the Cuisinart does the rest.
- Velvety Vanilla: The combo of heavy cream, whole milk, and real vanilla makes it rich but not heavy.
- Crowd Pleaser: Honestly, it’s my go-to for birthdays, BBQs, or just because Tuesday.
- Leftovers? Nope: Between us, it never lasts more than a day in my freezer.
Step-by-Step Instructions for Homemade Ice Cream
Master the custard base first, then let your machine transform it into silky perfection.
Step 1: Infuse and Heat the Dairy Base
In a heavy saucepan, combine the 2 cups Heavy Whipping Cream and 1 cup Whole Milk. If using the 1 whole Vanilla Bean, split it lengthwise, scrape the seeds into the cream mixture, and add the pod as well.
Heat over medium heat until the mixture just begins to simmer at the edges—you’ll see tiny bubbles forming around the perimeter. This should take about 5-7 minutes. Remove from heat, cover, and let the vanilla infuse for 15 minutes if using the bean.
Step 2: Temper the Egg Yolks with Sugar
In a separate bowl, whisk together the 6 whole Large Egg Yolks, 0.75 cup Granulated Sugar, 0.25 tsp Heavy Pinch of Cream of Tartar, and 1 pinch Pinch of Salt until the mixture turns pale yellow and slightly thickens, about 2-3 minutes.
This step is crucial—the cream of tartar stabilizes the egg mixture, preventing curdling during cooking. Gradually pour about 1 cup of the warm cream mixture into the egg mixture while whisking constantly to temper the eggs. This slow introduction prevents scrambled eggs.
Step 3: Cook the Custard to Perfect Consistency
Return the tempered egg mixture to the saucepan with the remaining cream. Cook over medium-low heat, stirring constantly with a wooden spoon or silicone spatula, until the custard thickens enough to coat the back of the spoon.
This should take 8-10 minutes. When you run your finger through the custard on the spoon, it should leave a clear path that holds its shape. Remove from heat immediately to prevent overcooking. Stir in the 2 tbsp Light Corn Syrup, 2 tsp Vanilla Extract, 0.25 tsp Pure Almond Extract, and 1 tsp Fresh Lemon Juice.
Step 4: Chill Thoroughly Before Churning
Strain the custard through a fine-mesh sieve into a clean bowl to remove any cooked bits or vanilla pod pieces. Press plastic wrap directly onto the surface of the custard to prevent a skin from forming.
Refrigerate for at least 4 hours, or preferably overnight. The custard must be completely cold (40°F or below) before churning—this ensures proper texture and prevents the machine from overheating. I always chill mine overnight for the smoothest result.
Step 5: Churn in Your Cuisinart Ice Cream Maker
Pour the chilled custard into your pre-frozen Cuisinart ice cream maker bowl. Churn according to the manufacturer’s instructions, typically 20-25 minutes.
The ice cream is ready when it reaches a soft-serve consistency and holds its shape when scooped. For firmer ice cream, transfer to an airtight container and freeze for an additional 2-4 hours. The light corn syrup in the base helps prevent ice crystals, ensuring a scoopable texture straight from the freezer.
Pro Tips For Making Ice Cream Recipe For Cuisinart Ice Cream Maker
- Chill the Base: Always refrigerate your custard base for at least 4 hours—overnight is even better. I learned this the hard way after my first batch came out soupy because the warm mixture couldn’t freeze properly in the machine.
- Temper the Yolks: Slowly whisk about a cup of the hot cream mixture into the egg yolks before combining everything. After scrambling eggs in my early attempts, I finally figured out this prevents curdling.
- Use Full-Fat Dairy: Skip the low-fat milk or half-and-half—this recipe needs the richness of whole milk and heavy cream. My grandmother swore by full-fat, and she was right: it actually changes the outcome.
- Pre-Freeze the Bowl: Make sure your Cuisinart bowl is fully frozen for at least 12 hours before churning. Sounds weird, but it works: I was skeptical until I tried it and got perfectly smooth ice cream every time.
Pro Cooking Tips for This Dish
Pre-Chill Everything
The Cuisinart bowl needs 15+ hours in the freezer before churning. I set a reminder the night before. Your custard must also be 40°F or colder—warm mixtures won’t freeze properly and can stress your machine. 🌡️
Temper the Eggs Right
Always temper your egg yolks by slowly adding 1 cup of warm cream while whisking. Dump it all at once and you’ll end up with sweet scrambled eggs. The cream of tartar in the recipe helps prevent curdling, but proper technique is key.
Watch the Custard Thickness
Cook your custard until it coats the back of a spoon with a clear path when you drag your finger through it. This happens around 170-175°F. Overcooking creates curds; undercooking means runny ice cream. I test it frequently near the end.
Strain for Silky Texture
After cooking, strain through a fine-mesh sieve to remove any cooked egg bits or vanilla pod. This extra step makes a noticeable difference in mouthfeel. Press plastic wrap directly on the surface to prevent a skin from forming during chilling.
Churn Time Precision
Start the timer when you pour the custard in. Most Cuisinart models need 20-25 minutes. Stop when it reaches soft-serve consistency. The corn syrup in your base helps achieve that perfect scoopable texture. 💡
Freeze for Final Set
If you prefer firmer ice cream, transfer to an airtight container and freeze for 2-4 hours. Don’t skip this if you like well-defined scoops. I find 3 hours is the sweet spot for my family’s taste.
Nutrition Facts
Frequently Asked Questions
How long should I pre-freeze the Cuisinart bowl?
Pre-freeze the bowl for at least 15 hours before churning. This ensures it’s cold enough to properly freeze your ice cream base.
Can I skip the egg yolks for a lighter version?
You can, but the texture won’t be as rich and creamy. Egg yolks act as a natural emulsifier, creating that silky smooth consistency. For best results, keep them in!
Why did my ice cream turn out icy?
Icy texture usually means the base wasn’t cold enough before churning or the machine bowl wasn’t fully frozen. Ensure both are at 40°F or below before starting.
How do I know when the custard is done cooking?
It’s ready when it coats the back of a spoon and a finger drawn through it leaves a clear path that holds its shape. This happens around 170-175°F.

- BBQ Sausage Recipe Oven: Smoky Depth Without the Grill - September 28, 2026
- BBQ Chicken Bowl Recipe Rice: Smoky Sweetness Over Fluffy Grains - September 28, 2026
- Beef Cutlet Recipe Ideas: Crispy Breaded Patties With Bold Seasonings - September 28, 2026