
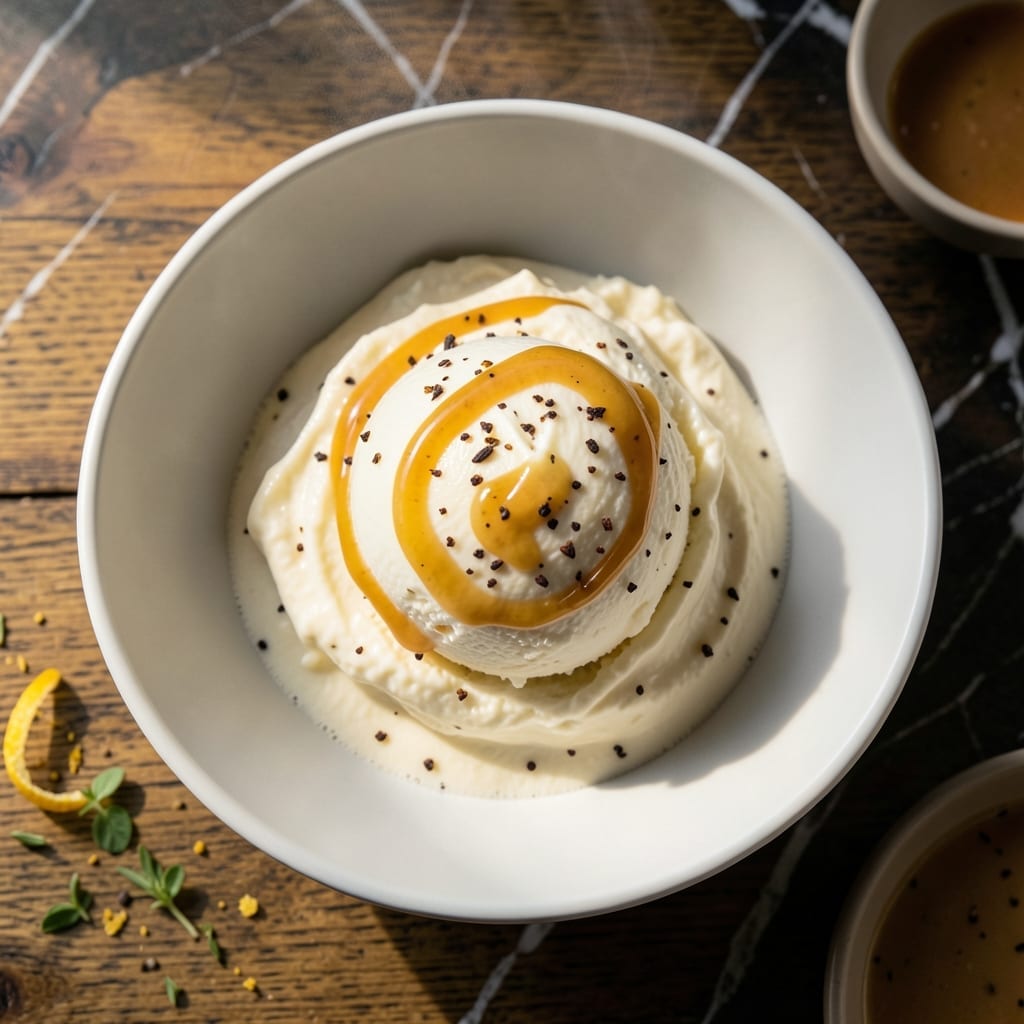
There’s nothing quite like homemade ice cream that achieves that creamy texture without eggs. This method proves you don’t need custard to create luxurious results.
With just a few simple ingredients and proper technique, you’ll produce smooth, rich ice cream that rivals any store-bought version. The secret lies in the perfect balance of cream and sweetness.
Ingredients for Ice Cream Recipe No Eggs
Nine simple ingredients transform into ultra creamy homemade ice cream with no eggs required.
| Ingredient | Amount | Notes |
|---|---|---|
| Heavy Whipping Cream 🥛 | 2 cups | Full-fat for ultra creamy texture |
| Whole Milk 🥛 | 1 cup | Cold, for smooth blending |
| Granulated Sugar 🍚 | ¾ cup | Fine grain for even distribution |
| Pure Vanilla Extract 🌿 | 2 tsp | Real vanilla for depth of flavor |
| Sea Salt 🧂 | ¼ tsp | Fine grain, balances sweetness |
| Sweetened Condensed Milk 🥛 | 1 can | Thick, creamy base ingredient |
| Corn Syrup 🍯 | 2 tbsp | Light or dark, prevents iciness |
| Unsalted Butter 🧈 | 1 tbsp | Melted, adds richness |
| Almond Extract 🌰 | ¼ tsp | Optional, enhances vanilla flavor |
| Fresh Lemon Juice 🍋 | 1 tsp | Brightens all flavors |
The heavy cream is non-negotiable here—organic or high-fat brands like Organic Valley yield the most luxurious texture. Sweetened condensed milk acts as the base stabilizer, so Eagle Brand is the gold standard (available at Walmart or Target). For the vanilla, splurge on Nielsen-Massey if possible—it’s worth the investment for that pure, complex flavor profile.
No corn syrup? Light agave or honey at 1:1 ratio works in a pinch. Want to skip condensed milk? Evaporated milk plus 0.5 cup extra sugar gets close. The butter adds depth but can be omitted—just expect slightly less richness. For a different twist, coconut milk (the canned, full-fat kind) replaces the dairy entirely for a vegan-friendly version.
Store the churned base in an airtight container with parchment pressed directly on the surface to prevent ice crystals. Keeps for 1 week in the freezer—though it’s best within 3 days. Always let it sit at room temperature for 10 minutes before scooping (worth the extra minute).
Why You’ll Love This Recipe
- No Fuss Mixing: I just whisk the cream, milk, sugar, and vanilla together—no cooking, no eggs, no stress.
- Pure Vanilla Bliss: The real vanilla and pinch of sea salt make it taste like the fancy stuff, but homemade.
- Endless Customizations: I’ve stirred in crushed oreos, fresh berries, even coffee—it never lets me down.
- Freezer Ready: Honestly, it keeps for weeks, so I always have a pint waiting for those late-night cravings.
Step-by-Step Instructions for Egg-Free Ice Cream
Achieve ultra-smooth texture with this professional method that requires no custard cooking.
Step 1: Bloom the Flavors in the Cream Mixture
In a large mixing bowl, combine the 2 cups Heavy Whipping Cream, 1 cup Whole Milk, 0.75 cup Granulated Sugar, 2 tsp Pure Vanilla Extract, and 0.25 tsp Sea Salt. Whisk vigorously until the sugar begins to dissolve—this takes about 2 minutes of steady whisking.
This step ensures the sugar fully integrates into the liquid base, preventing grainy texture in the final product. The mixture should look smooth with no visible sugar crystals when properly combined.
Step 2: Incorporate the Condensed Milk Base
Slowly pour in the 1 can Sweetened Condensed Milk while continuing to whisk. The mixture will thicken noticeably as the condensed milk emulsifies with the cream base. Add the 2 tbsp Corn Syrup and 1 tbsp Unsalted Butter, whisking until the butter is fully melted and incorporated.
The condensed milk provides both sweetness and body to the ice cream without requiring eggs. The corn syrup lowers the freezing point, resulting in a scoopable texture. The butter adds a subtle richness that complements the vanilla.
Step 3: Add the Finishing Touches
Stir in the 0.25 tsp Almond Extract and 1 tsp Fresh Lemon Juice. The almond extract enhances the vanilla’s depth, while the lemon juice brightens all the flavors, balancing the sweetness perfectly.
At this stage, the base should be smooth, slightly thick, and fragrant. I always taste the mixture now to ensure the flavors are balanced—it should taste sweeter than you’d expect, as the cold will mute the sweetness slightly in the final product.
Step 4: Chill and Churn to Perfection
Cover the bowl and refrigerate the mixture for at least 4 hours, or preferably overnight. This chilling step is crucial for achieving the proper consistency when churning. The ideal temperature for churning is 40°F or below.
Once thoroughly chilled, pour the mixture into your ice cream maker and churn according to the manufacturer’s instructions, typically 20-25 minutes. The ice cream is ready when it reaches the consistency of soft-serve and holds its shape when scooped.
For the creamiest texture, transfer to a lidded container and freeze for an additional 4-6 hours to firm up completely. The final product should be smooth, creamy, and hold its shape when scooped with an ice cream scoop.
Pro Tips For Making Ice Cream Recipe No Eggs
- Chill the Base: Always refrigerate your cream-milk-sugar mixture for at least 4 hours before churning—I learned this the hard way after my first batch turned out soupy and took forever to freeze.
- Use Full-Fat Dairy: Skip the low-fat milk or half-and-half; the high fat content in heavy whipping cream and whole milk is non-negotiable for that creamy texture.
- Pre-Chill Your Bowl: Pop your ice cream maker bowl in the freezer for 12-24 hours before churning, or you’ll end up with a sad, slushy mess—yes, even if you’re impatient like me.
- Add Vanilla Last: Stir in the pure vanilla extract and sea salt right before churning to preserve the vanilla’s bold flavor, which can mellow out if heated or mixed too early.
Flavor Customization for This Dish
Classic Vanilla Twist
For a deeper vanilla flavor, increase the Pure Vanilla Extract to 1 tablespoon and add the scraped seeds from 1 vanilla bean. I also love stirring in 1 tsp vanilla bean paste for those beautiful black specks.
Chocolate Lover’s Dream
Add ½ cup cocoa powder to the base mixture for rich chocolate ice cream. For texture, fold in 1 cup chopped dark chocolate or chocolate chips after churning. Use Ghirardelli or Guittard for best results.
For a fudgier version, swirl in ¼ cup hot fudge sauce during the final 5 minutes of churning. 🌟
Fruit Infusions
Stir in 1 cup puréed berries (strawberries, raspberries) or 1 cup diced mango after churning. For a marbled effect, alternate layers of fruit purée with the ice cream base before freezing.
For citrus lovers, add 1 tbsp orange zest or grapefruit zest to the base mixture for bright, refreshing flavor.
Crunchy Add-Ins
Fold in 1 cup toasted nuts (pecans, almonds) or ½ cup crushed cookies (Oreos, graham crackers) after churning. For holiday flair, add ½ cup crushed candy canes or peppermint pieces.
Pro tip: Toast nuts in a 350°F oven for 8-10 minutes to enhance their flavor. 💡
Spiced Variations
Add 1 tsp cinnamon or ½ tsp nutmeg to the base for warm spice notes. For chai-inspired ice cream, whisk in 1 chai tea bag to the warm cream mixture and let steep for 10 minutes before removing.
For a Mexican chocolate twist, add ½ tsp cayenne and 1 tsp cinnamon to the chocolate base.
Frequently Asked Questions
Why does this recipe work without eggs?
Sweetened condensed milk replaces eggs as the thickener and stabilizer. Its high sugar content lowers the freezing point, creating that creamy texture we all love.
Can I make this in a freezer without a machine?
Yes! Freeze in a shallow dish, stirring vigorously with a fork every 30 minutes for 3-4 hours. This breaks up ice crystals for smooth results.
What if my mixture won’t thicken?
Ensure your base is chilled to 40°F before churning. If still too thin, add 1 tbsp cornstarch mixed with 2 tbsp cold milk to the base.
Nutrition Facts

- BBQ Sausage Recipe Oven: Smoky Depth Without the Grill - September 28, 2026
- BBQ Chicken Bowl Recipe Rice: Smoky Sweetness Over Fluffy Grains - September 28, 2026
- Beef Cutlet Recipe Ideas: Crispy Breaded Patties With Bold Seasonings - September 28, 2026