
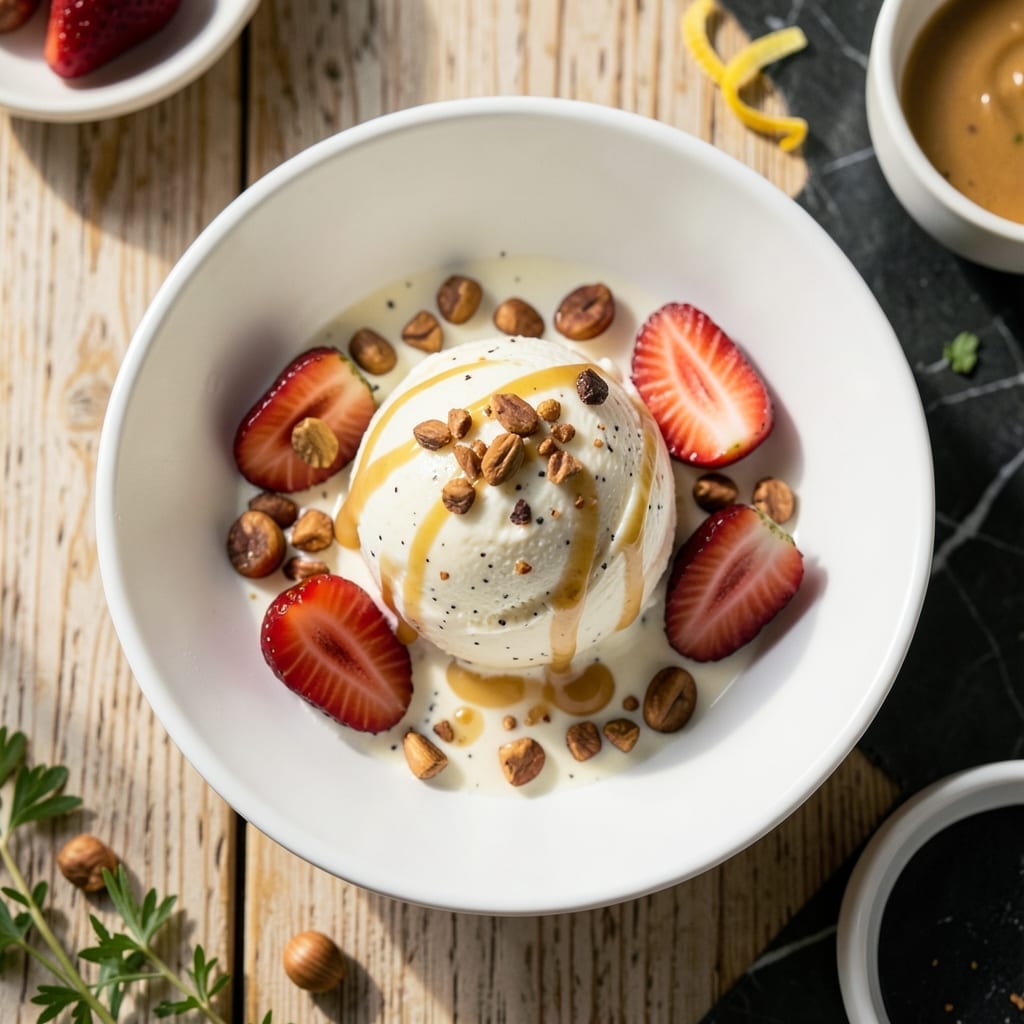
There’s nothing quite like homemade ice cream to elevate a simple dessert into something extraordinary. This recipe relies on evaporated milk to create a rich, velvety texture that’s smooth and indulgent.
Evaporated milk adds depth and creaminess without the need for heavy machinery or complicated techniques. The process is straightforward, with simple ingredients that come together effortlessly.
What you’ll achieve is a scoopable, luxuriously smooth treat that tastes like it came from a premium creamery. The flavor is pure and balanced, with no artificial aftertaste.
Perfect for hot days or a cozy night in. Here’s how to make it happen.
Ingredients for Ice Cream Recipe with Evaporated Milk
Simple ingredients transform into an extraordinary dessert with minimal effort and maximum payoff.
| Ingredient | Amount | Notes |
|---|---|---|
| Evaporated Milk 🥛 | 2 cups | Canned, full-fat preferred |
| Heavy Cream 🥛 | 2 cups | Cold, at least 36% fat |
| Granulated Sugar 🍚 | 1 ½ cups | Fine white granulated |
| Vanilla Extract 🌿 | 2 tsp | Pure, not imitation |
| Large Egg Yolks 🥚 | 6 whole | Room temperature, separated |
| Whole Milk 🥛 | ½ cup | Cold, for thinning if needed |
| Table Salt 🧂 | ¼ tsp | Fine grain, enhances flavor |
| Vanilla Bean 🌿 | 1 whole | Split and scraped (optional) |
| Condensed Milk 🥛 | ½ cup | Sweetened, for extra richness |
| Pure Almond Extract 🌰 | ¼ tsp | Optional, for depth |
The evaporated milk is non-negotiable here—Carnation or Pet brands are most reliable for that signature creaminess. Look for full-fat versions; low-fat will compromise the texture. Heavy cream should be at least 36% fat (check the label). Most grocery stores carry these in the baking aisle. For vanilla, pure extract from Madagascar bourbon beans is ideal, but any high-quality brand works.
No evaporated milk? Simmer regular milk at a 1:1 ratio until reduced by 60%—but canned is more consistent. Heavy cream can be swapped for coconut cream (for dairy-free), but expect a slight flavor shift. Vanilla extract alternatives include vanilla bean paste (use 1 tbsp for every 2 tsp extract) or even fresh vanilla bean seeds. Sugar adjustments are fine—brown sugar adds molasses notes.
Base mixture keeps in the fridge for 24 hours before churning (and actually improves in flavor). Once churned, ice cream stays fresh for 1 week in an airtight container. For longer storage, freeze in portions—it’ll keep for 2-3 months (though best enjoyed fresh).
Why You’ll Love This Recipe
- No Churn Needed: Honestly, just whisk, freeze, and you’re done—no fancy machine required, thanks to the evaporated milk and heavy cream combo.
- Rich & Creamy: The egg yolks and heavy cream give it that ultra-smooth texture, while the vanilla extract adds a warmth that’s practically irresistible.
- Endless Variations: I’ve stirred in everything from crushed cookies to fresh berries—this base handles all my flavor experiments like a champ.
- Freezer Friendly: It keeps beautifully for weeks, so I always have a pint ready for unexpected guests or my own late-night cravings.
Step-by-Step Instructions for Ice Cream With Evaporated Milk
Follow this precise method to achieve a luxurious, velvety texture with balanced sweetness.
Step 1: Infuse and Heat the Dairy Base
In a heavy-bottomed saucepan, combine the 2 cups Evaporated Milk, 2 cups Heavy Cream, and 1.5 cups Granulated Sugar. If using the 1 whole Vanilla Bean, split it lengthwise, scrape the seeds into the mixture, and add the pod for maximum flavor infusion.
Place the saucepan over medium heat and stir frequently with a silicone spatula until the sugar fully dissolves. This should take 5-7 minutes. Watch for tiny bubbles forming at the edges—this indicates the mixture is properly heated but not boiling. Remove from heat once the sugar is completely incorporated.
Step 2: Temper the Egg Yolks for a Silky Custard
In a separate bowl, whisk the 6 whole Large Egg Yolks with the 0.25 tsp Table Salt until the mixture turns pale yellow and slightly thickened. This step ensures the yolks are properly aerated for a smooth custard base.
Slowly pour about 1 cup of the hot dairy mixture into the yolks while whisking constantly. This tempering process prevents the eggs from curdling. Once combined, pour the tempered yolk mixture back into the saucepan with the remaining dairy. Return to low heat and cook, stirring constantly, until the custard thickens enough to coat the back of a spoon.
Step 3: Incorporate Flavorings and Cool the Mixture
Remove the custard from heat and stir in the 2 tsp Vanilla Extract, 0.5 cup Condensed Milk, and 0.25 tsp Pure Almond Extract. The condensed milk adds richness and ensures a creamier texture without iciness. If using the vanilla bean pod, remove it at this stage.
Pour the custard through a fine-mesh strainer into a clean bowl to remove any potential curdled bits, ensuring an ultra-smooth base. Place the bowl in an ice bath or refrigerator and chill for at least 4 hours, or preferably overnight. This cooling step is critical for proper texture development.
Step 4: Churn to Perfection
Once fully chilled, pour the custard into your ice cream maker and churn according to the manufacturer’s instructions, typically 20-25 minutes. The mixture should resemble soft-serve ice cream when done, with a thick, creamy consistency.
If the mixture is too firm straight from the fridge, thin it slightly with the 0.5 cup Whole Milk before churning. This ensures smooth operation of the machine. Transfer the churned ice cream to a lidded container and freeze for at least 4 hours to achieve the ideal scoopable texture.
Pro Tips For Making Ice Cream Recipe With Evaporated Milk
- Chill the Base: Always refrigerate your custard base for at least 4 hours before churning—I learned this the hard way after ending up with soupy ice cream that never set properly.
- Temper the Yolks: Slowly whisk the hot evaporated milk mixture into the egg yolks, about a tablespoon at a time, or you’ll end up with sweet scrambled eggs instead of custard.
- Use Full-Fat Evaporated: Skip the low-fat version; full-fat evaporated milk gives the creamy texture this recipe needs—anything less and the ice cream turns icy.
- Add Alcohol for Softness: A splash of vodka or rum (about 1 tablespoon) in the churning stage keeps the ice cream scoopable straight from the freezer—sounds weird, but it works.
Health Benefits of This Recipe
Calcium Boost
This dessert is packed with calcium, providing about 30% of your daily needs per serving thanks to the evaporated milk and heavy cream. I love that it supports bone health while satisfying my sweet tooth. 💪
Energy Source
The combination of natural sugars and healthy fats from the dairy makes this a great quick energy source. The 1.5 cups granulated sugar gives you that instant pick-me-up, while the cream provides sustained energy.
Protein Content
The 6 egg yolks in this recipe contribute about 9 grams of protein per serving. Protein is essential for muscle repair and growth, making this more than just a sweet indulgence.
Vitamin Rich
You’ll get a good dose of vitamin D and vitamin A from the dairy and eggs. These fat-soluble vitamins are crucial for immune function and skin health. The evaporated milk is particularly rich in these nutrients.
Mood Enhancer
Let’s not forget the mood-boosting power of ice cream! The vanilla extract and natural sugars can trigger the release of serotonin, your body’s feel-good chemical. It’s my go-to treat for a quick happiness lift. ✨
Easy Digestion
Since this recipe uses evaporated milk instead of raw milk, it’s often easier to digest for those with mild lactose sensitivities. The heating process breaks down some of the lactose, making it gentler on the stomach.
Nutrition Facts
Frequently Asked Questions
Can I substitute regular milk for evaporated milk?
No, regular milk won’t give the same rich texture. To substitute, simmer 2 cups regular milk until reduced to 1 cup. The concentrated milk solids in evaporated milk create the signature creaminess.
Why does this recipe use egg yolks?
The 6 egg yolks act as a natural thickener and stabilizer, creating a custard base that’s ultra-smooth. They also add richness and a velvety mouthfeel that’s hard to achieve otherwise.
How long can I store homemade ice cream?
Store in an airtight container for up to 2-3 months. For best texture, enjoy within 1 week. Always let it sit at room temperature for 5-10 minutes before scooping.
What if my ice cream turns icy?
Icy texture usually means the base wasn’t chilled enough before churning. Ensure it’s fully cold (4 hours minimum). Adding 1 tablespoon vodka or corn syrup can also prevent ice crystals.

- Pina Colada Dip Recipe Red Lobster: Tropical Creaminess With Toasted Coconut - October 12, 2026
- Pickled Sweet Cherry Peppers Recipe Canning: Tangy Heat for Pantry Staples - October 12, 2026
- Peppercorn Sauce Recipe Vegan: Rich Umami Depth Without Cream - October 12, 2026