
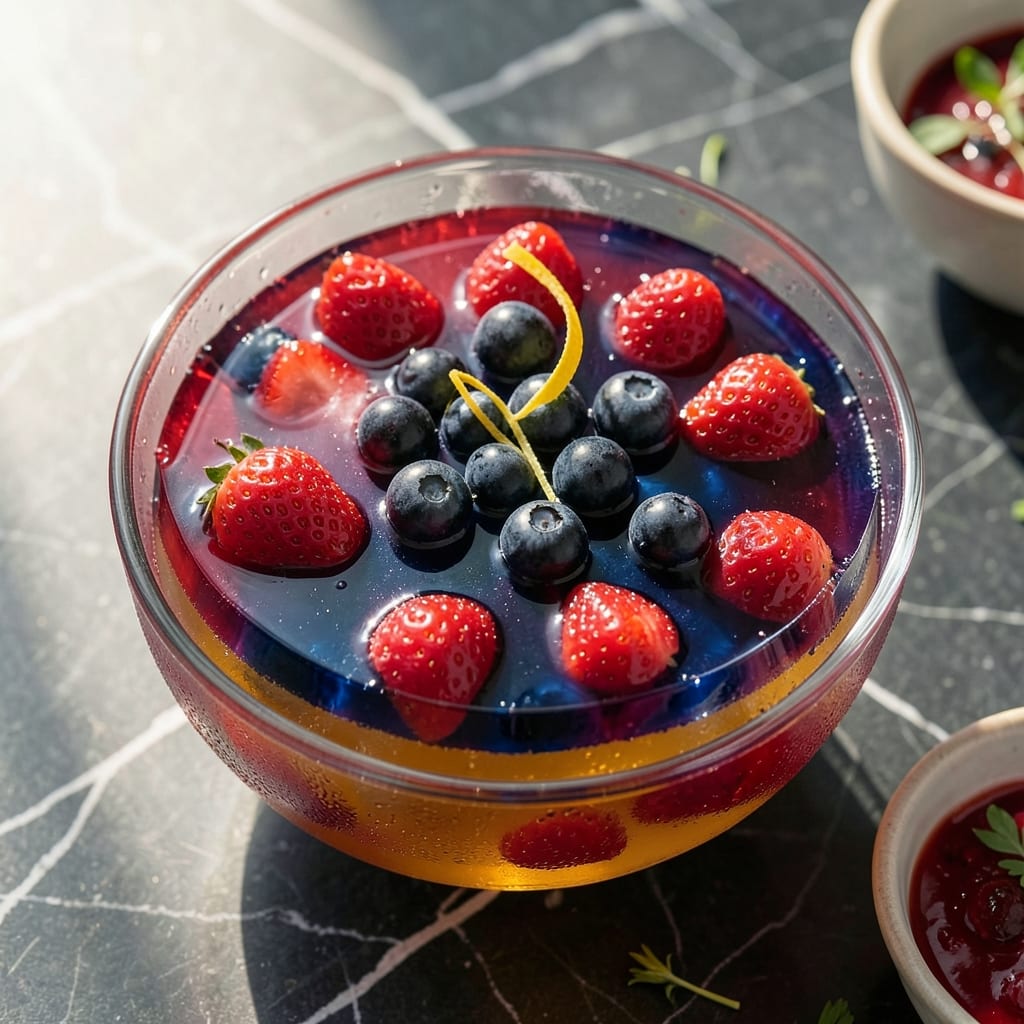
I’ve found that jello doesn’t have to be just a childhood treat—it can be a showstopper at any gathering. With a little creativity, you can turn it into something truly special.
This isn’t about the basic, store-bought version. We’re talking layered desserts, fruity twists, and even boozy options for the adults. The possibilities are endless.
Whether you stick with classic gelatin or try vegetarian agar-agar, the process stays simple and fun. It’s all about playing with colors, flavors, and textures.
Get ready to impress with desserts that look as good as they taste. These ideas will change the way you think about jello forever.
Ingredients for Jello Recipe Ideas
Simple ingredients transform into a vibrant, layered dessert masterpiece everyone will love.
| Ingredient | Amount | Notes |
|---|---|---|
| Unflavored Gelatin 🥣 | 2 ½ tbsps | Or vegetarian agar-agar substitute |
| Granulated Sugar 🍚 | ¾ cup | Adjust to taste preference |
| Boiling Water 💧 | 1 ½ cups | Freshly boiled for best results |
| Cold Water 💧 | 1 ½ cups | For gelatin blooming process |
| Fresh Strawberries 🍓 | 1 cup | Diced, for fruit layer |
| Fresh Blueberries 🫐 | 1 cup | Whole or halved for texture |
| Heavy Cream 🥛 | 1 cup | Whipped for creamy layer |
| Vanilla Extract 🌿 | 1 tsp | Pure extract for best flavor |
| Lemon Juice 🍋 | 2 tbsps | Freshly squeezed for brightness |
| Sweetened Condensed Milk 🥛 | ½ cup | For creamy sweetness layer |
| Rainbow Sprinkles 🎨 | ¼ cup | For decorative topping layer |
| Fresh Mint Leaves 🌿 | 8 pieces | For garnish and freshness |
The gelatin is your foundation—Knox brand is reliable and widely available at any supermarket. For vegetarian versions, agar-agar (found at Whole Foods or Asian markets) works perfectly. The fruit layers shine with seasonal produce; farmers markets have the best strawberries in summer. Always bloom gelatin in cold water first—this step ensures smooth texture.
No strawberries? Raspberries or diced mango work beautifully (use same amount). Swap heavy cream for coconut cream to make it dairy-free. Out of vanilla extract? Vanilla bean paste at half the amount adds speckles and depth. For a boozy twist, replace 1/4 cup cold water with vodka or rum—but don’t exceed that or it won’t set properly.
Layered jello keeps 4-5 days in the fridge, covered tightly. The cream layer may weep slightly after day 3—still safe to eat. Make ahead for parties; the flavors meld overnight. Freezing isn’t recommended—it turns grainy. Always set in glass to see those gorgeous layers.
Why You’ll Love This Recipe
- 5-Minute Magic: I just stir gelatin, sugar, and hot water—no oven, no fuss. Cold water and strawberries do the rest.
- Burst of Summer: The strawberries soak up the sweetness, making every bite juicy and bright.
- Party or Snack: I serve it at picnics or pack it for lunchboxes—equally loved by kids and adults.
- Budget Stretcher: A box of gelatin and seasonal fruit makes a big batch for pennies. Leftovers? They disappear fast.
Step-by-Step Instructions for Jello Dessert Layers
Transform simple ingredients into a stunning layered dessert that impresses every time.
Step 1: Bloom the Gelatin and Prepare the Base Layer
Sprinkle the 2.5 tbsps unflavored gelatin evenly over the 1.5 cups cold water in a large bowl. Let it sit undisturbed for 5-10 minutes until it thickens to a jelly-like consistency—this is the blooming process, essential for proper setting.
Meanwhile, combine the 0.75 cup granulated sugar with the 1.5 cups boiling water, stirring until fully dissolved. Pour this over the bloomed gelatin and stir gently until completely smooth. This forms your base mixture for all layers.
Step 2: Create the Fruit Layer with Berries
Divide the gelatin mixture in half. To one portion, add the 2 tbsps lemon juice and pour into your serving dish. Refrigerate for 1 hour until just set but still slightly tacky to the touch.
Dice the 1 cup fresh strawberries and halve the 1 cup fresh blueberries. Arrange them in an even layer over the semi-set gelatin. The fruit should press in slightly but not sink completely—this creates a beautiful suspended effect.
Step 3: Prepare the Creamy Middle Layer
Whip the 1 cup heavy cream with the 1 tsp vanilla extract until soft peaks form. In a separate bowl, gently fold the whipped cream into the remaining gelatin mixture along with the 0.5 cup sweetened condensed milk.
Pour this creamy mixture carefully over the fruit layer. Use a spoon to spread it evenly without disturbing the berries. Refrigerate for another 1-2 hours until this layer is firmly set—it should spring back slightly when touched.
Step 4: Add the Final Decorative Layer
Sprinkle the 0.25 cup rainbow sprinkles evenly over the creamy layer, pressing them in lightly so they adhere. Return to the refrigerator for at least 4 hours or overnight for complete setting.
The gelatin should be firm throughout with clear layer separation when you gently shake the dish. Just before serving, garnish with the 8 pieces fresh mint leaves for a pop of color and freshness.
Pro Tips For Making Jello Recipe Ideas
- Bloom the Gelatin: Always sprinkle unflavored gelatin over cold water first and let it sit for 5-10 minutes—I learned this the hard way after ending up with lumpy jello that never fully set.
- Use Ripe Strawberries: Overripe strawberries actually work better here; their natural sweetness means you can cut the sugar by a tablespoon or two without losing flavor.
- Skip the Boiling Overload: Resist the urge to use all boiling water, or your gelatin will lose its setting power; a 1:1 ratio of boiling to cold water guarantees the right texture every time.
- Chill in Layers: For fancy strawberry jello, pour half the mixture into the mold, add sliced strawberries, then top with the rest—this keeps the fruit from sinking to the bottom.
Dietary Considerations for jello recipe ideas
Vegetarian Options
For a plant-based version, swap unflavored gelatin with agar-agar—it’s derived from seaweed and works just as well. Use 1 tbsp agar-agar per 1 cup liquid. I find Whole Foods carries it in the baking aisle.
Sugar Substitutes
Cutting back on sugar? Try honey or maple syrup—use ½ cup instead of ¾ cup sugar. For sugar-free, erythritol or monk fruit sweetener dissolve beautifully and set just like the original.
Dairy-Free Adaptations
Replace heavy cream with coconut cream for a rich, dairy-free option. The sweetened condensed milk can be swapped for coconut condensed milk—Sweetened Condensed Coconut Milk by Nature’s Charm is my go-to brand.
Gluten-Free Note
This recipe is naturally gluten-free as written. Just double-check your rainbow sprinkles—some brands contain wheat. Betty Crocker and Wilton both offer gluten-free options.
Allergen Awareness
The main allergy concern here is gelatin (animal-derived). For nut allergies, ensure your sprinkles and toppings are processed in nut-free facilities. Always read labels carefully.
Low-Carb Version
Use sugar-free gelatin like Jell-O Sugar Free and replace sugar with allulose or stevia. Skip the fruit layer or use raspberries—they’re lower in carbs than strawberries. 💛
Nutrition Facts
Frequently Asked Questions
Can I use fresh fruit other than berries?
Try diced mango, kiwi, or peaches. Avoid pineapple or papaya as they contain enzymes that prevent setting.
Why did my layers mix together?
Each layer needs to be firm to the touch before adding the next. If rushed, the colors and textures will blend. Chill for the full recommended time.
Can I make this ahead of time?
Yes! Prepare it 1-2 days in advance. The flavors meld beautifully, and it stays fresh for up to 5 days in the fridge.
How do I get perfectly even layers?
Use a clear glass dish and measure each layer’s thickness. Pour slowly and tilt the dish to spread evenly. Patience is key!

- Pina Colada Dip Recipe Red Lobster: Tropical Creaminess With Toasted Coconut - October 12, 2026
- Pickled Sweet Cherry Peppers Recipe Canning: Tangy Heat for Pantry Staples - October 12, 2026
- Peppercorn Sauce Recipe Vegan: Rich Umami Depth Without Cream - October 12, 2026