
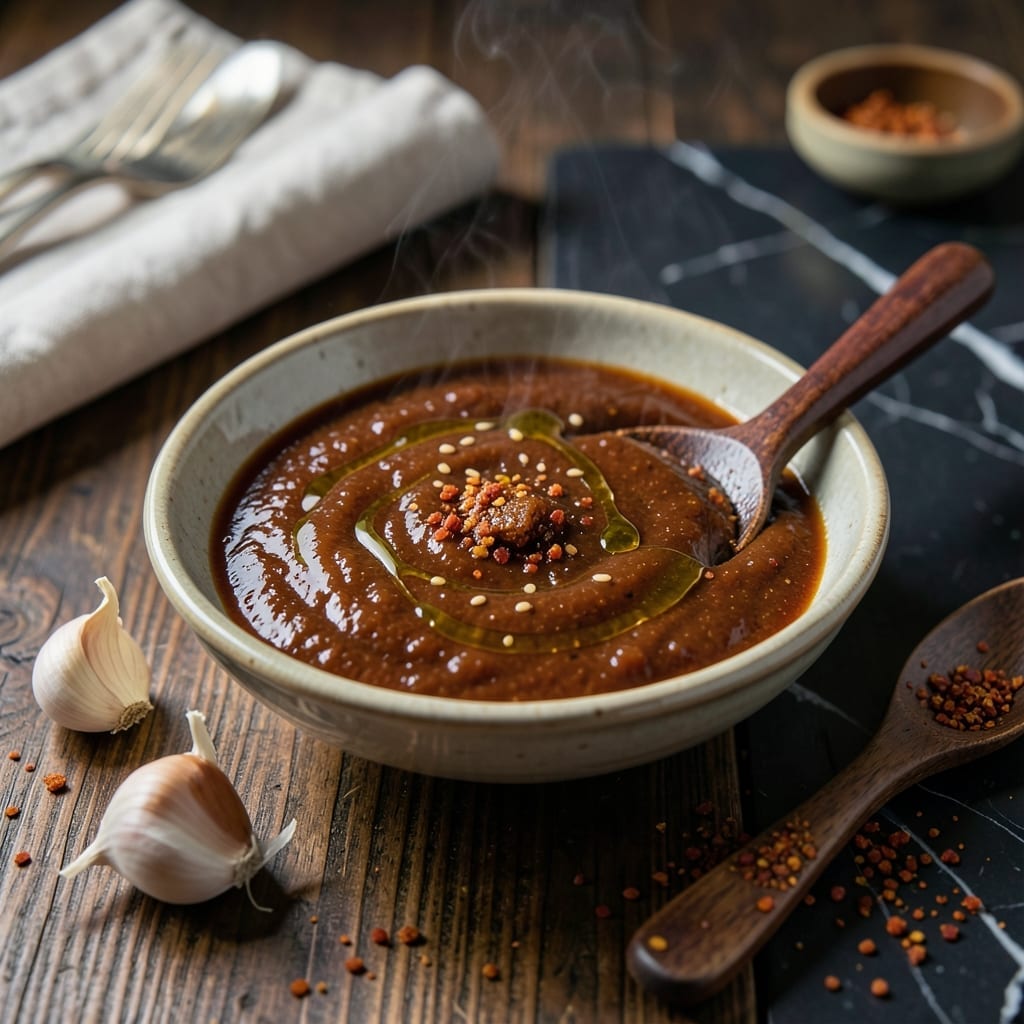
This sauce transforms ordinary meats into restaurant-quality Korean BBQ at home. Homemade versions let you control sweetness, heat, and depth of flavor in ways store-bought can’t match.
The foundation combines gochujang for heat, brown sugar for caramelized sweetness, and soy sauce for umami. I developed this after testing countless variations in my kitchen, always with David as my official taste-tester.
What you get is a glossy, thick glaze that clings to grilled meats with balanced sweet, spicy, and savory notes. It caramelizes beautifully under high heat, creating that signature sticky coating.
Make a double batch—this keeps for 2 weeks in the fridge and works on everything from beef to tofu.
Ingredients for Korean Bbq Sauce Recipe Homemade
Ten ingredients build that glossy, sticky, restaurant-quality glaze you crave.
| Ingredient | Amount | Notes |
|---|---|---|
| Gochujang 🌶️ | ½ cup | Korean fermented chili paste |
| Brown Sugar 🍚 | ½ cup | Light or dark, packed |
| Soy Sauce 🫒 | ⅓ cup | Low-sodium preferred for balance |
| Rice Vinegar 🍶 | 2 tbsp | For bright acidity |
| Sesame Oil 🫒 | 1 tbsp | Toasted for nutty depth |
| Fresh Garlic Cloves 🧄 | 4 cloves | Minced or pressed |
| Fresh Ginger 🌿 | 1 tbsp | Finely grated |
| Honey 🍯 | 2 tbsp | Or sub agave for vegan |
| Sesame Seeds 🌾 | 1 tbsp | Toasted for garnish |
| Green Onions 🧅 | 2 whole | Thinly sliced for garnish |
The gochujang is non-negotiable—look for it in the Asian aisle at Whole Foods or Kroger (or order from Amazon). I prefer Sempio or CJ brands for consistent heat and depth. Brown sugar adds caramelized sweetness, but don’t skimp on quality. Fresh ginger and garlic make a huge difference here (the jarred stuff just doesn’t have the same punch).
No gochujang? Sriracha plus a spoon of miso gets you close but not perfect. Out of rice vinegar? Apple cider vinegar in a pinch. Want it gluten-free? Tamari instead of soy sauce. The honey can be swapped for maple syrup or agave—just adjust sweetness to taste (frozen ginger works too if you’re in a rush).
This keeps for 2 weeks in the fridge in a sealed jar. The flavors actually deepen over time. Freeze portions for up to 3 months if you’ve made a big batch. Always give it a stir before using—those sesame seeds love to settle.
Why You’ll Love This Recipe
- Five Minute Mix: I just dump all the ingredients in a bowl—gochujang, brown sugar, soy sauce—whisk and done.
- Sweet Heat Balance: The brown sugar mellows the gochujang’s kick while rice vinegar adds that bright tang I crave.
- Marinade or Dip: I slather it on chicken thighs for dinner, then use leftovers as a dipping sauce for dumplings the next day.
- Pantry Staples: Between us, I always have soy sauce and sesame oil on hand, so this costs me nothing extra.
Step-by-Step Instructions for Korean BBQ Sauce
This method ensures a perfectly balanced sauce with deep umami, sweetness, and just the right amount of heat.
Step 1: Bloom the Aromatics in Sesame Oil
Heat a medium saucepan over medium-low heat. Add the 1 tbsp Sesame Oil and allow it to warm for 30 seconds until it becomes fragrant. Here’s the thing—you don’t want it to smoke, just to release its nutty aroma.
Add the 4 cloves Fresh Garlic Cloves and 1 tbsp Fresh Ginger, stirring constantly for 1-2 minutes until they soften and turn light golden. This step builds the flavor foundation, so don’t rush it. If the garlic starts to brown too quickly, reduce the heat slightly.
Step 2: Combine the Liquid Base Ingredients
Pour in the 0.33 cup Soy Sauce, 2 tbsp Rice Vinegar, 0.5 cup Brown Sugar, 0.5 cup Gochujang, and 2 tbsp Honey. I know it seems like a lot of liquid, but trust me—it all comes together beautifully.
Stir well to dissolve the Brown Sugar completely and incorporate the Gochujang. The mixture should be smooth with no lumps. Real talk: if your gochujang is particularly thick, use a whisk to break it down completely. Bring this mixture to a gentle simmer over medium heat.
Step 3: Simmer to Achieve the Perfect Consistency
Once simmering, reduce the heat to low and let the sauce cook for 8-10 minutes. You’ll notice it thicken slightly and become more glossy. Stir occasionally to prevent sticking, especially around the edges of the pan.
The sauce should coat the back of a spoon but still be pourable. If it reduces too much and becomes too thick, add 1-2 tablespoons of water to loosen it. This is the moment that matters: you want it thick enough to cling to meats but not so thick it becomes sticky or syrupy.
Step 4: Finish and Garnish for Serving
Remove the sauce from heat and let it cool for 5 minutes. The flavors will continue to meld as it cools. Taste and adjust seasoning if needed, though with the balance of ingredients here, it should be spot on.
Stir in the 1 tbsp Sesame Seeds and thinly sliced 2 whole Green Onions. These garnishes add freshness and a pop of color, but they also enhance the flavor profile with their distinct notes. Transfer to a jar or bowl and use immediately, or store in the refrigerator for up to 2 weeks.
Pro Tips For Making Korean Bbq Sauce Recipe Homemade
- Bloom the Gochujang: Cook the gochujang in a dry pan for 1-2 minutes before adding liquids—it deepens the flavor and removes any raw paste taste. I learned this the hard way after my first batch tasted flat.
- Dissolve the Sugar: Whisk the brown sugar into the warm soy sauce first, not the cold vinegar. After burning three batches, I finally figured out this prevents grainy texture.
- Skip the Boil: Keep the heat at a gentle simmer, never a rolling boil, or the vinegar will overpower and the sauce will split. My grandmother swore by this, and she was right.
- Finish with Oil: Stir in the sesame oil at the very end, off the heat. Sounds weird, but it works—it keeps the aroma fresh and prevents bitterness from cooking it too long.
Common Mistakes When Making This Dish
Overcooking the Sauce
Let it simmer too long and your sauce will turn into a thick, sticky paste instead of a glossy glaze. I aim for 8-10 minutes on low heat—just enough to meld flavors without reducing it too much. David always reminds me to set a timer. 💡
Skipping the Aromatics Bloom
Rushing the garlic and ginger step means raw, harsh flavors in your final sauce. Cook them in the Sesame Oil for 1-2 minutes until fragrant but not browned. This builds the depth that makes the sauce special.
Using Low-Quality Gochujang
Cheap gochujang lacks the fermented complexity and balanced heat of good brands. I always use Sempio or CJ from Central Market in Austin. The difference in flavor depth is noticeable, especially in a simple recipe like this.
Ignoring Sugar Dissolution
Lumpy sauce happens when the Brown Sugar isn’t fully dissolved. Stir vigorously while heating and use a whisk if needed. The mixture should be smooth before it starts simmering. Real talk: this step takes patience.
Overcrowding the Pan
Using too small a saucepan can cause uneven cooking and burning. A medium saucepan gives enough room for stirring and even heat distribution. I learned this the hard way with a batch that scorched on the edges.
Skipping the Rest
Letting the sauce rest for 5 minutes after cooking allows flavors to fully meld. The sesame seeds and green onions also need this time to infuse. This small step makes a big difference in the final taste. 🌟
Nutrition Facts
Frequently Asked Questions
Can I make this sauce less spicy?
Reduce the gochujang to 1/4 cup and add 2 tbsp more brown sugar for sweetness. You’ll keep the depth without as much heat.
What can I use instead of honey?
Maple syrup or agave work perfectly as 1:1 substitutes. They’ll add a slightly different note but maintain the sauce’s balance.
How thick should the sauce be before using?
It should coat the back of a spoon but still drip slowly. If it’s too thin, simmer for 2-3 more minutes on low heat.
Can I use this as a marinade?
Yes, but thin it slightly with 1-2 tbsp water first. Marinade for up to 2 hours—longer can make the meat too soft.

- Bread Recipe For Bread Machine: Hands-Off Artisan Loaf With Perfect Rise - September 30, 2026
- BBQ Chicken Drumsticks Recipe Air Fryer: Smoky Char in Half the Time - September 30, 2026
- Korean BBQ Sauce Recipe Homemade: Sweet and Spicy Umami Glaze - September 30, 2026