
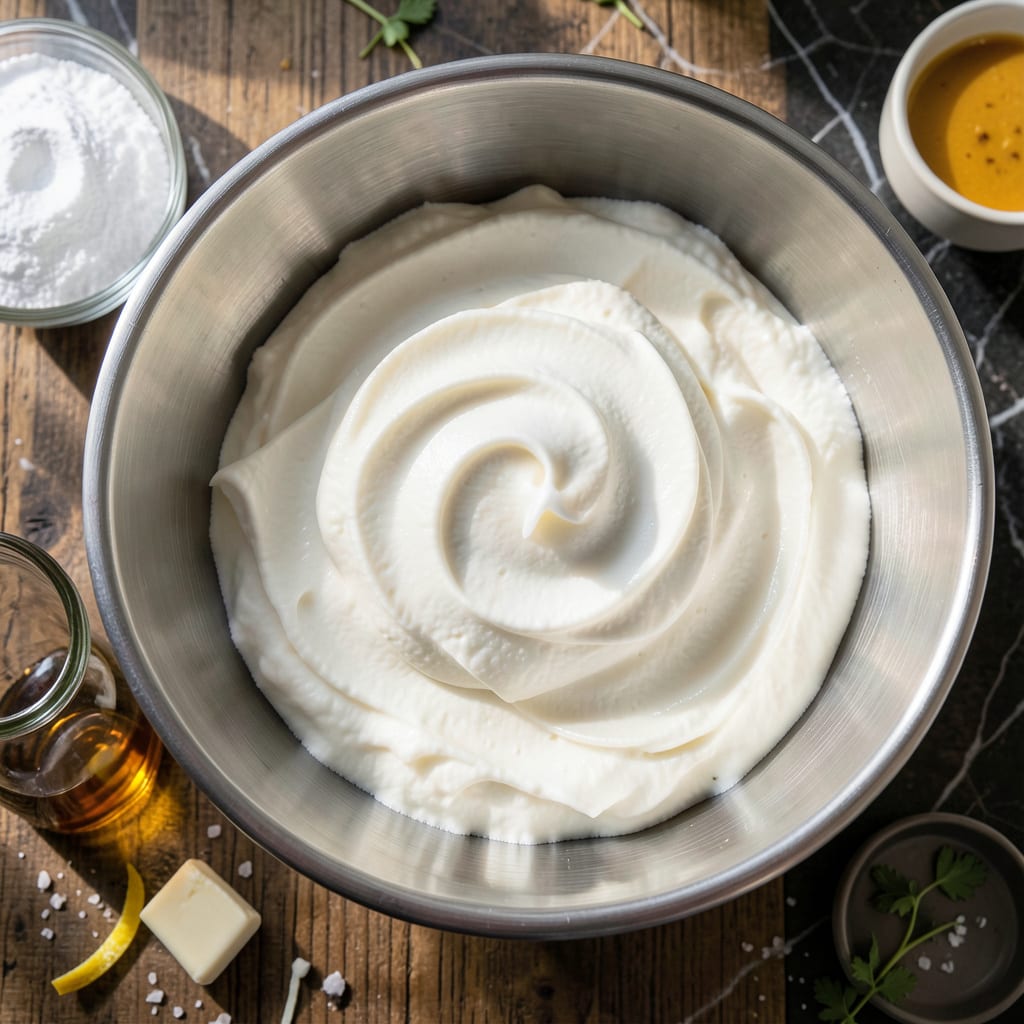
This light and airy whipped icing transforms any dessert with its cloud-like texture and perfect sweetness. I developed this recipe to replicate the smooth, stable frosting you find at professional bakeries.
With just a few simple ingredients and proper mixing technique, you’ll create a topping that pipes beautifully and holds its shape. The secret is in the timing and temperature of your cream.
Ingredients for Kroger Whipped Icing
Seven ingredients create that bakery-quality fluff you crave for cakes and cupcakes.
| Ingredient | Amount | Notes |
|---|---|---|
| Heavy Whipping Cream 🥛 | 2 cups | Well chilled, 35-40% fat |
| Powdered Sugar 🍚 | 1 cup | Sifted for smoothness |
| Vanilla Extract 🌿 | 1 ½ tsp | Pure, not imitation |
| Unsalted Butter 🧈 | 2 tbsp | Softened to room temperature |
| Cream of Tartar 🧂 | ¼ tsp | Stabilizes whipped cream |
| Salt 🧂 | 0.125 tsp | Fine sea salt preferred |
| Corn Syrup 🍯 | 1 tbsp | Light, for sheen |
[recipeingredientscaler]
The cream is everything here. Kroger’s Private Selection heavy whipping cream hits that 38% fat sweet spot—perfect for stable peaks. Avoid anything labeled ‘whipping cream’ (lower fat) or ultra-pasteurized (won’t whip as high). I grab mine from the dairy case at Kroger, but any trusted brand works. Chill your bowl and beaters too—15 minutes in the freezer does the trick.
No cream of tartar? Lemon juice or white vinegar at half the amount works in a pinch. Swap powdered sugar for granulated if you must, but sift it first to avoid graininess. The butter adds richness—Land O’Lakes is my go-to, but store brand is fine. Want it sweeter? Add powdered sugar 1 tbsp at a time until it’s just right.
Best used fresh, but you can refrigerate it in an airtight container for 2-3 days. Stir before reusing—it’ll soften but whip back up. For longer storage, freeze dollops on a tray, then transfer to a bag for up to 1 month.
Why You’ll Love This Recipe
- 5-Minute Whip: I can go from fridge to frosted in the time it takes to brew coffee—just cream, sugar, and a splash of vanilla.
- Rich & Velvety: The butter and cream of tartar give it that bakery-style stability without being cloyingly sweet.
- Crowd Pleaser: Slather it on cupcakes, layer cakes, or just eat it by the spoonful (no judgment here).
- Stays Fresh: Leftovers keep for days in the fridge, so I can ice a cake tonight and save the rest for pancakes tomorrow.
Step-by-Step Instructions for Kroger-Style Whipped Icing
Here’s the method that delivers that signature light, fluffy texture every time.
Step 1: Chill Equipment and Prep Ingredients
Place your mixing bowl and beaters in the freezer for 10 minutes. This isn’t optional—cold equipment helps the heavy whipping cream whip faster and hold its shape better. I learned this the hard way after several collapsed batches.
Measure out all your ingredients while the equipment chills. Make sure the 2 cups Heavy Whipping Cream is straight from the fridge (35-40% fat content works best). Sift the 1 cup Powdered Sugar if it’s lumpy—this prevents grainy texture in your final icing.
Step 2: Begin Whipping with Stabilizers
Pour the 2 cups Heavy Whipping Cream into your chilled bowl. Add the 0.25 tsp Cream of Tartar and 0.125 tsp Salt. These might seem like small amounts, but they’re crucial—the cream of tartar stabilizes the whipped cream, and the salt balances the sweetness.
Start whipping on medium-low speed until the cream begins to thicken slightly—you’ll see soft ripples forming. This gradual start prevents splattering and gives you better control over the texture development.
Step 3: Incorporate Sweetness and Flavor
With the mixer running on medium speed, gradually add the 1 cup Powdered Sugar. I add it in 3-4 additions, waiting about 10 seconds between each. This prevents sugar overload that can deflate your cream.
Once the sugar is fully incorporated, add the 1.5 tsp Vanilla Extract and 1 tbsp Corn Syrup. The corn syrup adds a subtle sheen and extra stability. At this point, you should have soft peaks forming when you lift the beaters.
Step 4: Achieve Perfect Stiff Peaks
Increase the speed to medium-high and add the 2 tbsp Unsalted Butter (it should be softened but not melted). The butter adds richness and helps create that professional bakery texture.
Continue whipping for 1-2 minutes until you achieve stiff peaks—the cream should hold its shape when the beaters are lifted, and the peaks should stand straight up. Be careful not to over-whip, or you’ll end up with grainy, buttery chunks instead of smooth icing.
Step 5: Test and Use Immediately
Stop the mixer and do the bowl test: tilt the bowl slightly. If the whipped cream holds its shape and doesn’t slide, it’s ready. If it’s still a bit loose, whip for another 30 seconds and test again.
Use the icing immediately for best results—it’ll hold its shape for about 2 hours at room temperature. For longer storage, transfer to an airtight container and refrigerate for up to 3 days, but you’ll need to re-whip briefly before using. Spread or pipe onto your cake for that signature Kroger-style cloud-like topping.
Pro Tips For Making Kroger Whipped Icing
- Chill Everything First: Pop your mixing bowl and beaters in the freezer for 10 minutes before starting—cold tools whip the cream faster and keep it from turning to butter. I learned this the hard way after a sad, soupy batch ruined a birthday cake.
- Soften Butter Right: Let the unsalted butter sit at room temp for 30-45 minutes until it gives slightly when pressed, not melted. Sounds picky, but it blends smoothly into the cream without leaving greasy streaks.
- Skip Warm Cream: Resist the urge to use cream straight from the fridge if it’s not cold enough—anything above 40°F whips poorly and can separate. After burning three batches, I finally started checking the temp with a quick finger test.
- Add Sugar Slowly: Sprinkle in the powdered sugar a little at a time while mixing on low to avoid a cloud of dust and clumpy texture. My grandmother swore by this, and she was right: it makes a real difference in smoothness.
Storing and Reheating kroger whipped icing
Refrigerator Storage
Transfer unused icing to an airtight container and press plastic wrap directly against the surface to prevent a skin from forming. Store at 40°F or below for up to 3 days. The texture will soften, but a quick re-whip restores its fluffiness.
Freezer Storage
For longer storage, pipe or dollop icing onto a parchment-lined tray and freeze for 1 hour. Then transfer the frozen portions to a freezer bag, removing as much air as possible. This keeps well for up to 1 month without significant texture loss.
Re-whipping Chilled Icing
Let refrigerated icing sit at room temperature for 10-15 minutes before re-whipping. Use the whisk attachment on medium speed for 30-60 seconds until it regains its stiff peaks. Add 1-2 tsp Heavy Whipping Cream if needed to loosen. ❄️
Thawing Frozen Icing
Move frozen icing to the refrigerator and let it thaw overnight. Avoid microwaving, as it can cause separation. Once thawed, re-whip as described above. The texture may be slightly less stable, but it’s perfect for filling cakes or cupcakes.
Room Temperature Use
At room temperature, this icing holds its shape for about 2 hours. If it starts to weep or soften, briefly chill it in the freezer for 5-10 minutes before re-whipping. I always keep my piping bag in the fridge between uses.
Reviving Separated Icing
If your icing separates or looks grainy after storage, don’t panic. Place the bowl in an ice bath and re-whip on low speed until smooth. The cold helps re-emulsify the fats and liquids. 💡
Nutrition Facts
Frequently Asked Questions
Can I use a hand mixer instead of a stand mixer?
Yes, a hand mixer works fine for this recipe. Use chilled bowls and beaters, and be prepared to hold it for 5-7 minutes to reach stiff peaks. It may take a bit longer than a stand mixer.
Why did my icing turn grainy?
Graininess usually means the cream was over-whipped or the sugar wasn’t fully dissolved. Stop mixing as soon as stiff peaks form, and ensure your powdered sugar is sifted before adding.
Can I make this ahead of time?
Prepare it up to 3 days in advance and store in an airtight container in the fridge. Re-whip briefly before using to restore texture.
What’s the best way to pipe this icing?
Use a large star tip for best results. Fill your piping bag halfway and hold it at a 90-degree angle for even pressure. Keep unused icing refrigerated between batches.

- BBQ Sausage Recipe Oven: Smoky Depth Without the Grill - September 28, 2026
- BBQ Chicken Bowl Recipe Rice: Smoky Sweetness Over Fluffy Grains - September 28, 2026
- Beef Cutlet Recipe Ideas: Crispy Breaded Patties With Bold Seasonings - September 28, 2026