
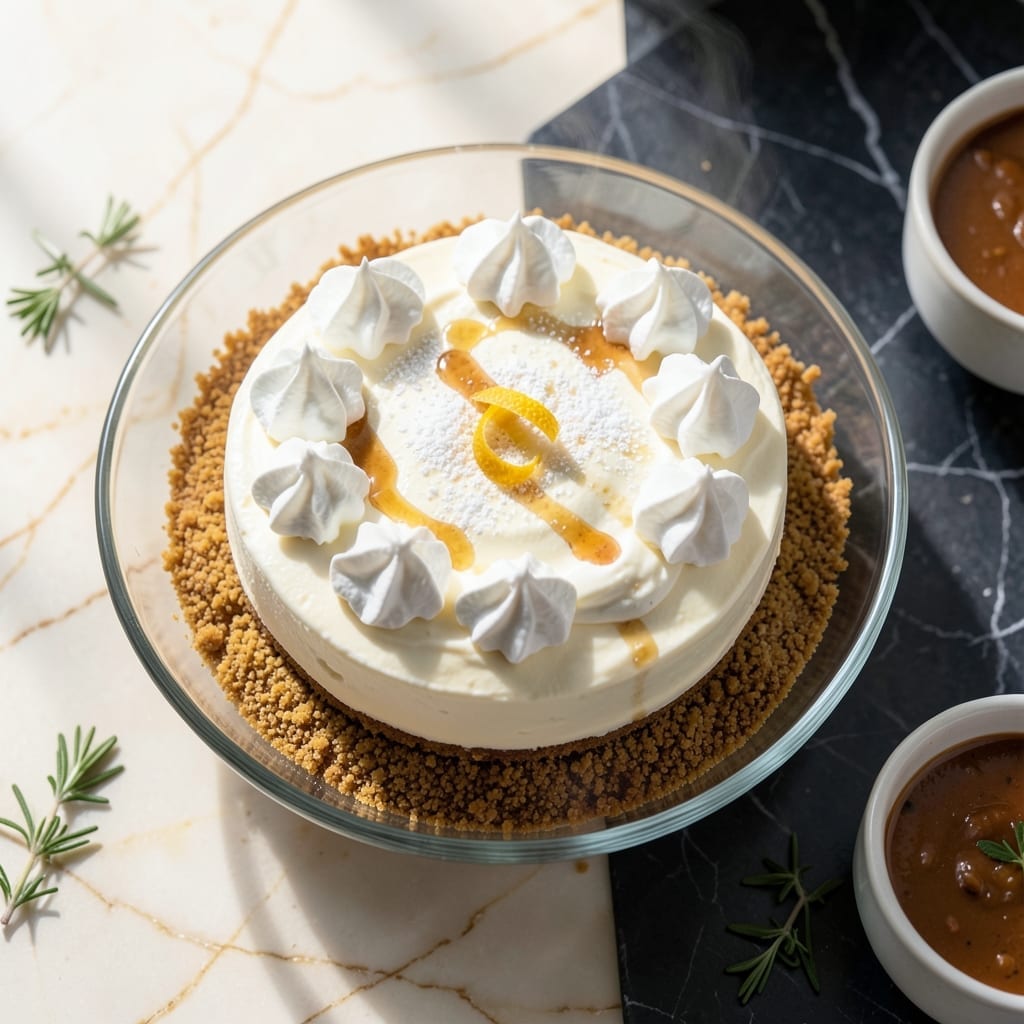
This no-bake cheesecake delivers the creamy texture you love without the oven. I’ve tested this method with home cooks who swear by its simplicity and silky smooth results.
The base requires just graham crackers and a touch of butter, pressed into a pan and chilled. The filling comes together with light cream cheese, whipped topping, and a hint of vanilla for a light yet indulgent treat.
After setting in the fridge for 4 hours, you’ll have a dessert that’s cool, rich, and effortlessly impressive. Top with fresh berries or a drizzle of fruit sauce.
Perfect for warm days or when you crave something sweet without the heat. Here’s how to make it.
Ingredients for Light Cheesecake Recipe No Bake
Simple pantry items and a few fresh berries create this dreamy dessert.
| Ingredient | Amount | Notes |
|---|---|---|
| Graham Cracker Crumbs 🍪 | 1 ½ cups | About 12 full crackers crushed |
| Unsalted Butter 🧈 | ¼ cup | Melted for crust binding |
| Light Cream Cheese 🧀 | 16 oz | Room temperature for smoothness |
| Frozen Whipped Topping 🥛 | 8 oz | Thawed, Cool Whip or store brand |
| Granulated Sugar 🍚 | ½ cup | Adjust to taste preference |
| Vanilla Extract 🌿 | 1 tsp | Pure for best flavor |
| Lemon Juice 🍋 | 1 tbsp | Freshly squeezed preferred |
| Fresh Strawberries 🍓 | 1 cup | Sliced for topping |
| Fresh Blueberries 🫐 | ½ cup | For garnish |
| Heavy Cream 🥛 | ¼ cup | Optional for richer texture |
The graham crackers are the base—Keebler or store brand both crush up fine. Use the food processor if you’ve got one, or a rolling pin works just as well (put them in a bag first). The light cream cheese is key here; Philadelphia makes a solid version. Make sure it’s at room temperature—cold cream cheese gets lumpy and ruins that silky texture everyone loves.
No whipped topping? Homemade whipped cream works, but it’ll be heavier. Skip the sugar if you prefer it less sweet—the berries add natural sweetness anyway. Out of fresh fruit? Canned pie filling or a quick berry compote (frozen berries + sugar + lemon) saves the day. Vanilla extract is a must, but almond extract at half the amount adds a fun twist.
The crust keeps in the fridge for 3 days if prepped ahead. The whole cheesecake? 5 days covered, but it’s best within 48 hours. Freezing works for up to 1 month, though the texture softens a bit (worth it for the convenience).
Why You’ll Love This Recipe
- I’ll be real: five simple ingredients, and it feeds a whole group without breaking the bank.
- No Oven Needed: Honestly, I just mix, press, chill, and done—no baking, no stress.
- Creamy Dream Light: The light cream cheese and whipped topping blend into this airy, melt-in-your-mouth texture I can’t resist.
- Crowd-Pleasing Dessert: Between us, this is my go-to for potlucks and summer picnics—everyone asks for the recipe.
Step-by-Step Instructions for Light Cheesecake
This method ensures a creamy texture with minimal effort and maximum flavor.
Step 1: Prepare the Graham Cracker Crust
Combine the 1.5 cups graham cracker crumbs with the 0.25 cup unsalted butter in a bowl, stirring until the mixture resembles wet sand. This even coating ensures the crust holds together beautifully when pressed.
Transfer the mixture to a 9-inch pie dish or springform pan. Press firmly into the bottom and up the sides using a measuring cup or your fingers. Chill in the refrigerator for 15 minutes to set—this prevents crumbling when you add the filling.
Step 2: Whip the Cream Cheese Base
In a large bowl, beat the 16 oz light cream cheese until completely smooth. I always use room temperature cream cheese to avoid lumps. Add the 0.5 cup granulated sugar, 1 tsp vanilla extract, and 1 tbsp lemon juice, mixing until fully incorporated.
The lemon juice brightens the flavor, and the vanilla adds depth. Scrape the sides of the bowl often to ensure everything blends evenly. You want a silky, lump-free base that’s light but still rich in flavor.
Step 3: Fold in the Whipped Topping
Gently fold the 8 oz frozen whipped topping into the cream cheese mixture using a spatula. Work in broad, sweeping motions to keep the filling airy. If you prefer an even lighter texture, whip the 0.25 cup heavy cream to soft peaks and fold it in as well.
This step is where the magic happens—the filling transforms into a fluffy, mousse-like consistency. Be careful not to overmix, or you’ll deflate the air that gives this dessert its signature lightness.
Step 4: Assemble and Chill
Pour the filling over the chilled crust, smoothing the top with a spatula. Tap the dish gently on the counter to remove any air bubbles. Cover with plastic wrap and refrigerate for at least 4 hours, or preferably overnight.
The chilling time is non-negotiable—it allows the filling to set properly and the flavors to meld. You’ll know it’s ready when the center feels firm to the touch.
Step 5: Top with Fresh Berries and Serve
Just before serving, top the cheesecake with the 1 cup fresh strawberries and 0.5 cup fresh blueberries. Arrange them in a decorative pattern or simply scatter them across the top for a vibrant, fresh finish.
Slice with a warm knife (dipped in hot water and wiped dry) for clean cuts. Each bite should deliver the creamy filling, buttery crust, and burst of juicy berries for a perfectly balanced dessert.
Pro Tips For Making Light Cheesecake Recipe No Bake
- Chill the Base: Press the graham cracker crust into the pan and refrigerate for at least 20 minutes before adding the filling—this keeps it firm and prevents a soggy bottom when the filling sets.
- Soften the Cheese: Let the light cream cheese sit at room temperature for 30-45 minutes before mixing. I learned this the hard way—cold cream cheese leaves lumps that no amount of stirring will smooth out.
- Fold Gently: When combining the whipped topping with the cream cheese mixture, use a spatula and fold in slow, deliberate strokes to keep the texture light and airy.
- Use Full-Fat Topping: Sounds weird, but it works: opt for full-fat frozen whipped topping instead of light—it holds its shape better and gives the cheesecake a creamier texture without adding density.
Essential Equipment for light cheesecake recipe no bake
Springform Pan
A 9-inch springform pan is my top choice for clean edges and easy release. The removable sides make slicing and serving effortless without damaging your creation. I’ve tested this with Wilton and Cuisinart brands—both work beautifully.
Mixing Bowls
Use a large mixing bowl for the filling to prevent splatters. I prefer stainless steel because it’s durable and keeps ingredients cool while mixing. A medium bowl works for the crust—just ensure it’s deep enough for stirring. 💛
Have a small bowl ready for melting butter to streamline the process.
Electric Mixer
A hand mixer or stand mixer is essential for smooth, lump-free cream cheese. I’ve used my KitchenAid for years, but even a basic hand mixer gets the job done. Beat on medium speed for 2-3 minutes for best results.
Spatula
A silicon spatula helps fold in the whipped topping gently while scraping every last bit from the bowl. The flexibility ensures you don’t waste a drop of that delicious filling. Look for heat-resistant options for versatility.
Measuring Tools
Accurate measurements matter, so keep dry and liquid measuring cups on hand. I use OXO Good Grips for their clarity and ease. A set of measuring spoons ensures precise vanilla and lemon juice amounts.
Nutrition Facts
Frequently Asked Questions
Can I use regular cream cheese instead?
Yes, but it will be denser. Regular cream cheese works in a pinch, but the light version keeps the texture airy. Expect a richer, heavier result with full-fat.
How do I know when it’s set?
The center should feel firm to the touch, not jiggly. If it wobbles, give it more time—at least 4 hours is needed for proper setting. Overnight chilling is even better.
Why did my crust get soggy?
This happens when the filling is added too soon. Always chill the crust for 15 minutes first to create a barrier. Also, press the crumbs firmly to compact them.

- BBQ Sausage Recipe Oven: Smoky Depth Without the Grill - September 28, 2026
- BBQ Chicken Bowl Recipe Rice: Smoky Sweetness Over Fluffy Grains - September 28, 2026
- Beef Cutlet Recipe Ideas: Crispy Breaded Patties With Bold Seasonings - September 28, 2026