
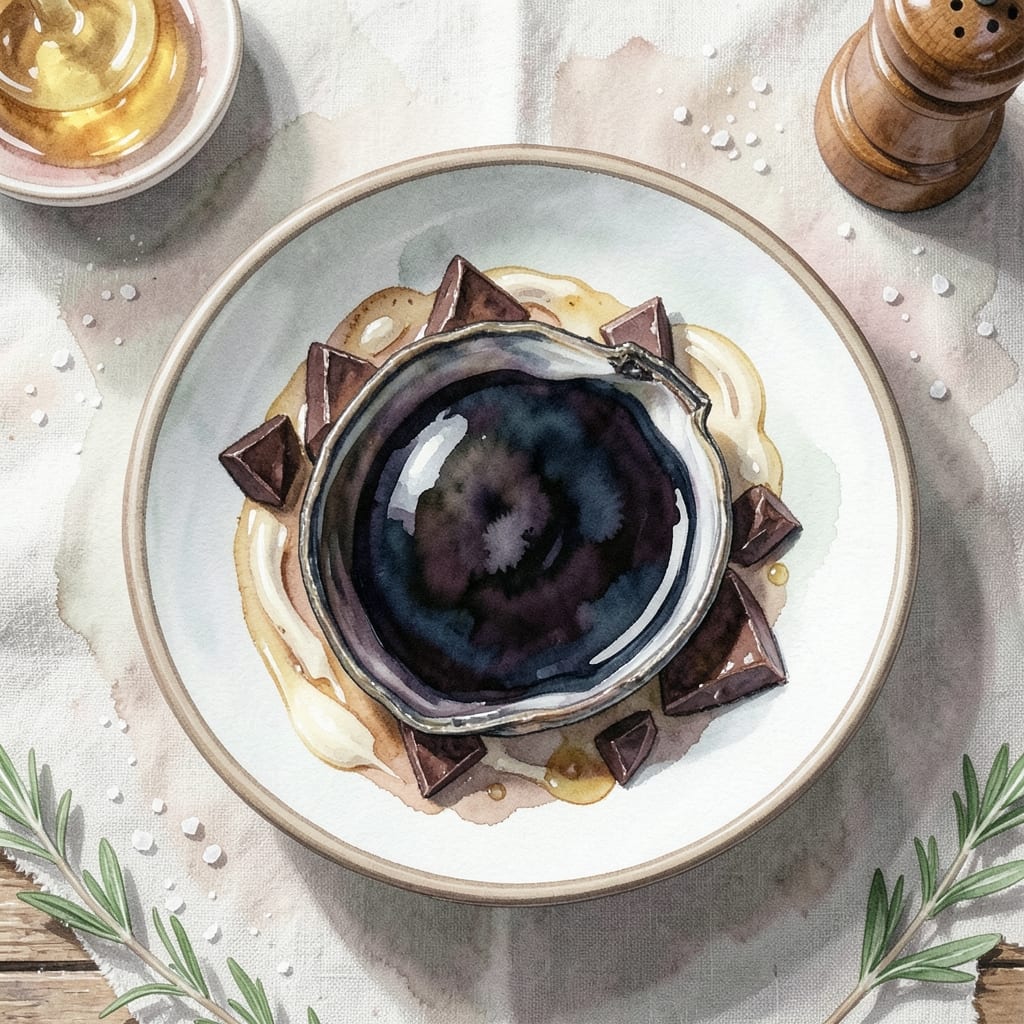
This magic shell delivers that classic chocolate coating that hardens instantly on ice cream, without relying on coconut oil. I developed this version using a simple blend of chocolate and a plant-based fat that creates the same satisfying snap.
The key is melting the chocolate gently with the fat substitute, then letting it cool slightly before drizzling. This ensures a smooth, glossy finish that sets up perfectly when it hits the cold ice cream.
You’ll get a rich, chocolatey shell that cracks with every spoonful, just like the store-bought version. The beauty of this method is its simplicity—just melt, mix, and pour.
Use it on ice cream, frozen yogurt, or even fresh fruit for a fun twist. Here’s how to make it.
Ingredients for Magic Shell Recipe Without Coconut Oil
Six ingredients create that signature chocolate shell that cracks with every bite.
| Ingredient | Amount | Notes |
|---|---|---|
| Dark Chocolate 🍫 | 8 oz | 70% cacao, chopped if bars |
| Cocoa Butter 🫒 | 1 tbsp | Plant-based fat alternative |
| Vegetable Oil 💧 | 1 tsp | Neutral flavor like canola |
| Vanilla Extract 🌿 | ½ tsp | Pure for best flavor |
| Pinch of Salt 🧂 | 1 pinch | Enhances chocolate flavor |
| Maple Syrup 🍁 | 1 tbsp | Optional for sweetness boost |
The chocolate is the star here. Use 70% cacao dark chocolate bars—higher than that and it won’t harden as quickly. I like Ghirardelli or Lily’s (vegan options). Cocoa butter is the plant-based fat that gives you that perfect snap (find it at Whole Foods or Thrive Market). Skip the chips—they contain stabilizers that mess with the texture.
No cocoa butter? Vegan white chocolate (melted) works in a pinch. Prefer a different oil? Avocado oil or sunflower oil both stay liquid at room temp. Short on time? Skip the vanilla, but don’t leave out the salt—it makes the chocolate taste ten times richer (worth the extra second).
Stores in a jar at room temp for 2 weeks, but let’s be real—it’ll be gone in days. Reheat in 15-second bursts to keep it smooth. Drizzle over anything cold for instant magic.
Why You’ll Love This Recipe
- 5-Minute Magic: I melt the chocolate and cocoa butter in one bowl, stir in the oil and vanilla, and it’s ready before the ice cream melts.
- Rich Chocolate Hit: The dark chocolate and pinch of salt give it that deep, grown-up flavor that’s way better than store-bought.
- Drizzle on Everything: I’ve used it on fruit, cookies, even straight from a spoon—honestly, it’s my secret weapon for instant dessert upgrades.
- Stays Perfect for Days: Leftovers harden in the fridge and re-melt beautifully, so I always have a quick topping on hand.
Step-by-Step Instructions for Chocolate Coating That Hardens Instantly
Here’s the method. Straightforward, tested, works every time.
Step 1: Melt the Chocolate with Cocoa Butter
Chop the 8 oz dark chocolate into small, even pieces if using bars—this ensures even melting. In a microwave-safe bowl, combine the chopped chocolate with the 1 tbsp cocoa butter. Microwave in 20-second bursts, stirring between each, until about 75% melted.
I always stop before it’s fully melted because the residual heat will finish the job. This prevents overheating, which can cause the chocolate to seize or become grainy. Stir until completely smooth and glossy—this is your base.
Step 2: Incorporate the Oils and Flavorings
Add the 1 tsp vegetable oil, 0.5 tsp vanilla extract, and 1 pinch of salt to the melted chocolate. Stir until fully combined. The vegetable oil helps thin the mixture slightly, making it easier to drizzle, while the vanilla and salt deepen the chocolate flavor.
Real talk: don’t skip the salt, even though it seems small. It balances the sweetness and makes the chocolate taste richer. Stir for at least 30 seconds to ensure everything is evenly distributed.
Step 3: Sweeten to Taste and Adjust Consistency
Now, stir in the 1 tbsp maple syrup. This adds a subtle sweetness and a hint of caramel-like flavor. Taste and adjust—if you prefer it sweeter, you can add a touch more, but remember this coating hardens, so it shouldn’t be overly sweet.
The mixture should be smooth, glossy, and pourable. If it’s too thick, stir in a few drops of neutral oil. If it’s too thin, let it sit for 1-2 minutes to thicken slightly. You want it to coat the back of a spoon but still drizzle easily.
Step 4: Use Immediately for the Magic Effect
Pour or drizzle the mixture over ice cream, fruit, or any dessert. The key here is temperature contrast: the cold surface will cause the warm chocolate to harden almost instantly, creating that signature crackly shell.
Work quickly but confidently. If the mixture starts to thicken in the bowl, just reheat it for 5-10 seconds in the microwave to restore its pourability. One batch coats about 4 servings generously.
Pro Tips For Making Magic Shell Recipe Without Coconut Oil
- Melt Low and Slow: Use a double boiler or microwave in 20-second bursts—cocoa butter and dark chocolate scorch easily if rushed.
- Balance the Oils: I learned this the hard way—too much vegetable oil makes it thin; stick to a 1:1 ratio with cocoa butter for the right snap.
- Cool Before Dipping: Let the mixture cool to room temp before using, or it’ll slide right off your ice cream like a sad, melted ghost.
- Skip the Water: Even a drop of water in the chocolate can make it seize—make sure all bowls and utensils are bone dry.
Flavor Customization for This magic shell recipe without coconut oil
Sweetness Variations
For a sweeter shell, I add 2 tbsp maple syrup instead of 1 tbsp. This works great when using 85% dark chocolate, which can be a bit bitter. The extra sweetness balances the intensity beautifully.
Spiced Versions
Add ¼ tsp cinnamon or ⅛ tsp cayenne for a warm or spicy kick. I love cinnamon with vanilla ice cream—it tastes like a Mexican chocolate bar. The cayenne adds a subtle heat that grows on you. 🌶️
Nutty Twists
Stir in 1 tbsp peanut butter or almond butter for a nutty flavor. This creates a peanut butter cup effect when drizzled over ice cream. I recommend using creamy, not crunchy, for the smoothest texture.
White Chocolate Option
Swap the dark chocolate for 8 oz white chocolate and reduce cocoa butter to ½ tbsp. The result is a creamy, vanilla-forward shell that pairs beautifully with berries or lemon sorbet.
Coffee Infusion
Add ½ tsp instant espresso powder to deepen the chocolate flavor. This doesn’t make it taste like coffee but enhances the richness. I like Medaglia d’Oro brand for this. 💡
Mint Chocolate
Stir in ¼ tsp peppermint extract for a refreshing twist. Be careful—peppermint extract is potent. Start with less and add more to taste. This version tastes like a Girl Scout Thin Mint cookie.
Nutrition Facts
Frequently Asked Questions
Can I use milk chocolate instead of dark?
Yes, but reduce cocoa butter to ½ tbsp since milk chocolate has more fat. The shell will be sweeter and slightly softer but still hardens well.
Why did my shell stay liquid?
This usually means the chocolate wasn’t melted properly or the ratio of fat was too high. Ensure chocolate is fully melted and use exactly 1 tbsp cocoa butter for 8 oz chocolate.
How do I make it thicker?
Let it cool for 1-2 minutes before using. If still too thin, add 1 tsp more chopped chocolate and stir until melted.
Can I make this ahead of time?
Store in an airtight container at room temperature for up to 2 weeks. Reheat in 15-second bursts, stirring between each, until pourable again.

- BBQ Sausage Recipe Oven: Smoky Depth Without the Grill - September 28, 2026
- BBQ Chicken Bowl Recipe Rice: Smoky Sweetness Over Fluffy Grains - September 28, 2026
- Beef Cutlet Recipe Ideas: Crispy Breaded Patties With Bold Seasonings - September 28, 2026