
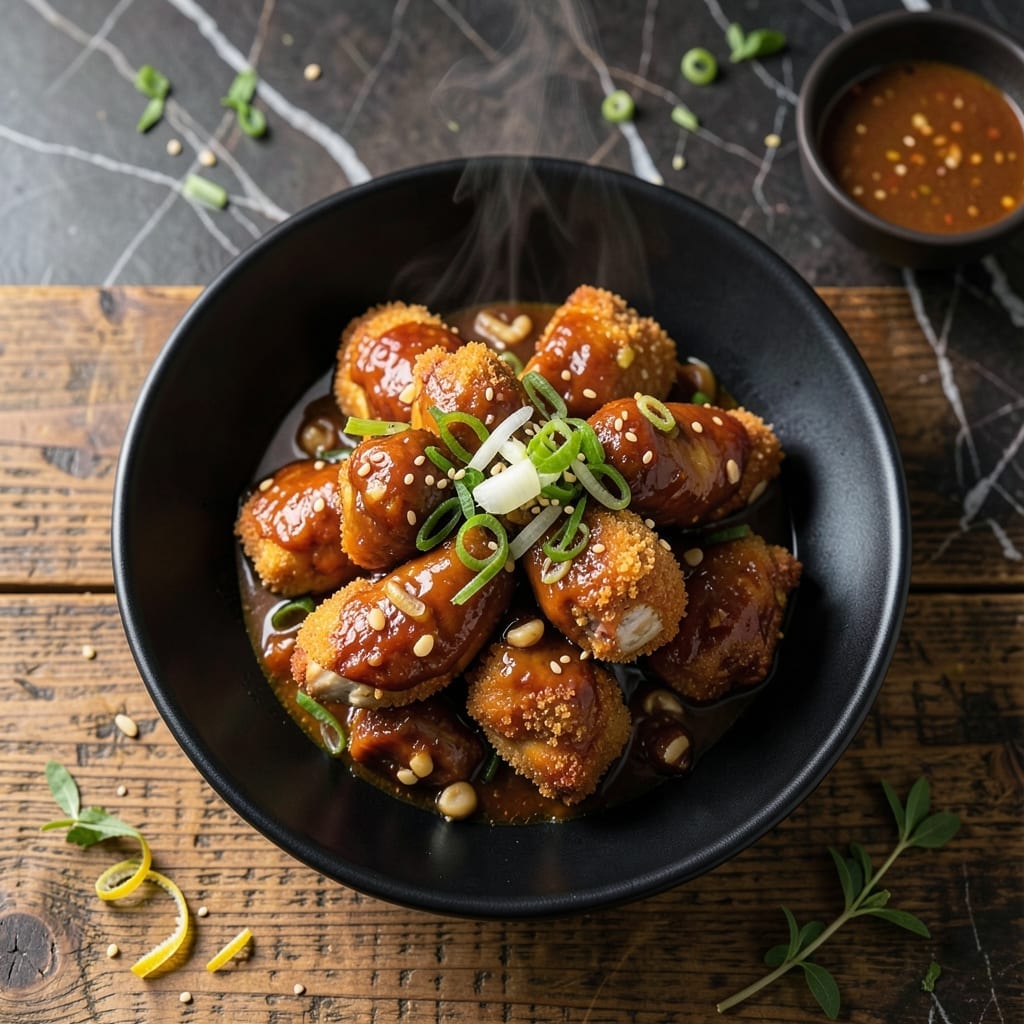
This takeout favorite brings the sweet-savory flavors of Mongolian cuisine to your weeknight table with minimal effort. I developed this recipe after too many evenings of burnt experiments and takeout boxes piling up.
The sauce is the star—sticky, glossy, and perfectly balanced between brown sugar sweetness and soy sauce depth. A 15-minute cooking process transforms simple ingredients into restaurant-quality results.
What you get is tender chicken pieces coated in that signature glossy sauce, ready to serve over steamed rice. The technique is foolproof, designed for home kitchens without special equipment.
This version stays true to the dish’s spirit while streamlining the process. The aromas alone will have your family gathering before it’s done.
Ingredients for Mongolian Chicken Recipe Easy
Pantry staples plus chicken meet a 15-minute sauce that beats takeout every time.
| Ingredient | Amount | Notes |
|---|---|---|
| Boneless Chicken Thighs 🍗 | 1 ½ lb | Cut into bite-sized pieces |
| Cornstarch 🌾 | ½ cup | For coating chicken |
| Vegetable Oil 🫒 | 3 tbsp | Divided for cooking |
| Garlic Cloves 🧄 | 4 cloves | Minced finely |
| Fresh Ginger 🌿 | 1 tbsp | Grated or minced |
| Low-Sodium Soy Sauce 💧 | ½ cup | Use tamari for gluten-free |
| Brown Sugar 🍚 | ½ cup | Packed firmly |
| Rice Vinegar 💧 | 2 tbsp | Or apple cider vinegar |
| Hoisin Sauce 🫕 | 2 tbsp | Adds depth to sauce |
| Green Onions 🧅 | 4 whole | Thinly sliced for garnish |
| Sesame Seeds 🌾 | 1 tbsp | Toasted for garnish |
| Red Pepper Flakes 🌶️ | ½ tsp | Optional for heat |
| Steamed White Rice 🍚 | 2 cups | Uncooked, prepared separately |
The chicken makes this. Thighs stay juicier than breasts—look for boneless, skinless at Costco or your regular grocery store. I always grab a big pack and freeze what I don’t use right away. The cornstarch is key for that crispy coating, so don’t skip it. King Arthur or any grocery store brand works fine (just make sure it’s plain, not self-rising).
No hoisin? Substitute with an extra tbsp of soy sauce and 1 tsp molasses. Brown sugar can be swapped for coconut sugar or maple syrup, but the flavor changes slightly. Fresh ginger is ideal, but ground ginger at half the amount works in a pinch. For gluten-free, tamari instead of soy sauce and ensure your hoisin is labeled gluten-free.
Leftovers keep 4-5 days in the fridge and reheat beautifully. The sauce thickens as it cools, so stir in a splash of water when warming. Freezes for 3 months—portion into single servings for easy weeknight dinners.
Why You’ll Love This Recipe
- One Pan Wonder: Honestly, I just toss the chicken in cornstarch, fry it up, and let the garlic and ginger work their magic in the same pan.
- Crave-Worthy Crisp: That cornstarch coating gives the thighs this incredible crispy edge while staying juicy inside—my family fights over the last piece.
- Weeknight MVP: I’ve served this for quick dinners, meal prep lunches, and even last-minute potlucks. It’s my go-to.
- Budget Friendly: Boneless thighs are cheap, and a little cornstarch goes a long way—this feeds four for less than ten bucks.
Step-by-Step Instructions for Mongolian Chicken
This method delivers that addictive sweet-savory flavor with minimal effort on busy nights.
Step 1: Coat and Brown the Chicken
Pat the 1.5 lb boneless chicken thighs dry with paper towels, then cut them into 1-inch pieces. Toss the chicken in a bowl with all the 0.5 cup cornstarch until each piece is evenly coated. The starch creates that signature crispy exterior while keeping the meat juicy inside.
Heat 2 tbsp of the vegetable oil in a large skillet over medium-high heat. When the oil shimmers, add half the chicken in a single layer. Cook undisturbed for 3-4 minutes until the bottoms turn deep golden brown. Flip and cook another 2-3 minutes until crispy. Transfer to a plate and repeat with remaining chicken and oil.
Step 2: Build the Aromatic Sauce Base
In the same skillet, reduce heat to medium and add the 4 minced garlic cloves and 1 tbsp grated fresh ginger. Sauté for 30-45 seconds until fragrant but not browned—burnt garlic turns bitter. Watch for the mixture to sizzle and release its aroma.
Immediately pour in all the 0.5 cup low-sodium soy sauce, 0.5 cup packed brown sugar, 2 tbsp rice vinegar, and 2 tbsp hoisin sauce. Stir well to dissolve the sugar. The sauce will bubble and thicken slightly as the sugar melts into the liquid.
Step 3: Finish with Chicken and Thicken
Return all the cooked chicken to the skillet and stir to coat evenly in the sauce. Cook for 2-3 minutes until the sauce reduces and clings to the chicken. The cornstarch from the chicken will help thicken the sauce into a glossy, restaurant-style consistency.
Taste and adjust seasoning if needed—though the balance of sweet, salty, and tangy should be perfect. The sauce should coat the back of a spoon and the chicken should glisten with that signature sticky sheen.
Step 4: Garnish and Serve Immediately
Remove from heat and stir in the 0.5 tsp red pepper flakes if using. Transfer to a serving platter and sprinkle with all the thinly sliced green onions and 1 tbsp toasted sesame seeds. The green onions add freshness while the sesame seeds provide nutty crunch.
Serve hot over the 2 cups steamed white rice. Each bite should deliver tender chicken with crisp edges, enrobed in that rich, slightly sticky Mongolian sauce that’s become a takeout favorite. The rice soaks up the extra sauce beautifully.
Pro Tips For Making Mongolian Chicken Recipe Easy
- Dry the Chicken: Pat the boneless thighs very dry with paper towels before coating in cornstarch—I learned this the hard way after my first batch steamed instead of crisped.
- Hot Oil, Fast Fry: Heat the vegetable oil until it shimmers, then work in batches. Crowding the pan drops the temperature and turns your chicken gummy instead of golden.
- Grind the Aromatics: Use a microplane for the ginger and garlic instead of mincing. Sounds fussy, but it blends into the sauce better and saves you from biting into chunky bits.
- Double the Cornstarch: Toss the chicken in cornstarch twice for an extra-crispy coat. I skip this when I’m lazy, but the dish is noticeably better when I don’t.
Dietary Considerations for This Recipe
Gluten-Free Adaptation
For gluten-free diets, simply swap the low-sodium soy sauce with tamari and ensure your hoisin sauce is labeled gluten-free. I’ve tested this with San-J brand tamari and Kikkoman gluten-free hoisin with excellent results. The flavor remains identical to the original. 💪
Lower Sugar Version
To reduce sugar content, replace the 0.5 cup brown sugar with ¼ cup monk fruit sweetener or ⅓ cup coconut sugar. The sauce will be less sticky but still delicious. I find adding 1 tsp molasses helps maintain the depth of flavor.
Dairy-Free Naturally
This dish is inherently dairy-free, making it perfect for lactose-intolerant eaters. No substitutions needed—just follow the recipe as written. The cornstarch creates the crispy coating without any dairy products involved.
Protein Swaps
For a lighter version, use boneless chicken breast instead of thighs, though I recommend brining for 30 minutes first to prevent dryness. For vegetarian, try extra-firm tofu pressed and cubed, or cauliflower florets for a low-carb option.
Allergy Considerations
This recipe contains corn (in cornstarch) and soy (in soy sauce). For corn allergies, use arrowroot powder instead. For soy allergies, coconut aminos can replace soy sauce, though the flavor profile will differ slightly. 🌱
Nut-Free Friendly
This creation is naturally nut-free, but always check your hoisin sauce label as some brands may contain trace amounts. I use Lee Kum Kee hoisin which is nut-free and widely available at regular grocery stores.
Nutrition Facts
Frequently Asked Questions
Can I use chicken breast instead of thighs?
Yes, but brine for 30 minutes first to keep it moist. Thighs stay juicier, but breasts work in a pinch.
What if I don’t have hoisin sauce?
Mix 1 extra tbsp soy sauce with 1 tsp molasses. It won’t be identical but adds similar depth.
How do I make the sauce thicker?
Simmer uncovered for 1-2 minutes longer. The cornstarch from the chicken will help it cling perfectly.
Can this be made ahead?
Sauce thickens as it cools. Store separately and reheat with a splash of water to restore consistency.

- BBQ Sausage Recipe Oven: Smoky Depth Without the Grill - September 28, 2026
- BBQ Chicken Bowl Recipe Rice: Smoky Sweetness Over Fluffy Grains - September 28, 2026
- Beef Cutlet Recipe Ideas: Crispy Breaded Patties With Bold Seasonings - September 28, 2026